the Weight Distribution Matrix: 22 Black and Wood Kitchen Cabinet Ideas
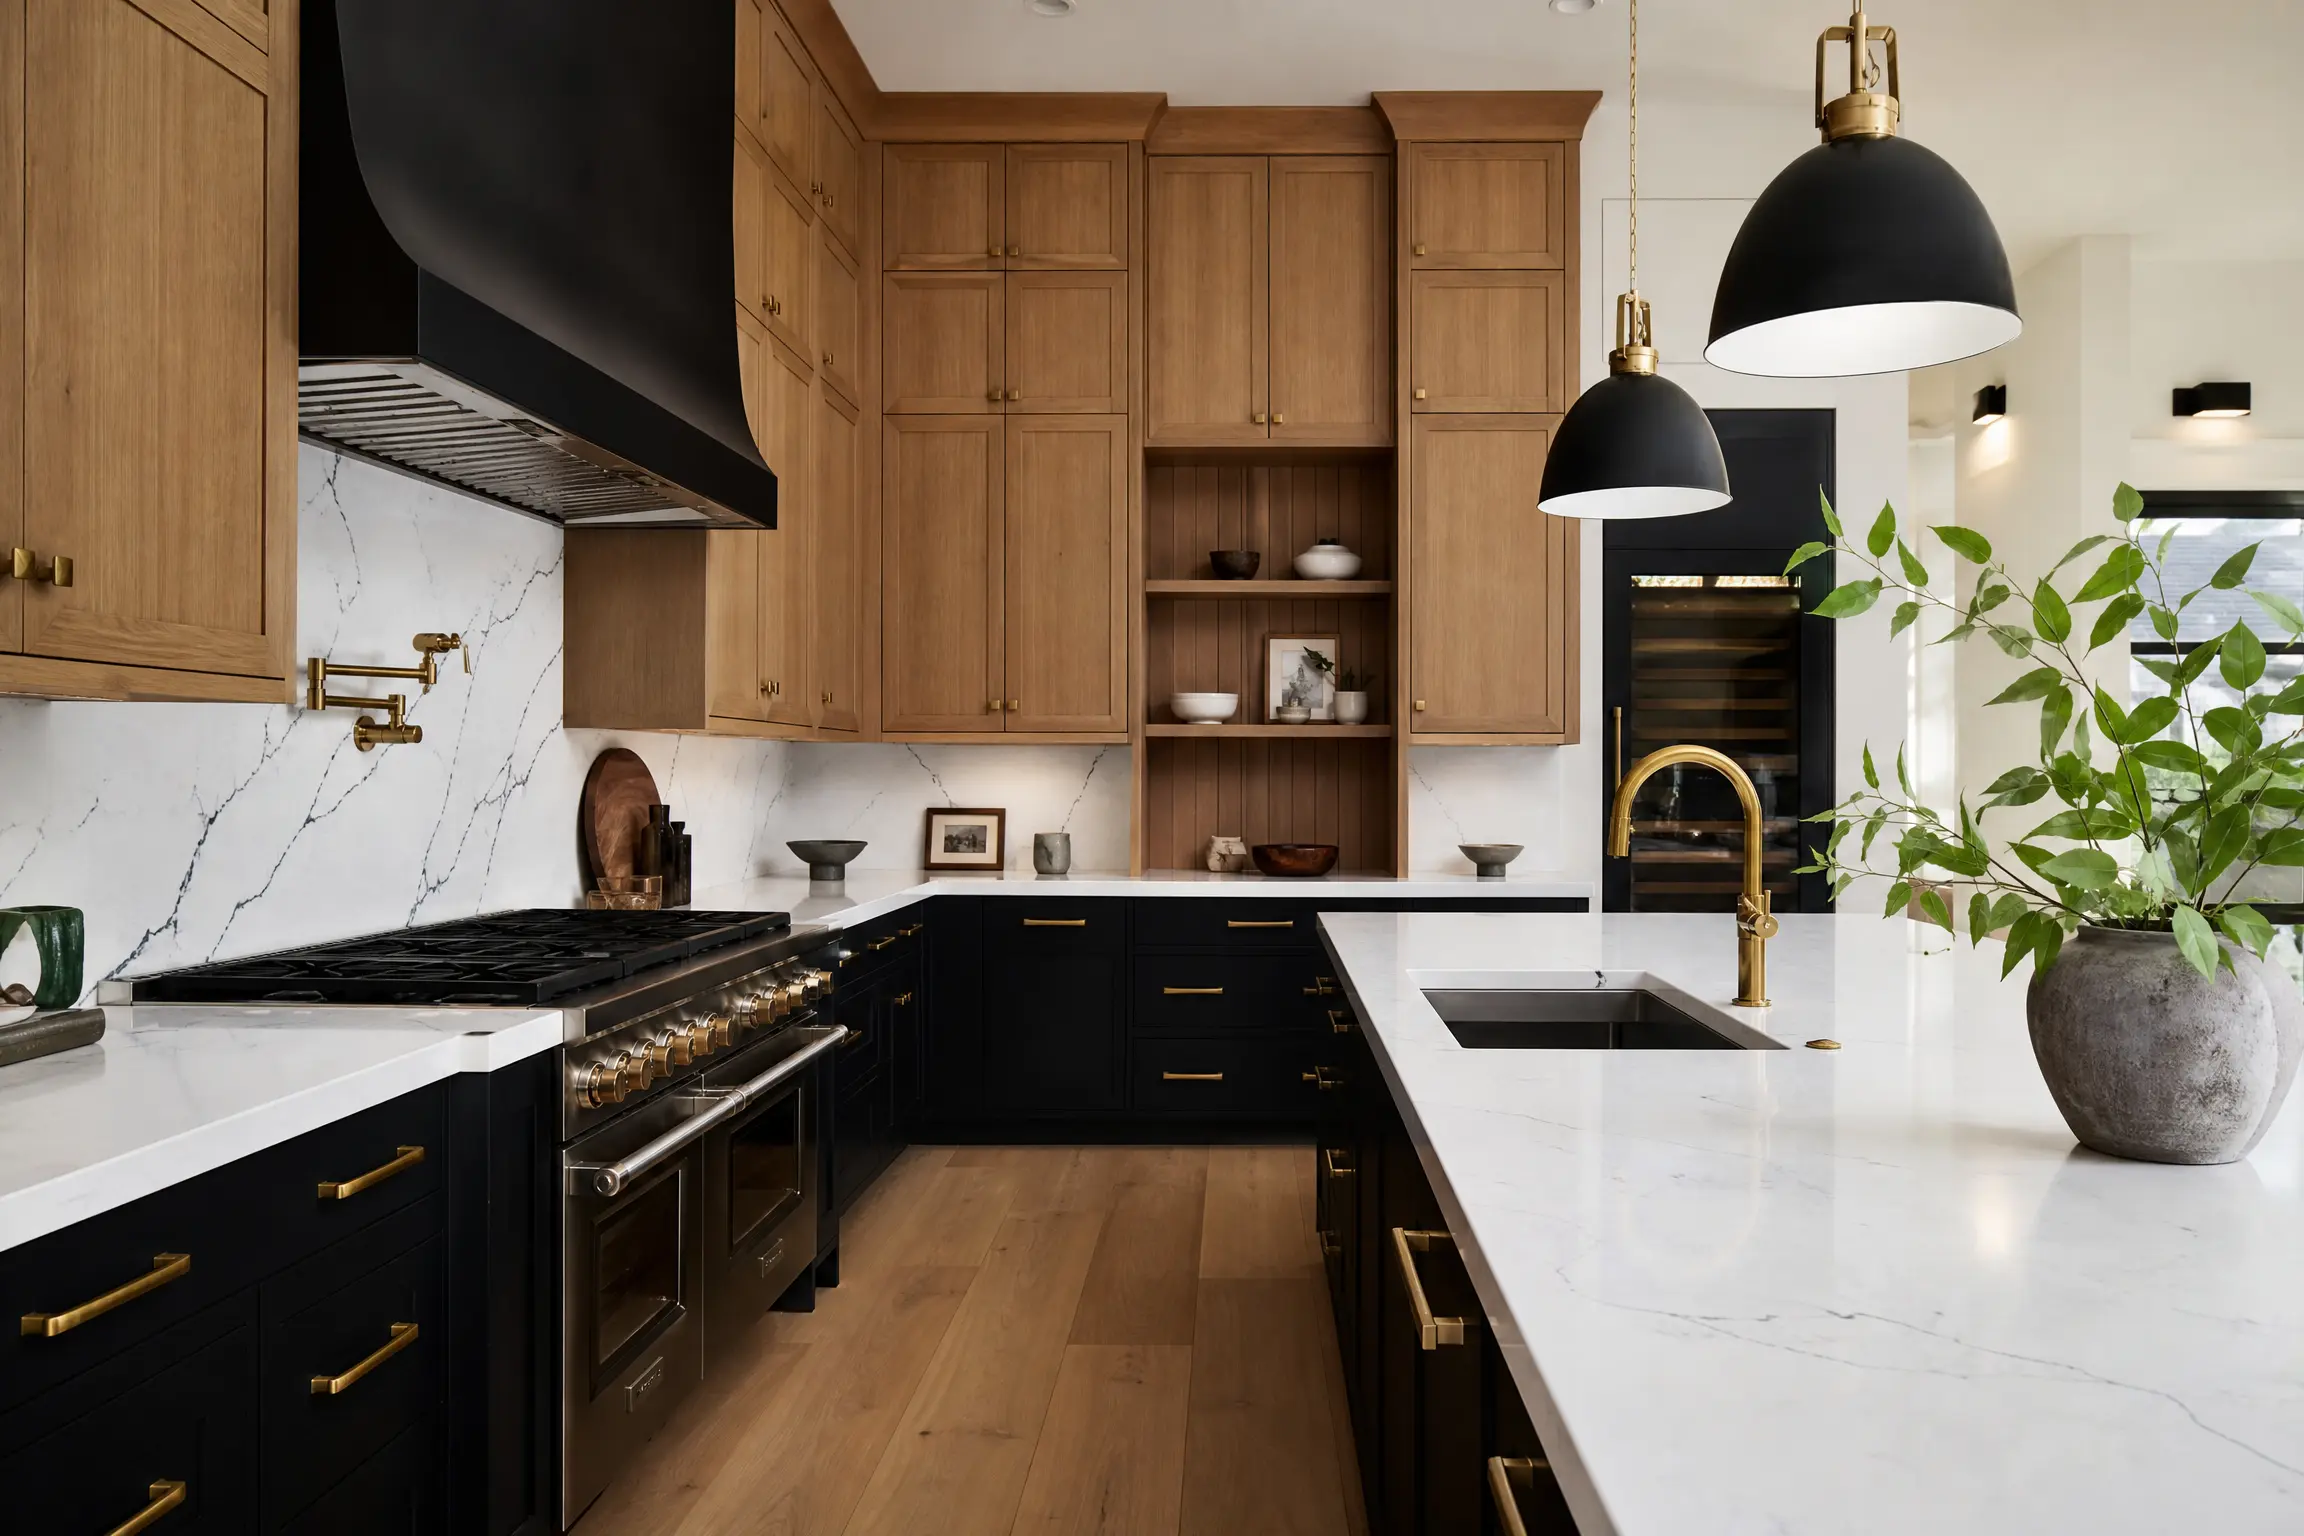
Combining black and natural wood in a kitchen is the absolute pinnacle of high-end, sophisticated interior design. It perfectly marries the cold, brutalist drama of deep shadows with the warm, organic texture of a living forest. However, executing this high-contrast aesthetic is incredibly dangerous. Black is visually the heaviest color in human existence. If you place it incorrectly, the kitchen will violently feel like it is crushing you or tipping over. The absolute biggest mistake homeowners make is randomly painting doors black and wood without understanding the laws of architectural gravity.
To ensure your kitchen feels flawlessly balanced and infinitely luxurious, we have completely abandoned the standard list format. Instead, this article is strictly governed by The Weight Distribution Matrix. We have broken twenty-two brilliant ideas into four highly specific architectural categories based entirely on how visual mass is distributed: The Grounding Effect (black below, wood above), The Anchor Island (central black mass), The Vertical Split (tall grounding towers), and The Textural Integration (ebonized black wood). By rigorously following this matrix and utilizing our execution checklists, you will create a kitchen that feels fiercely dramatic yet perfectly weightless.
Phase 1: The Grounding Effect
This is the safest and most biologically satisfying way to mix these two materials. By placing heavy matte black on the base cabinets and keeping the upper cabinets in natural wood, you mimic the natural horizon, firmly grounding the floor while keeping the ceiling airy and light.
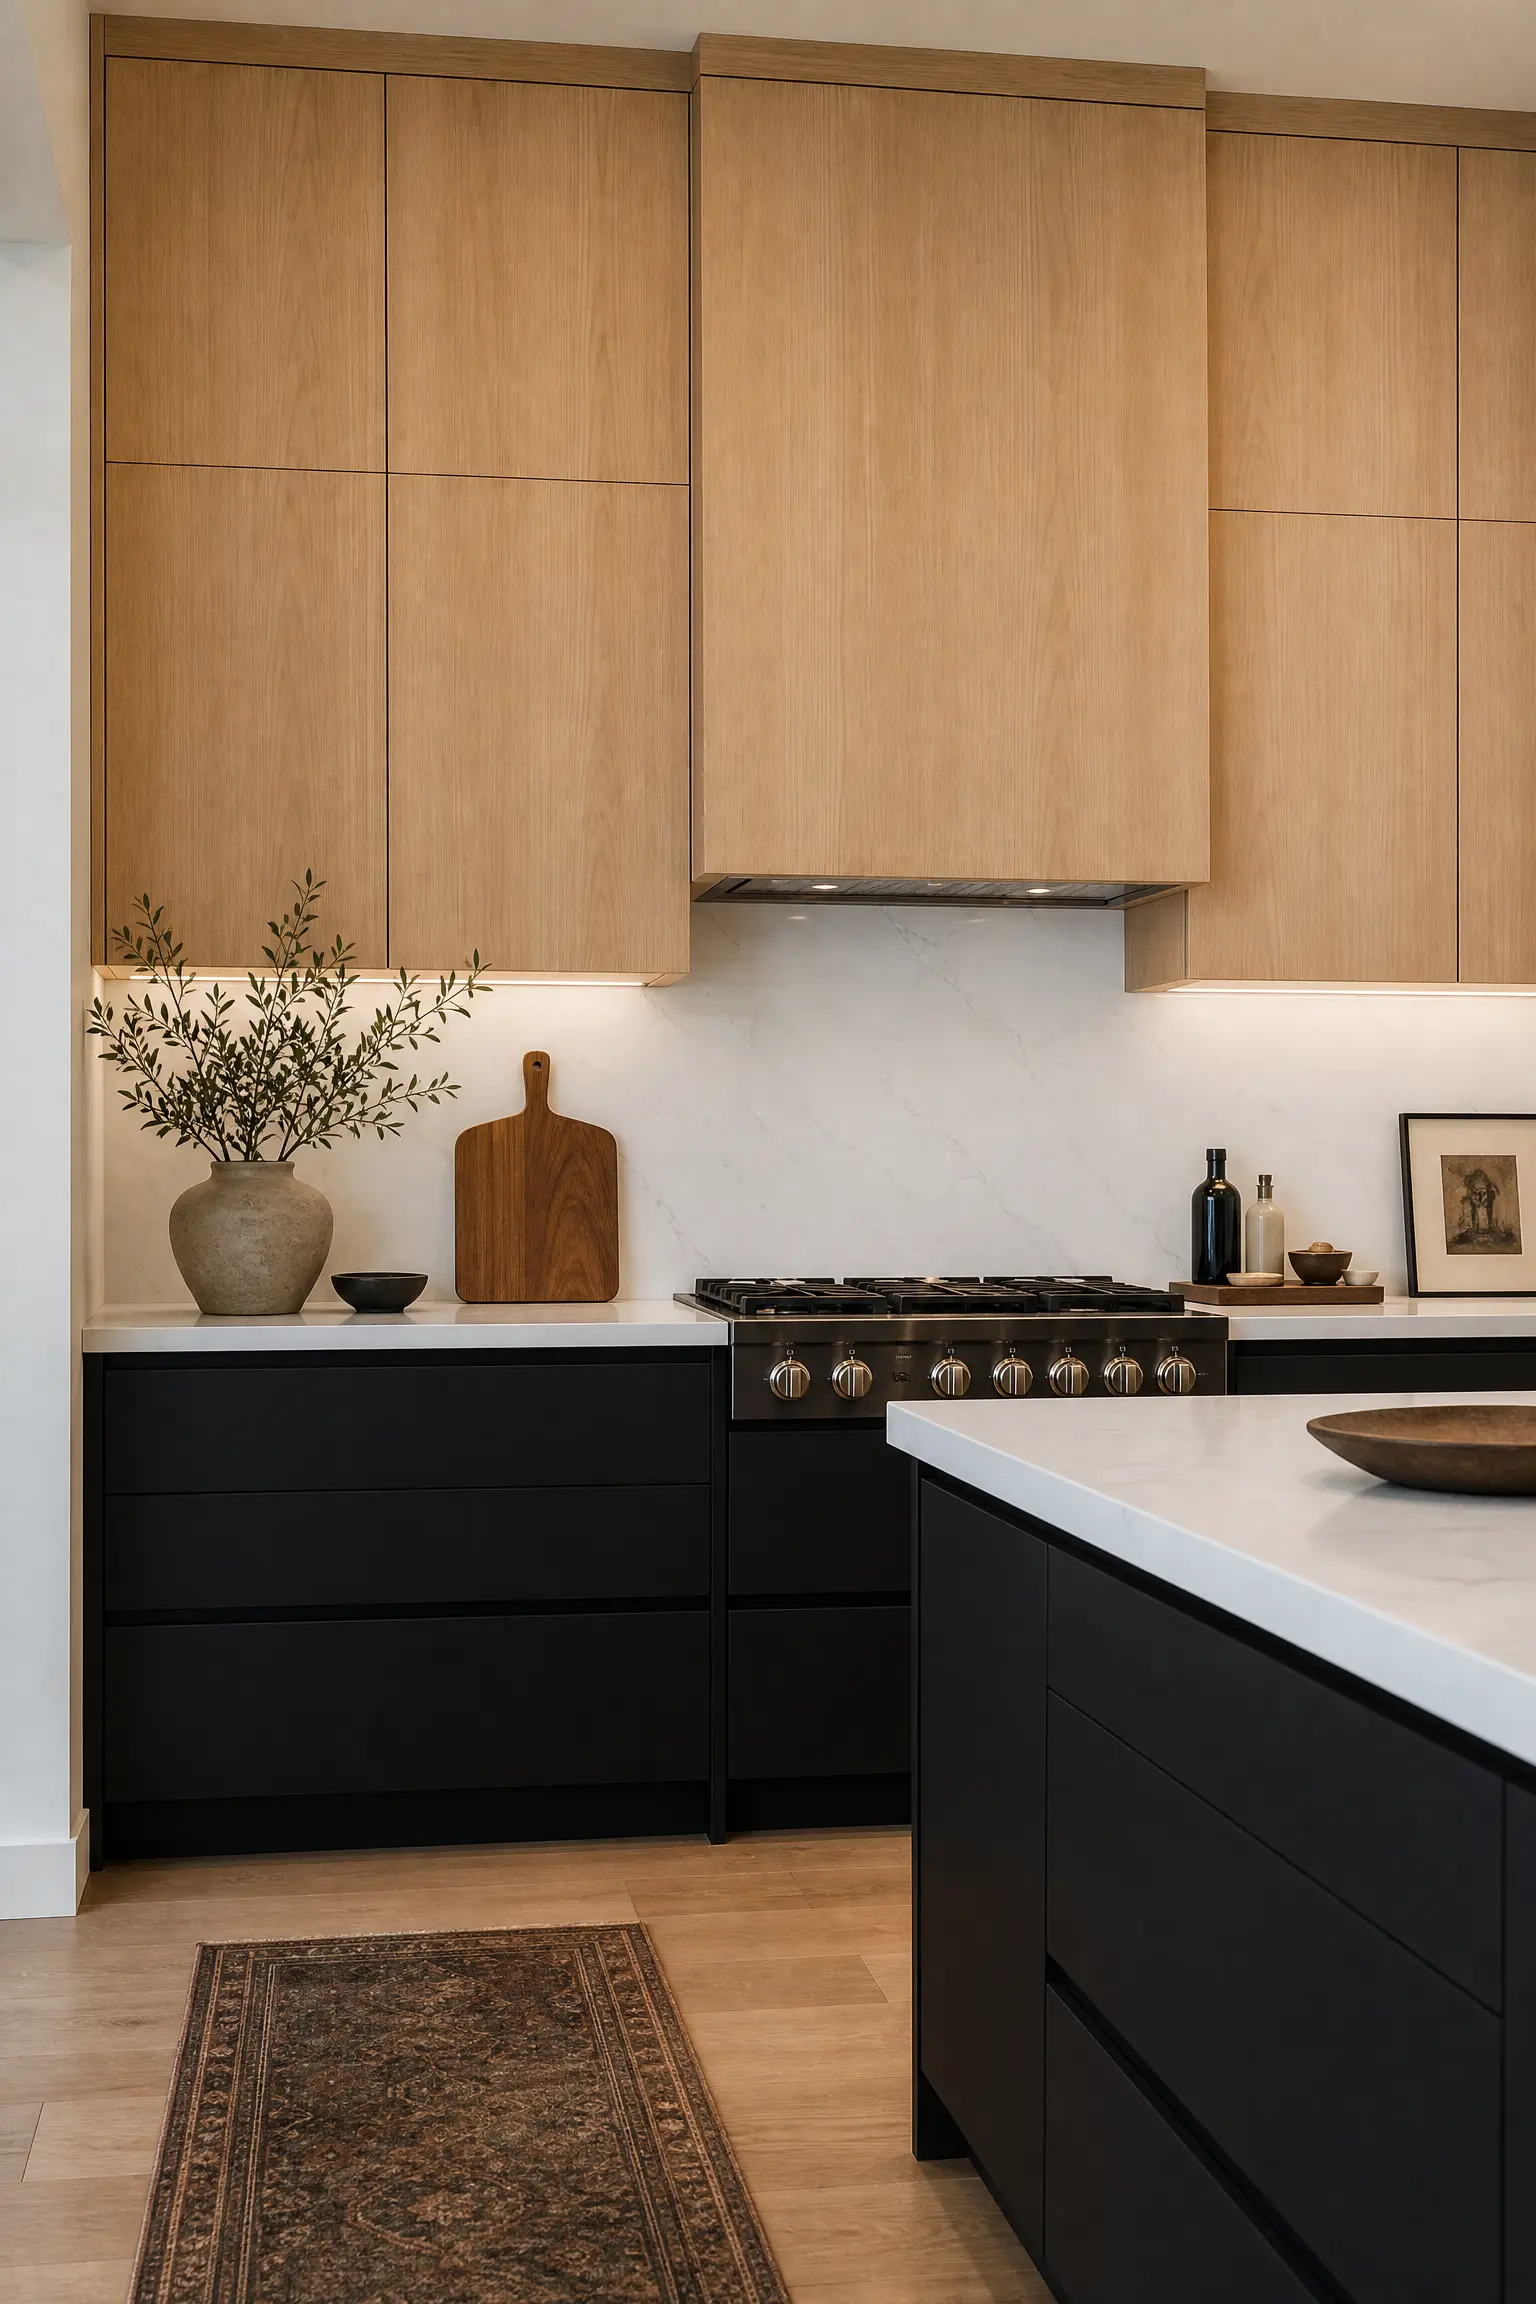
Matte Black Bases with White Oak Uppers
The absolute golden standard of the grounding effect is pairing flat-panel, heavily matte black base cabinets with wide-grain white oak upper cabinets. The stark, light-absorbing black physically grounds the footprint of the kitchen, heavily anchoring the heavy appliances and deep drawers. Above the countertop, the highly desaturated, pale blonde white oak violently lifts the eye upward. The warm, airy wood grain completely breaks the oppressive darkness of the black, making the ceiling feel massive and the kitchen feel incredibly breathable.
Designer Insight: You must explicitly use ‘Matte’ black, never glossy. High-gloss black base cabinets will violently reflect the kitchen floor tiles like a cheap funhouse mirror, completely destroying the heavy, grounded illusion.
Floating Wood Shelves over Black Substructure
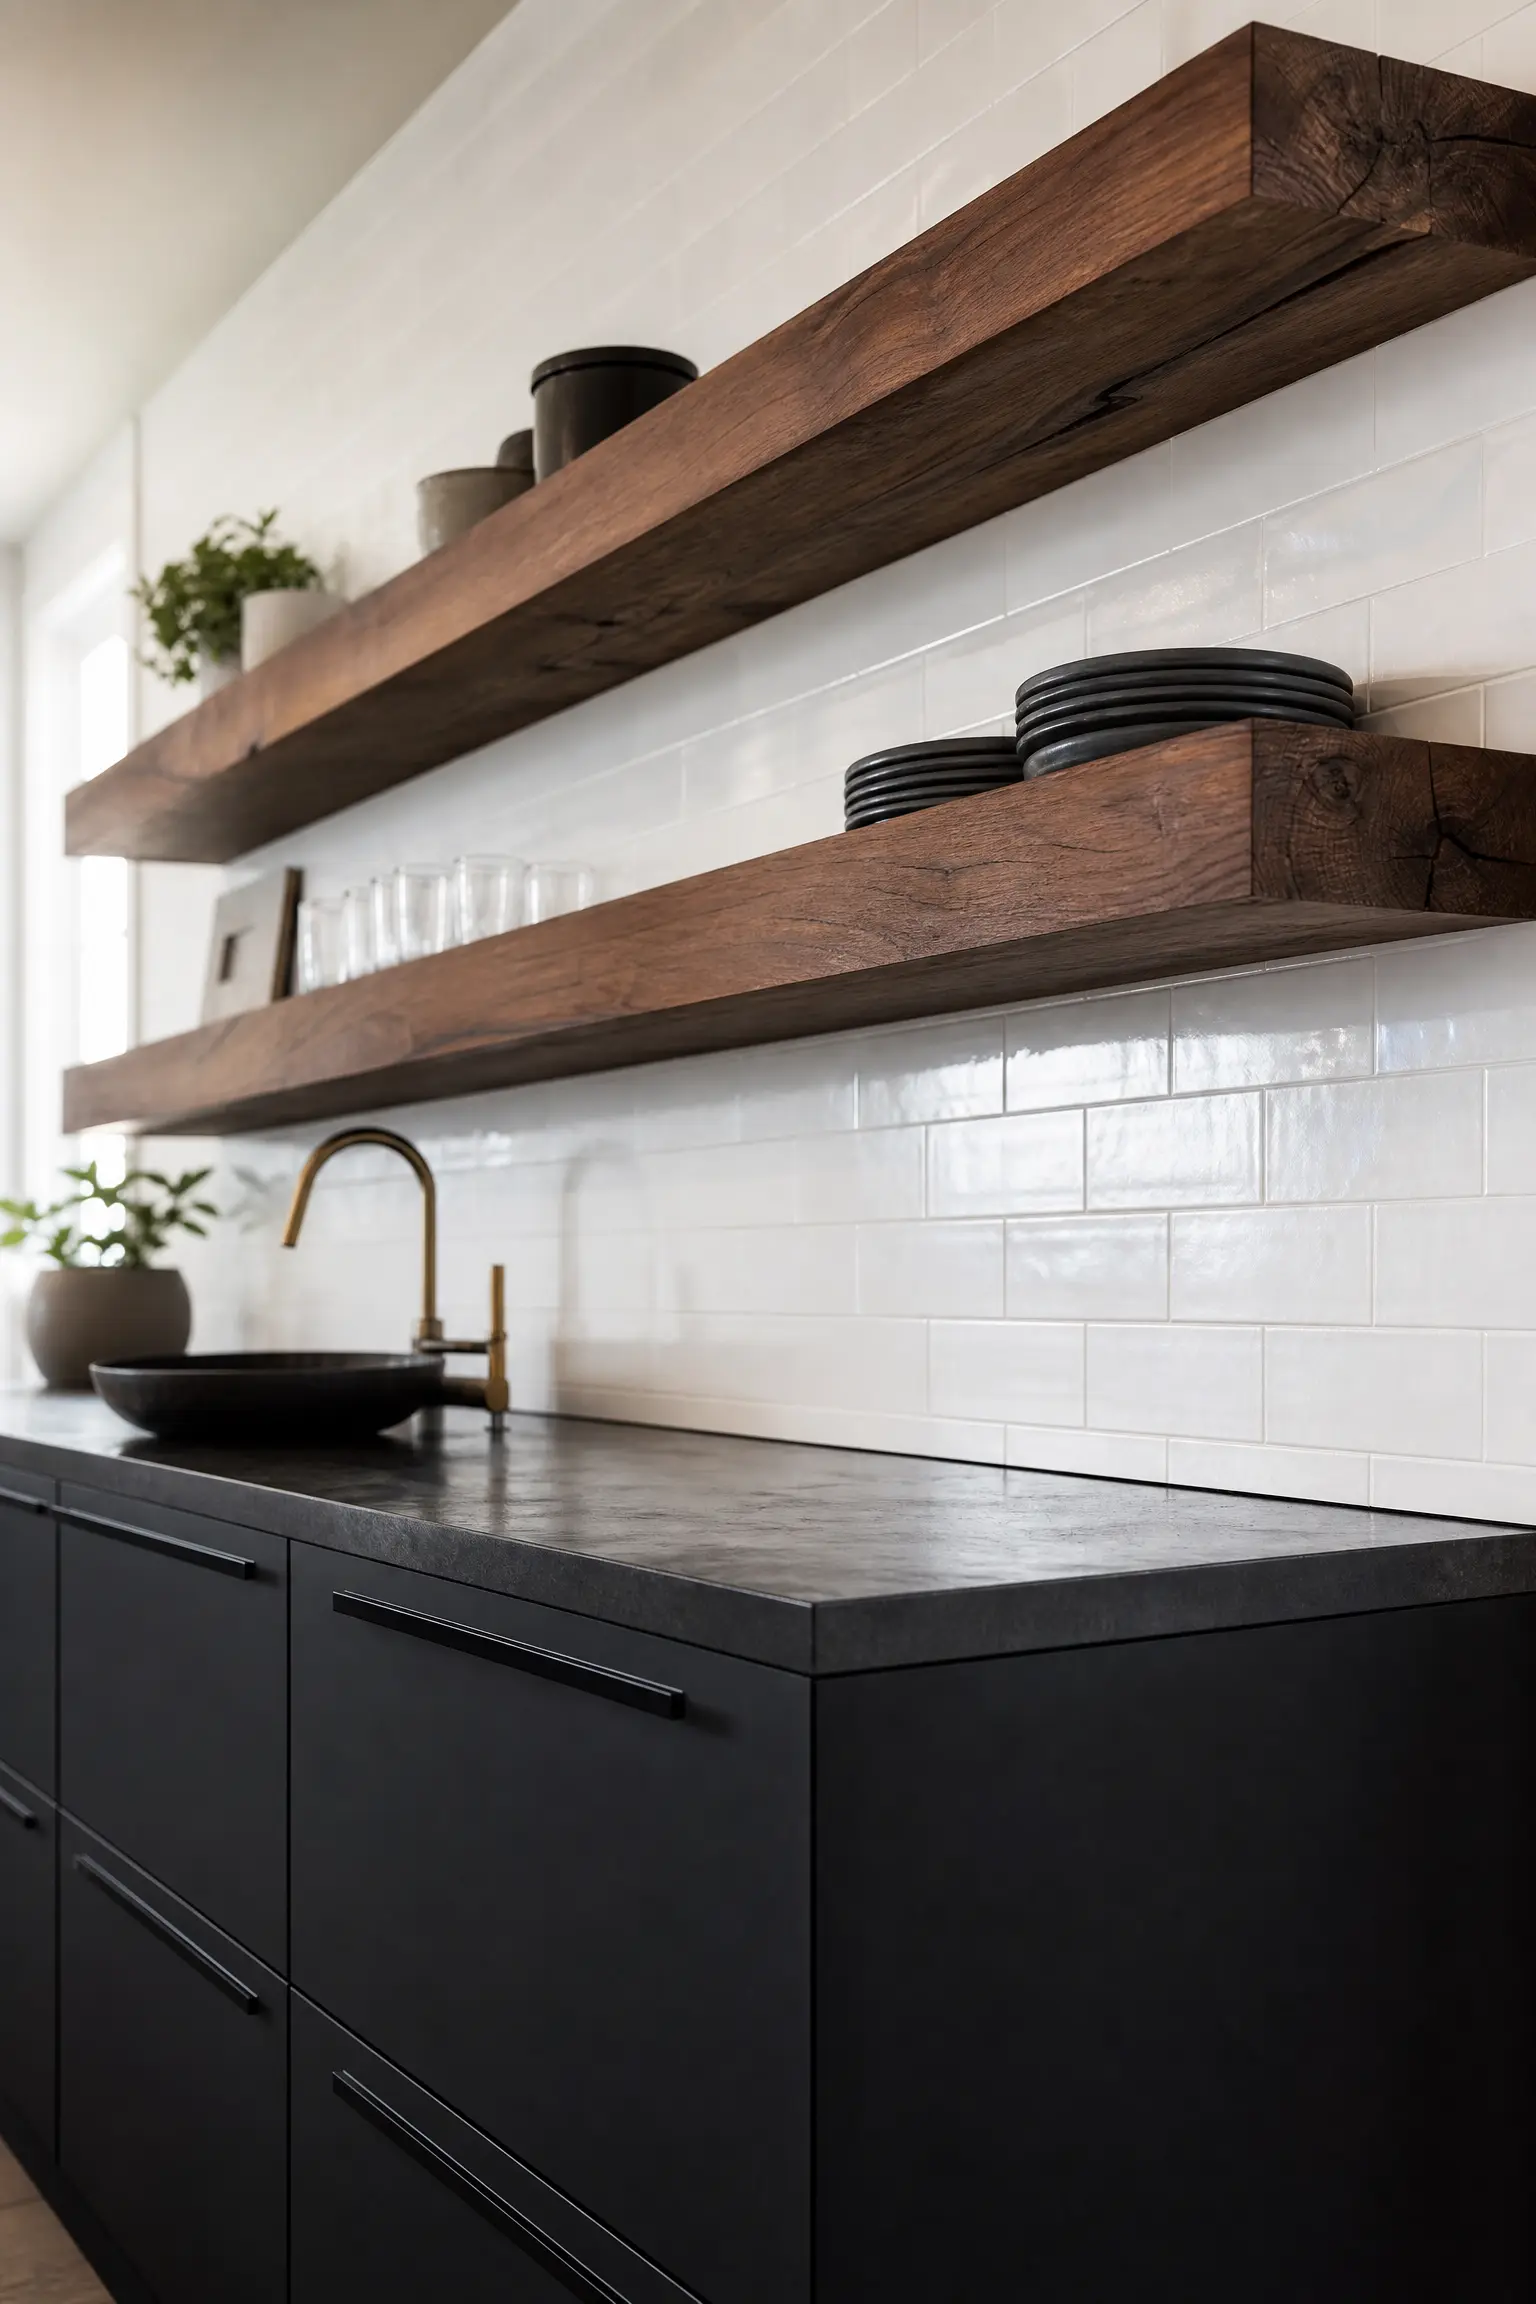
If you want to push the grounding effect to the extreme, completely completely abandon upper cabinets entirely. Install heavy black base cabinets, run a stark white quartz backsplash completely up to the ceiling, and mount thick, floating walnut shelves directly into the tile. The massive contrast between the heavy black lower blocks and the weightless, floating wooden planks creates incredible architectural tension. It forces you to highly curate your dishes, proving a fiercely confident, minimalist aesthetic.
Floating Shelf Execution:
- You absolutely must bolt the heavy steel floating shelf brackets directly into the wooden wall studs before the tile is installed.
- If you attempt to mount floating shelves into drywall using cheap anchors, the massive weight of ceramic plates will violently rip the shelves off the wall.
- Ensure the wood tone of the shelves perfectly matches the wood tone of your kitchen flooring to maintain strict visual continuity.
The Transition Countertop
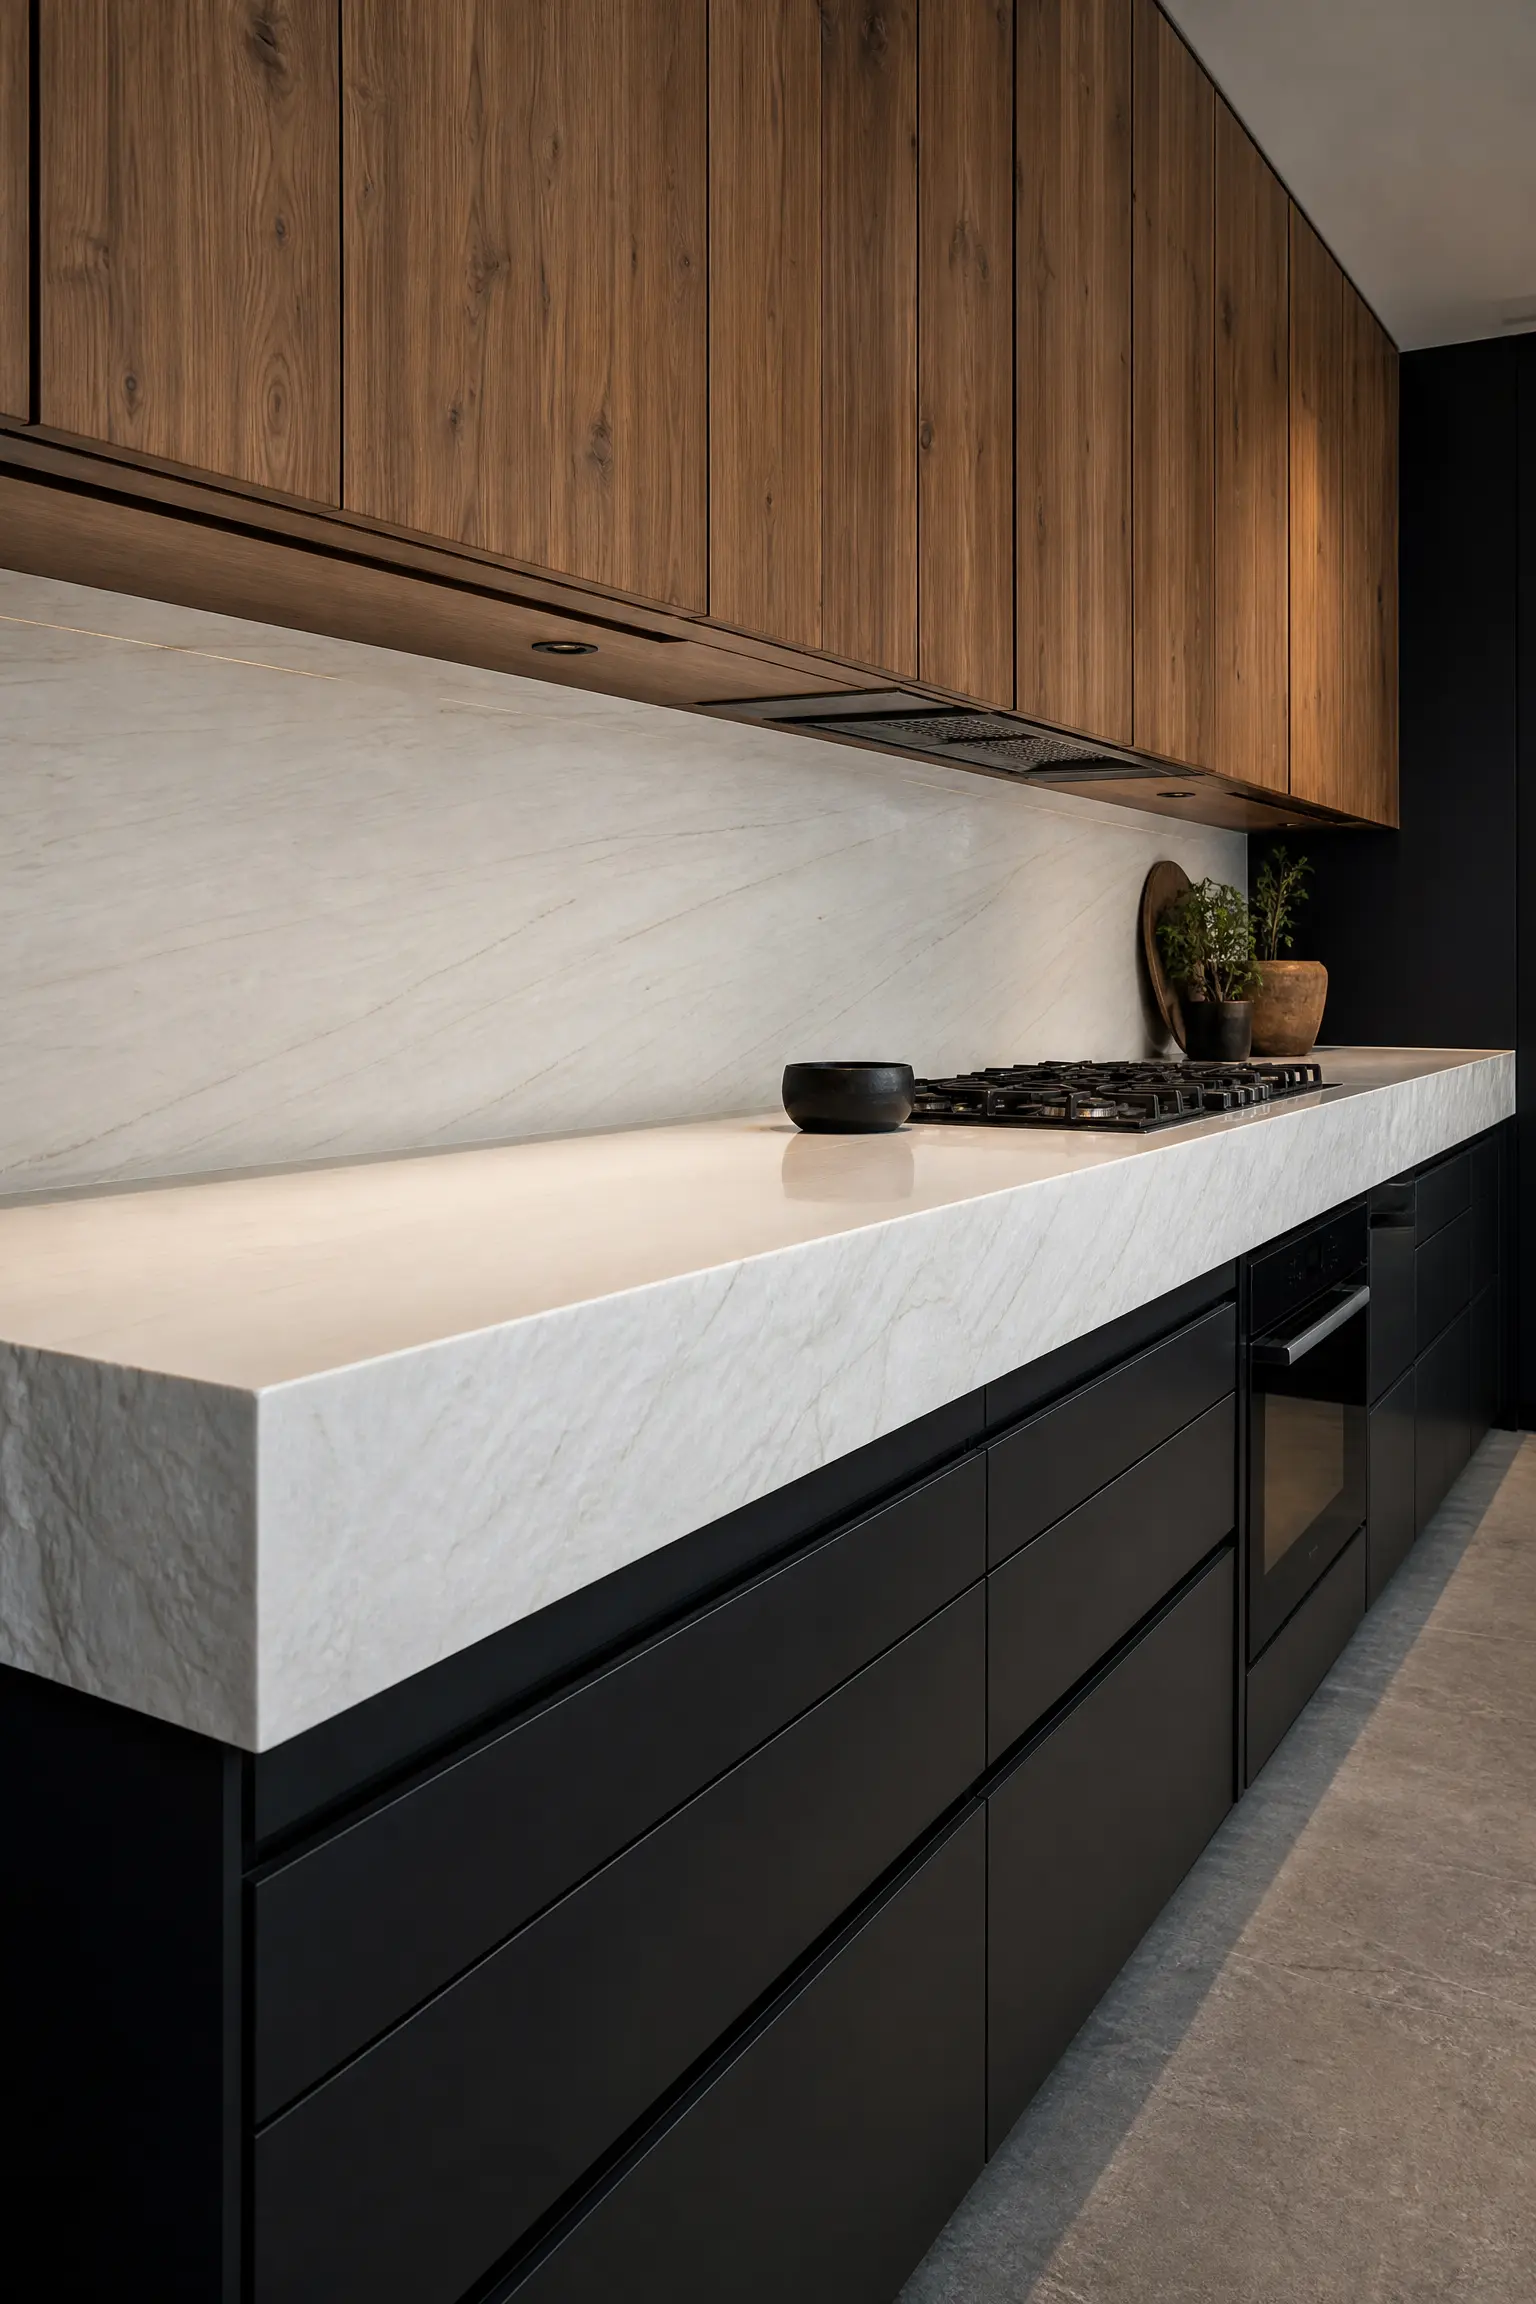
When separating heavy black base cabinets from warm wood uppers, the countertop serves as the absolute critical boundary line. You must use the countertop to violently separate the two materials. Install an incredibly thick, two-inch slab of pure white Macaubas quartzite or bright white marble. The massive, stark white horizontal plane physically cuts the kitchen in half, providing an aggressive visual palate cleanser that prevents the dark black from muddying the beautiful grain of the upper wood cabinets.
Material Warning: Never use a black countertop on top of black base cabinets when pairing with wood uppers; the black mass will violently rise too high and visually swallow the beautiful wooden doors.
Integrated Wooden Appliance Garages
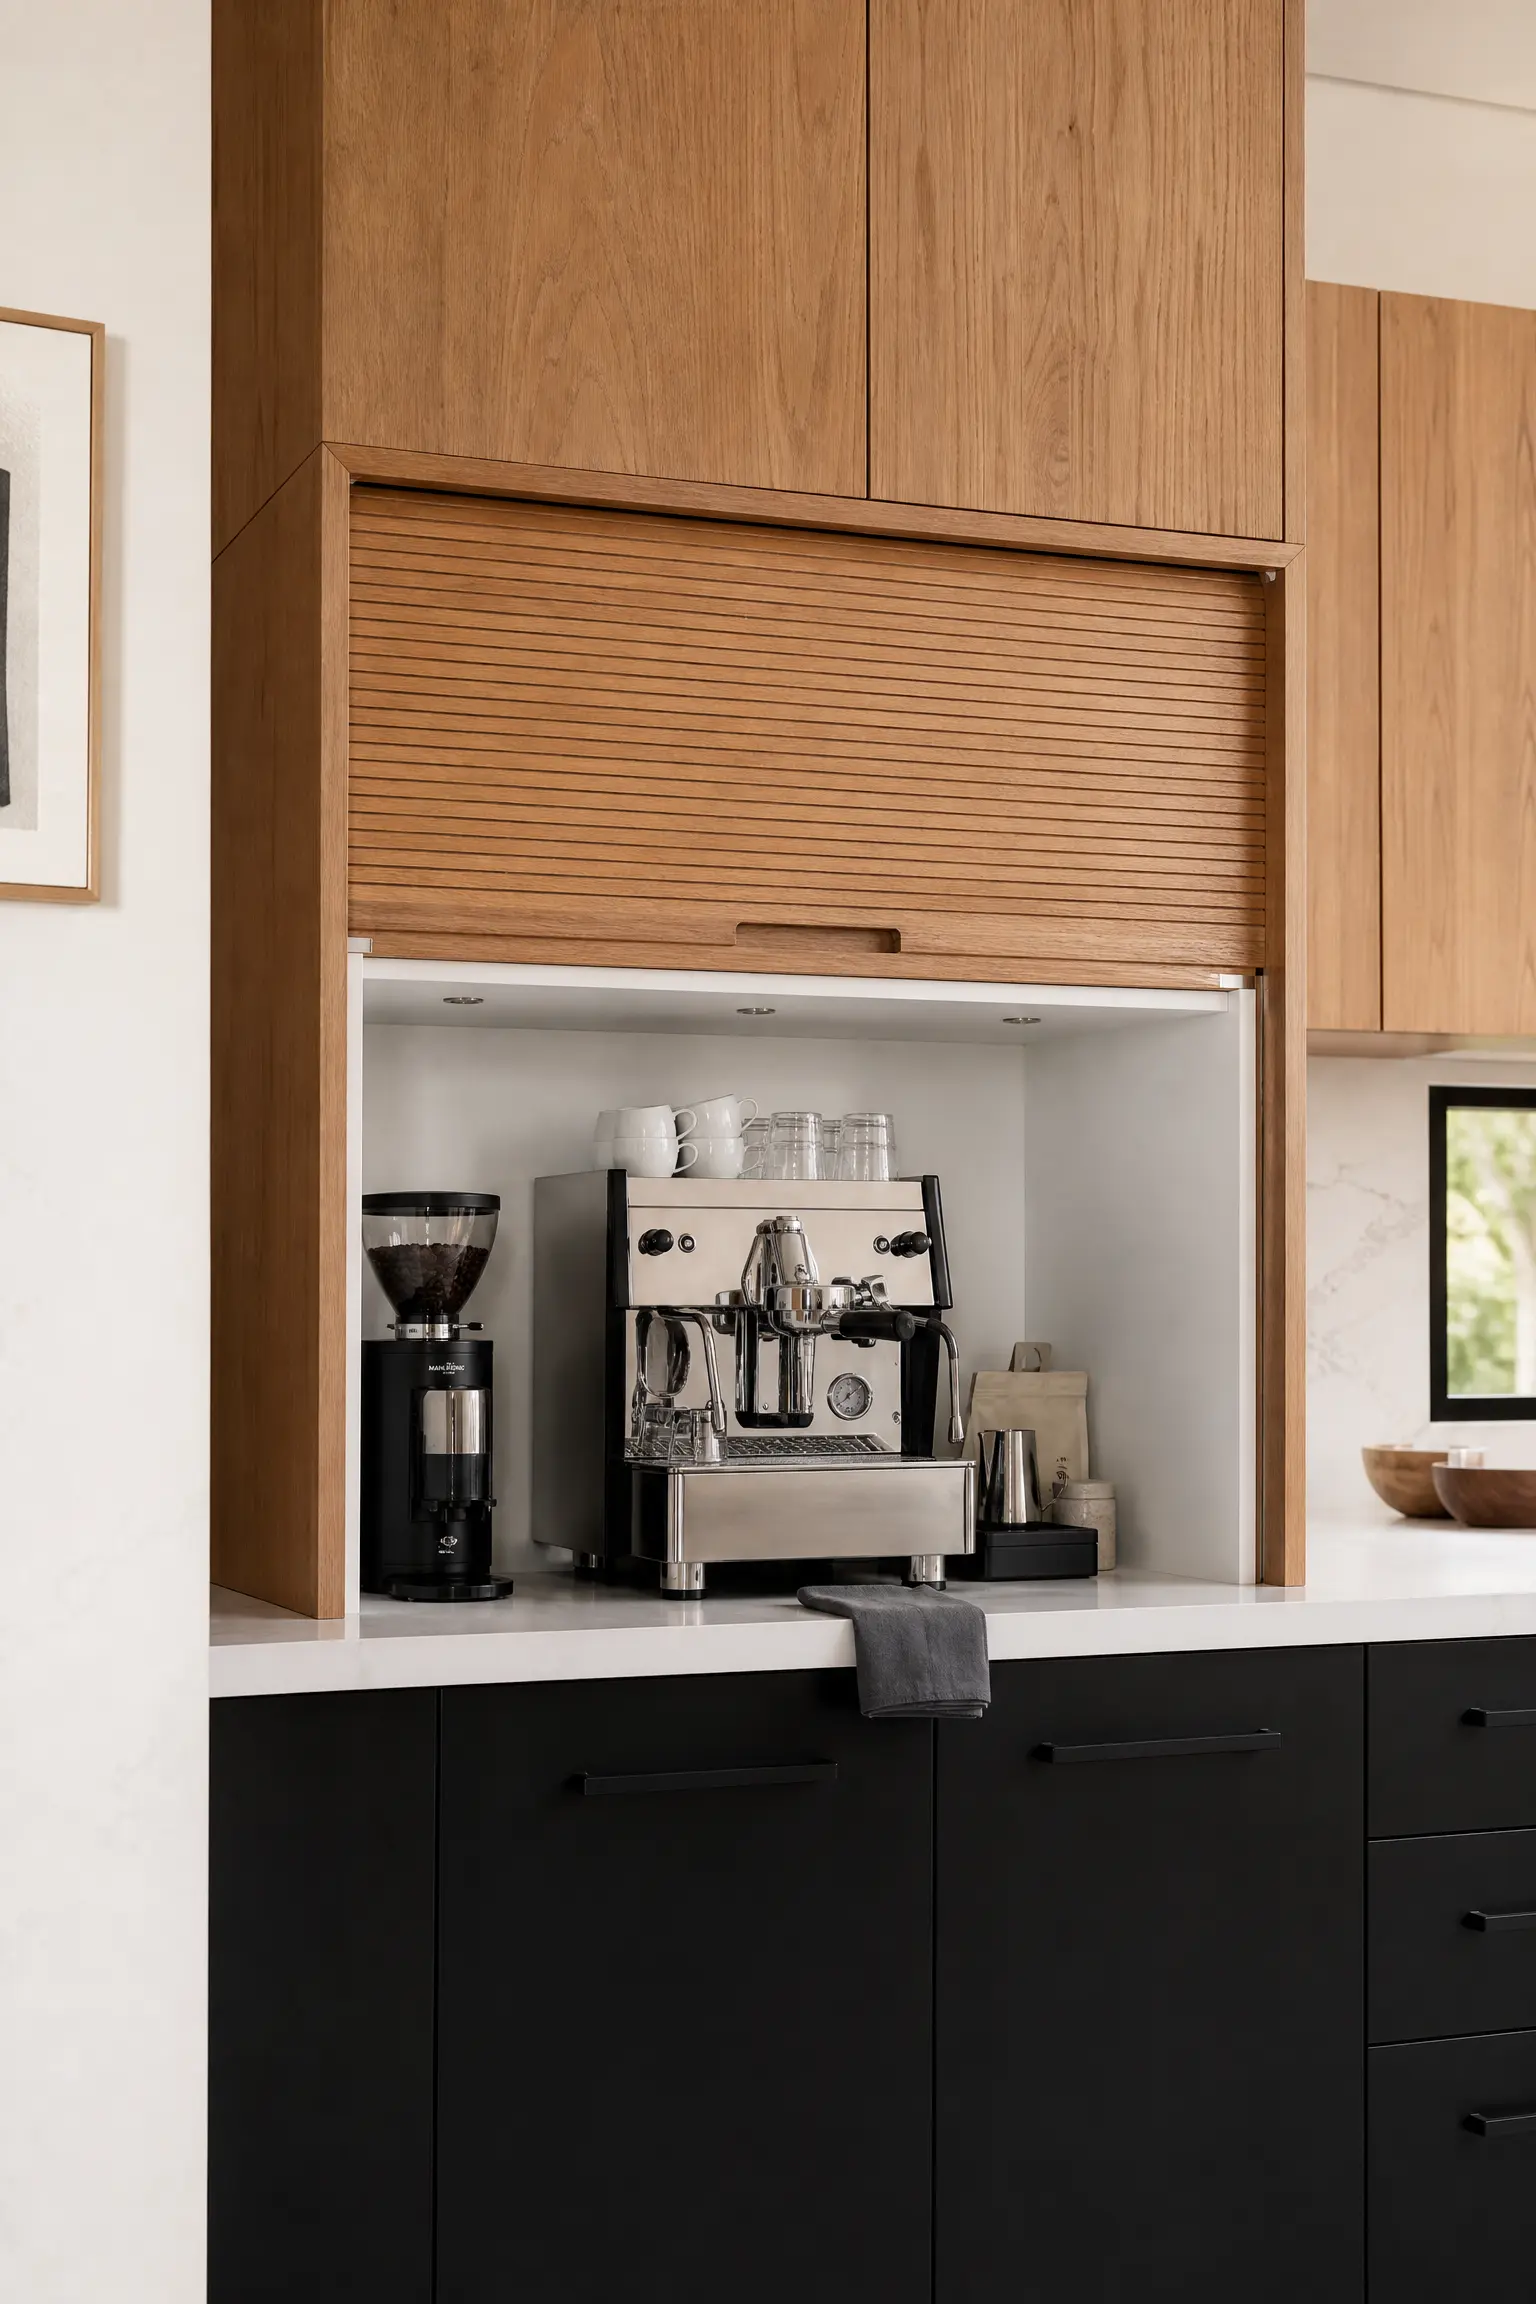
To maintain the pristine, high-end look of your black base cabinets, you must aggressively hide chaotic countertop clutter. Build a massive appliance garage that physically rests on the countertop, constructed entirely out of the exact same wood as your upper cabinets. When the wooden tambour door rolls down, it completely hides ugly toasters and blenders. Because the garage is wood, it visually belongs to the ‘upper’ airy half of the kitchen, maintaining the strict horizontal boundary established by the grounding effect.
Cabinetry Q&A: Appliance Garages
Question: Should the inside of the appliance garage be black or wood? Answer: You must explicitly line the inside of the garage with a bright, durable white melamine. If the inside is dark wood or black, it will feel like a terrifying cave when you try to operate your coffee maker at five in the morning.
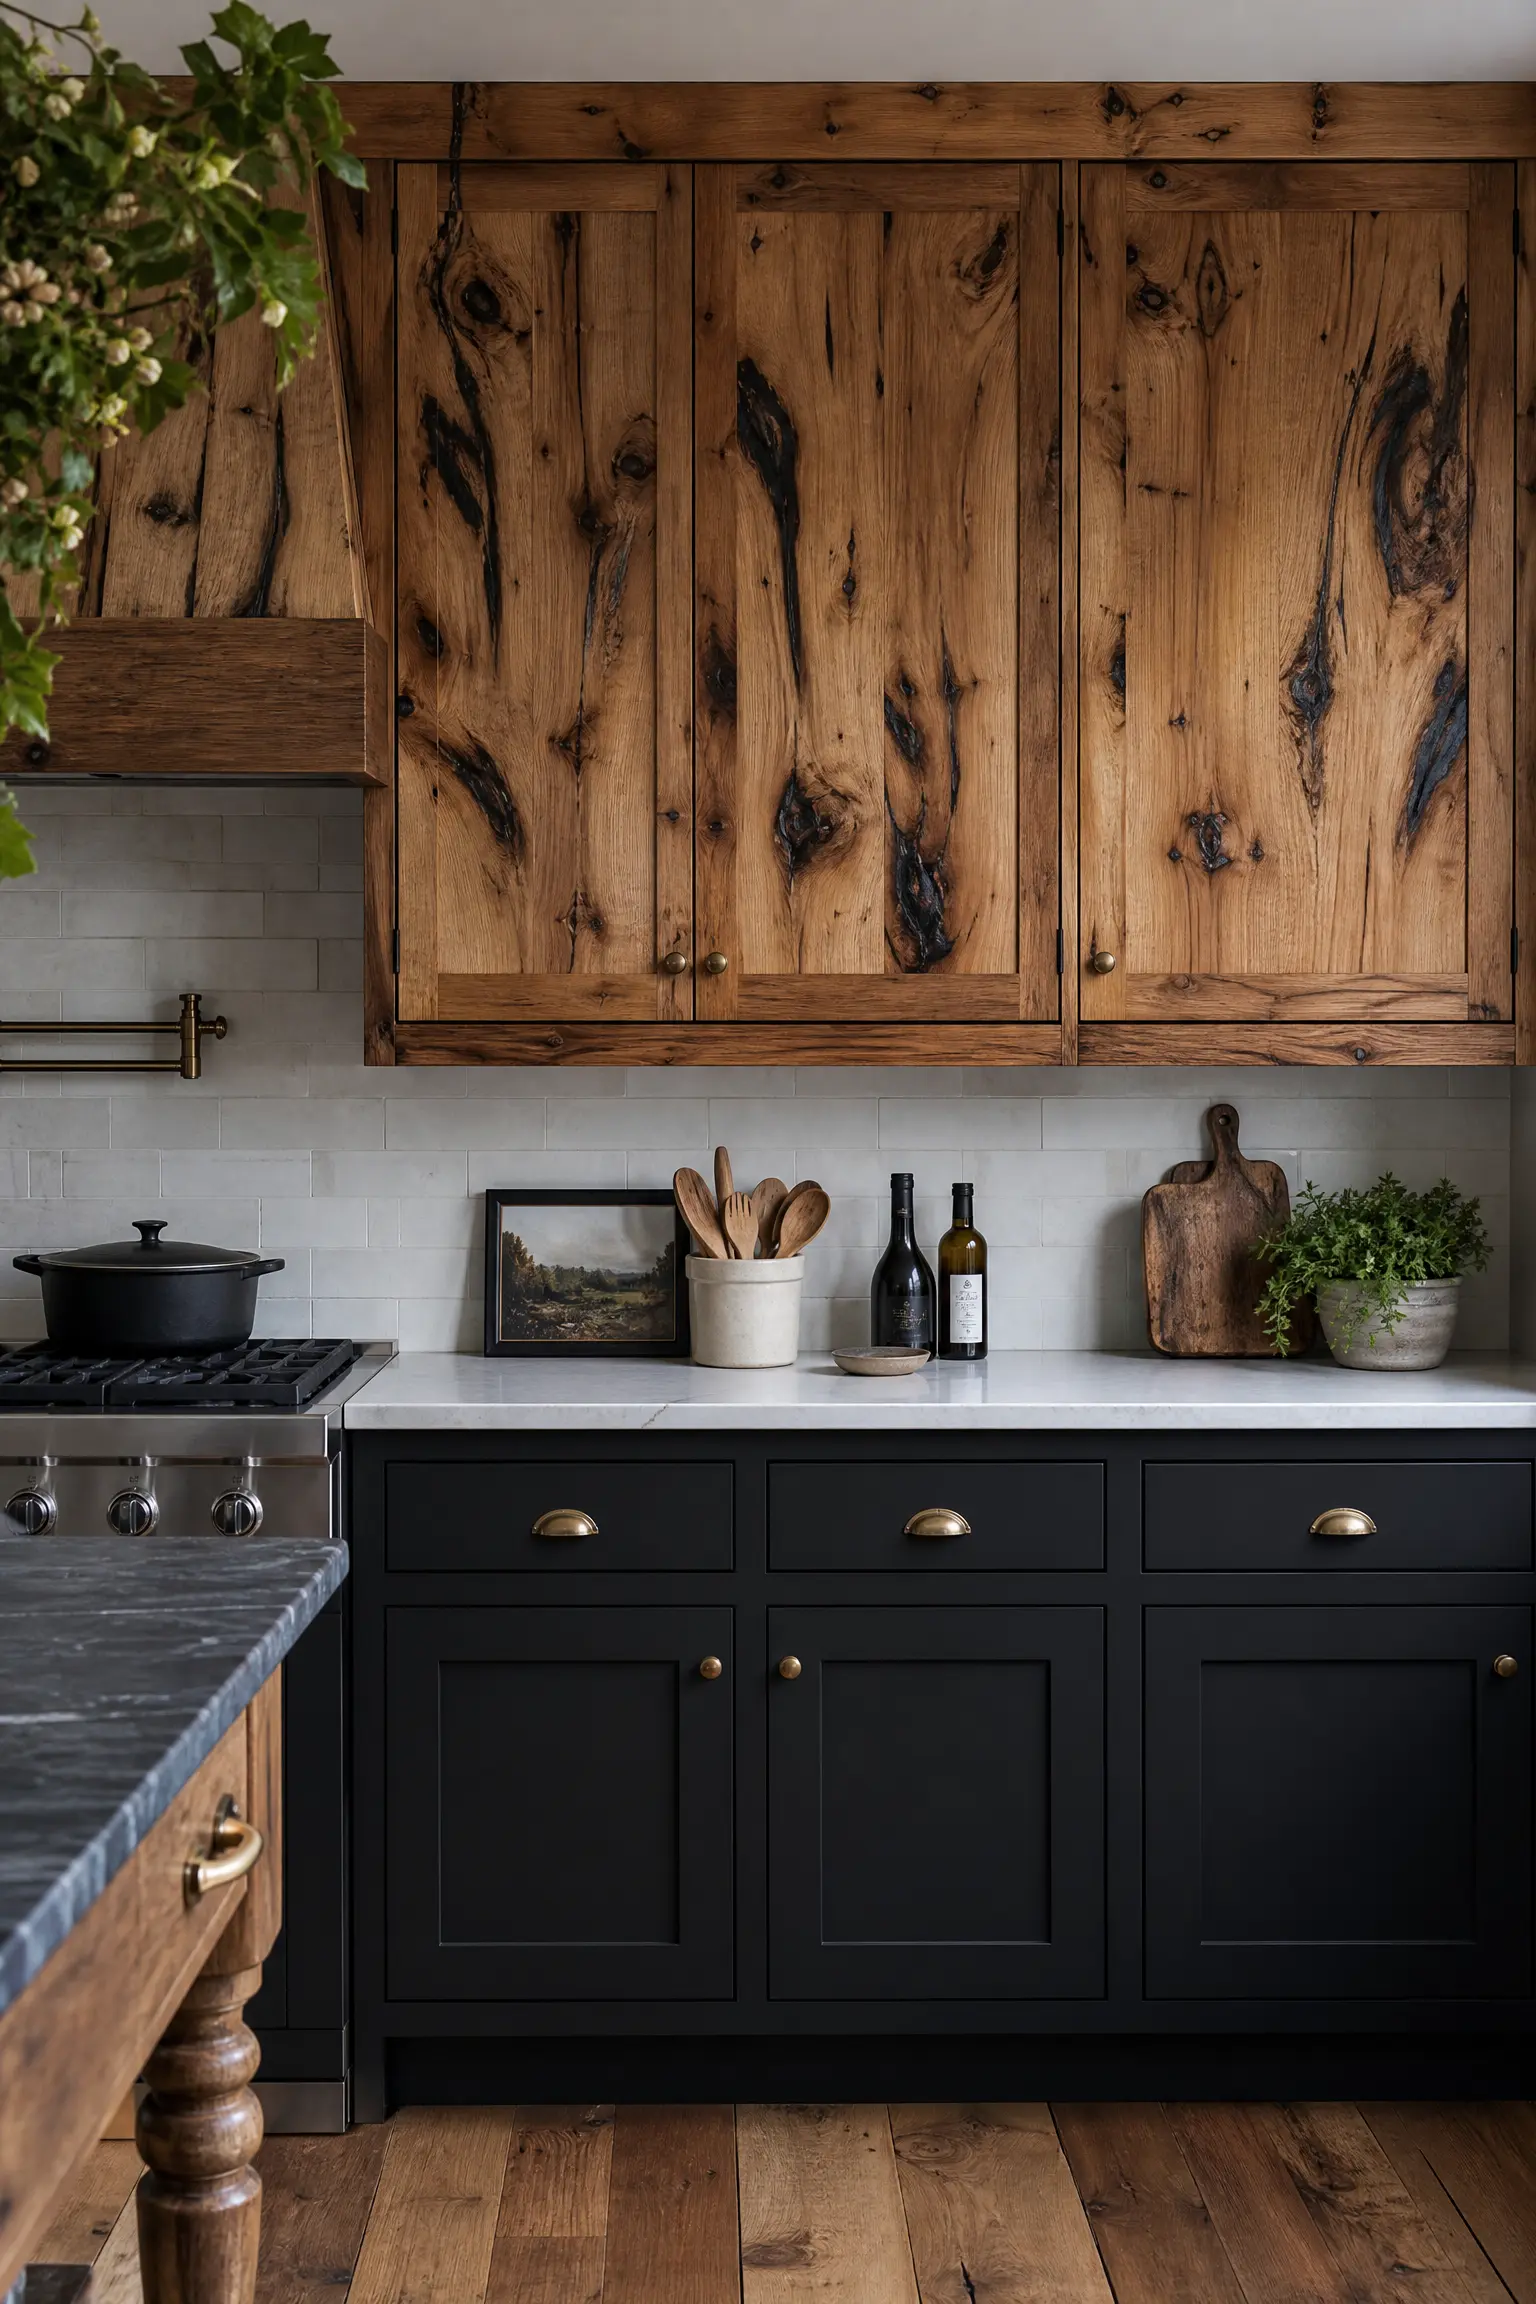
Black Shaker with Rustic Hickory
For a highly sophisticated modern farmhouse aesthetic, pair deeply traditional black Shaker-style base cabinets with upper cabinets built from heavily knotted, rustic hickory wood. The crisp, clean geometric lines of the black Shaker doors provide rigorous architectural discipline, which violently tames the chaotic, wild grain of the hickory wood above. This specific pairing proves you can use highly rustic, heavily textured wood without the kitchen looking like a cheap, dated cabin.
Balancing Rustic Wood:
- You must demand a ‘clear coat’ matte finish on the hickory wood; an amber or glossy polyurethane will violently date the kitchen back to the 1990s.
- Pair this combination exclusively with hyper-modern, stark matte black hardware to force the rustic wood into a contemporary context.
- Keep the kitchen walls brilliant, stark white to provide necessary negative space around the heavy wood grain.
Phase 2: The Anchor Island
If you fear a dark perimeter will shrink your kitchen, you must utilize The Anchor Island. You keep all the perimeter cabinets in a beautiful, natural wood tone, and paint only the massive central island in heavy black.
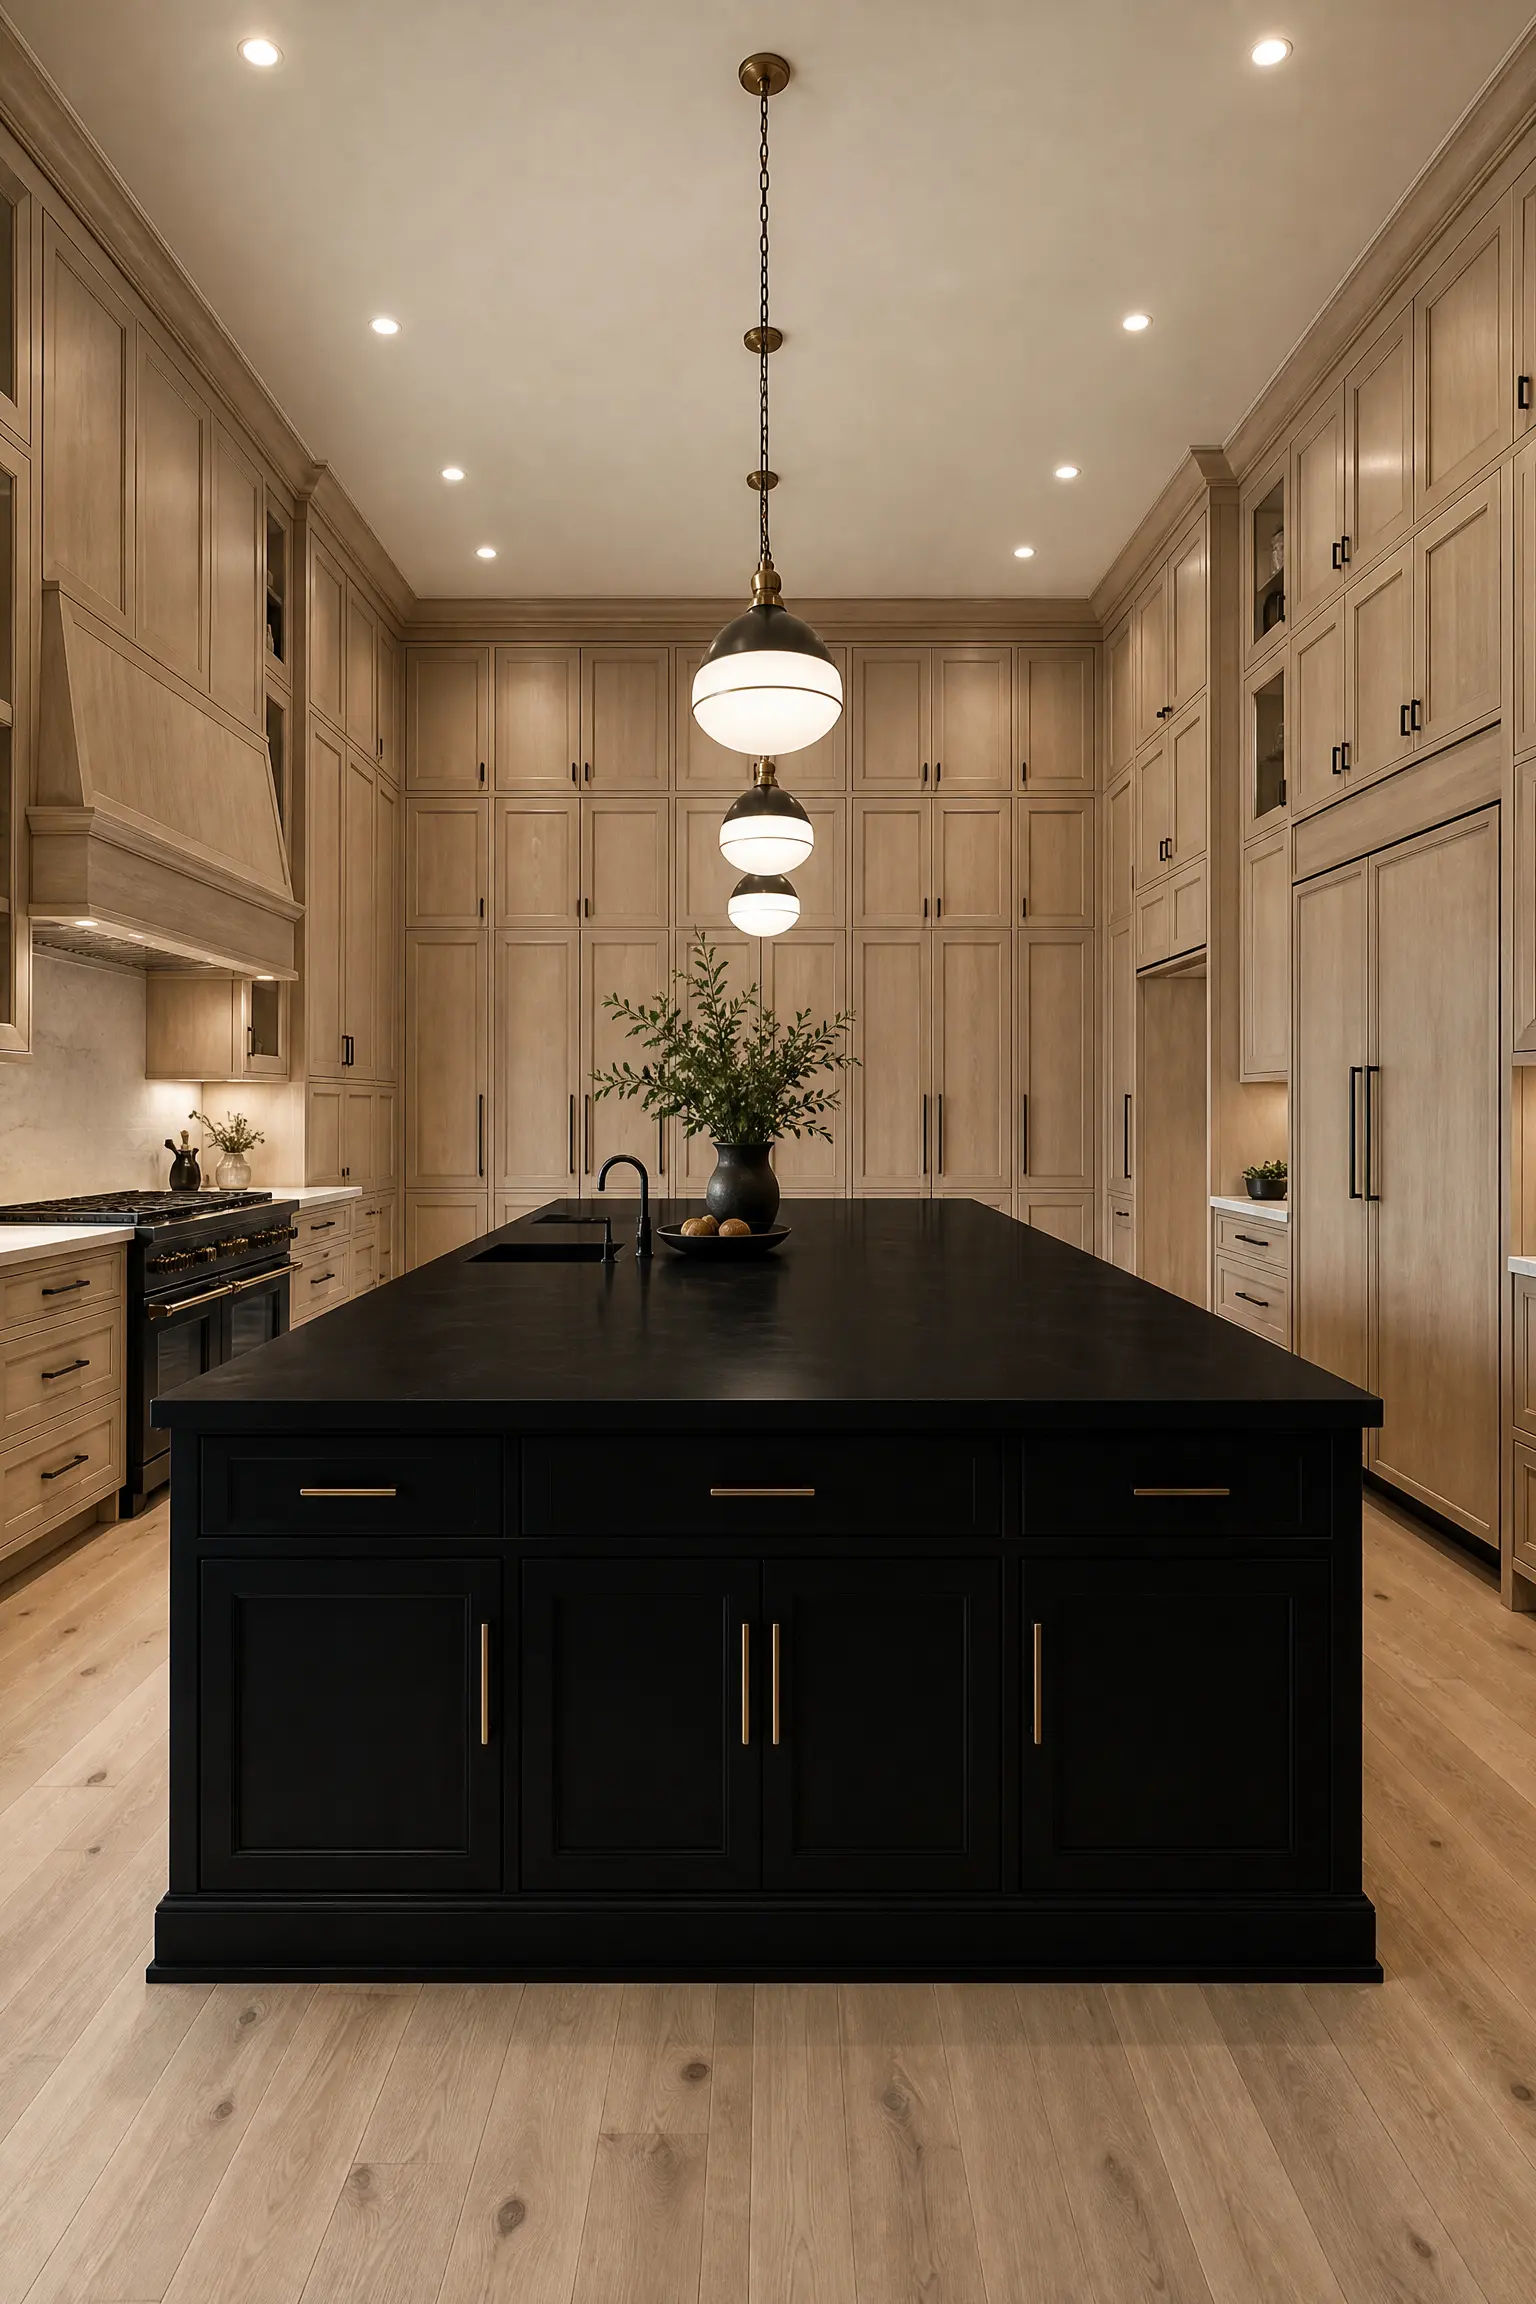
The Monolithic Black Island Block
In a massive, echoing kitchen completely surrounded by pale white oak perimeter cabinets, the room can easily feel floaty and unanchored. You must violently inject gravity by installing a massive, oversized kitchen island painted entirely in deep, light-absorbing black. Because the island sits dead in the center of the room, the heavy black mass heavily grounds the entire floor plan. It acts exactly like a massive architectural black hole, drawing the eye directly to the center and making the surrounding wood cabinets feel incredibly light and expansive.
Lighting Mandate: A massive black island will aggressively absorb all the light in the center of the room. You absolutely must drop three massive, brilliantly bright pendant lights directly over the black wood to violently illuminate the dark work surface.
Wood Perimeter with a Black Waterfall Edge
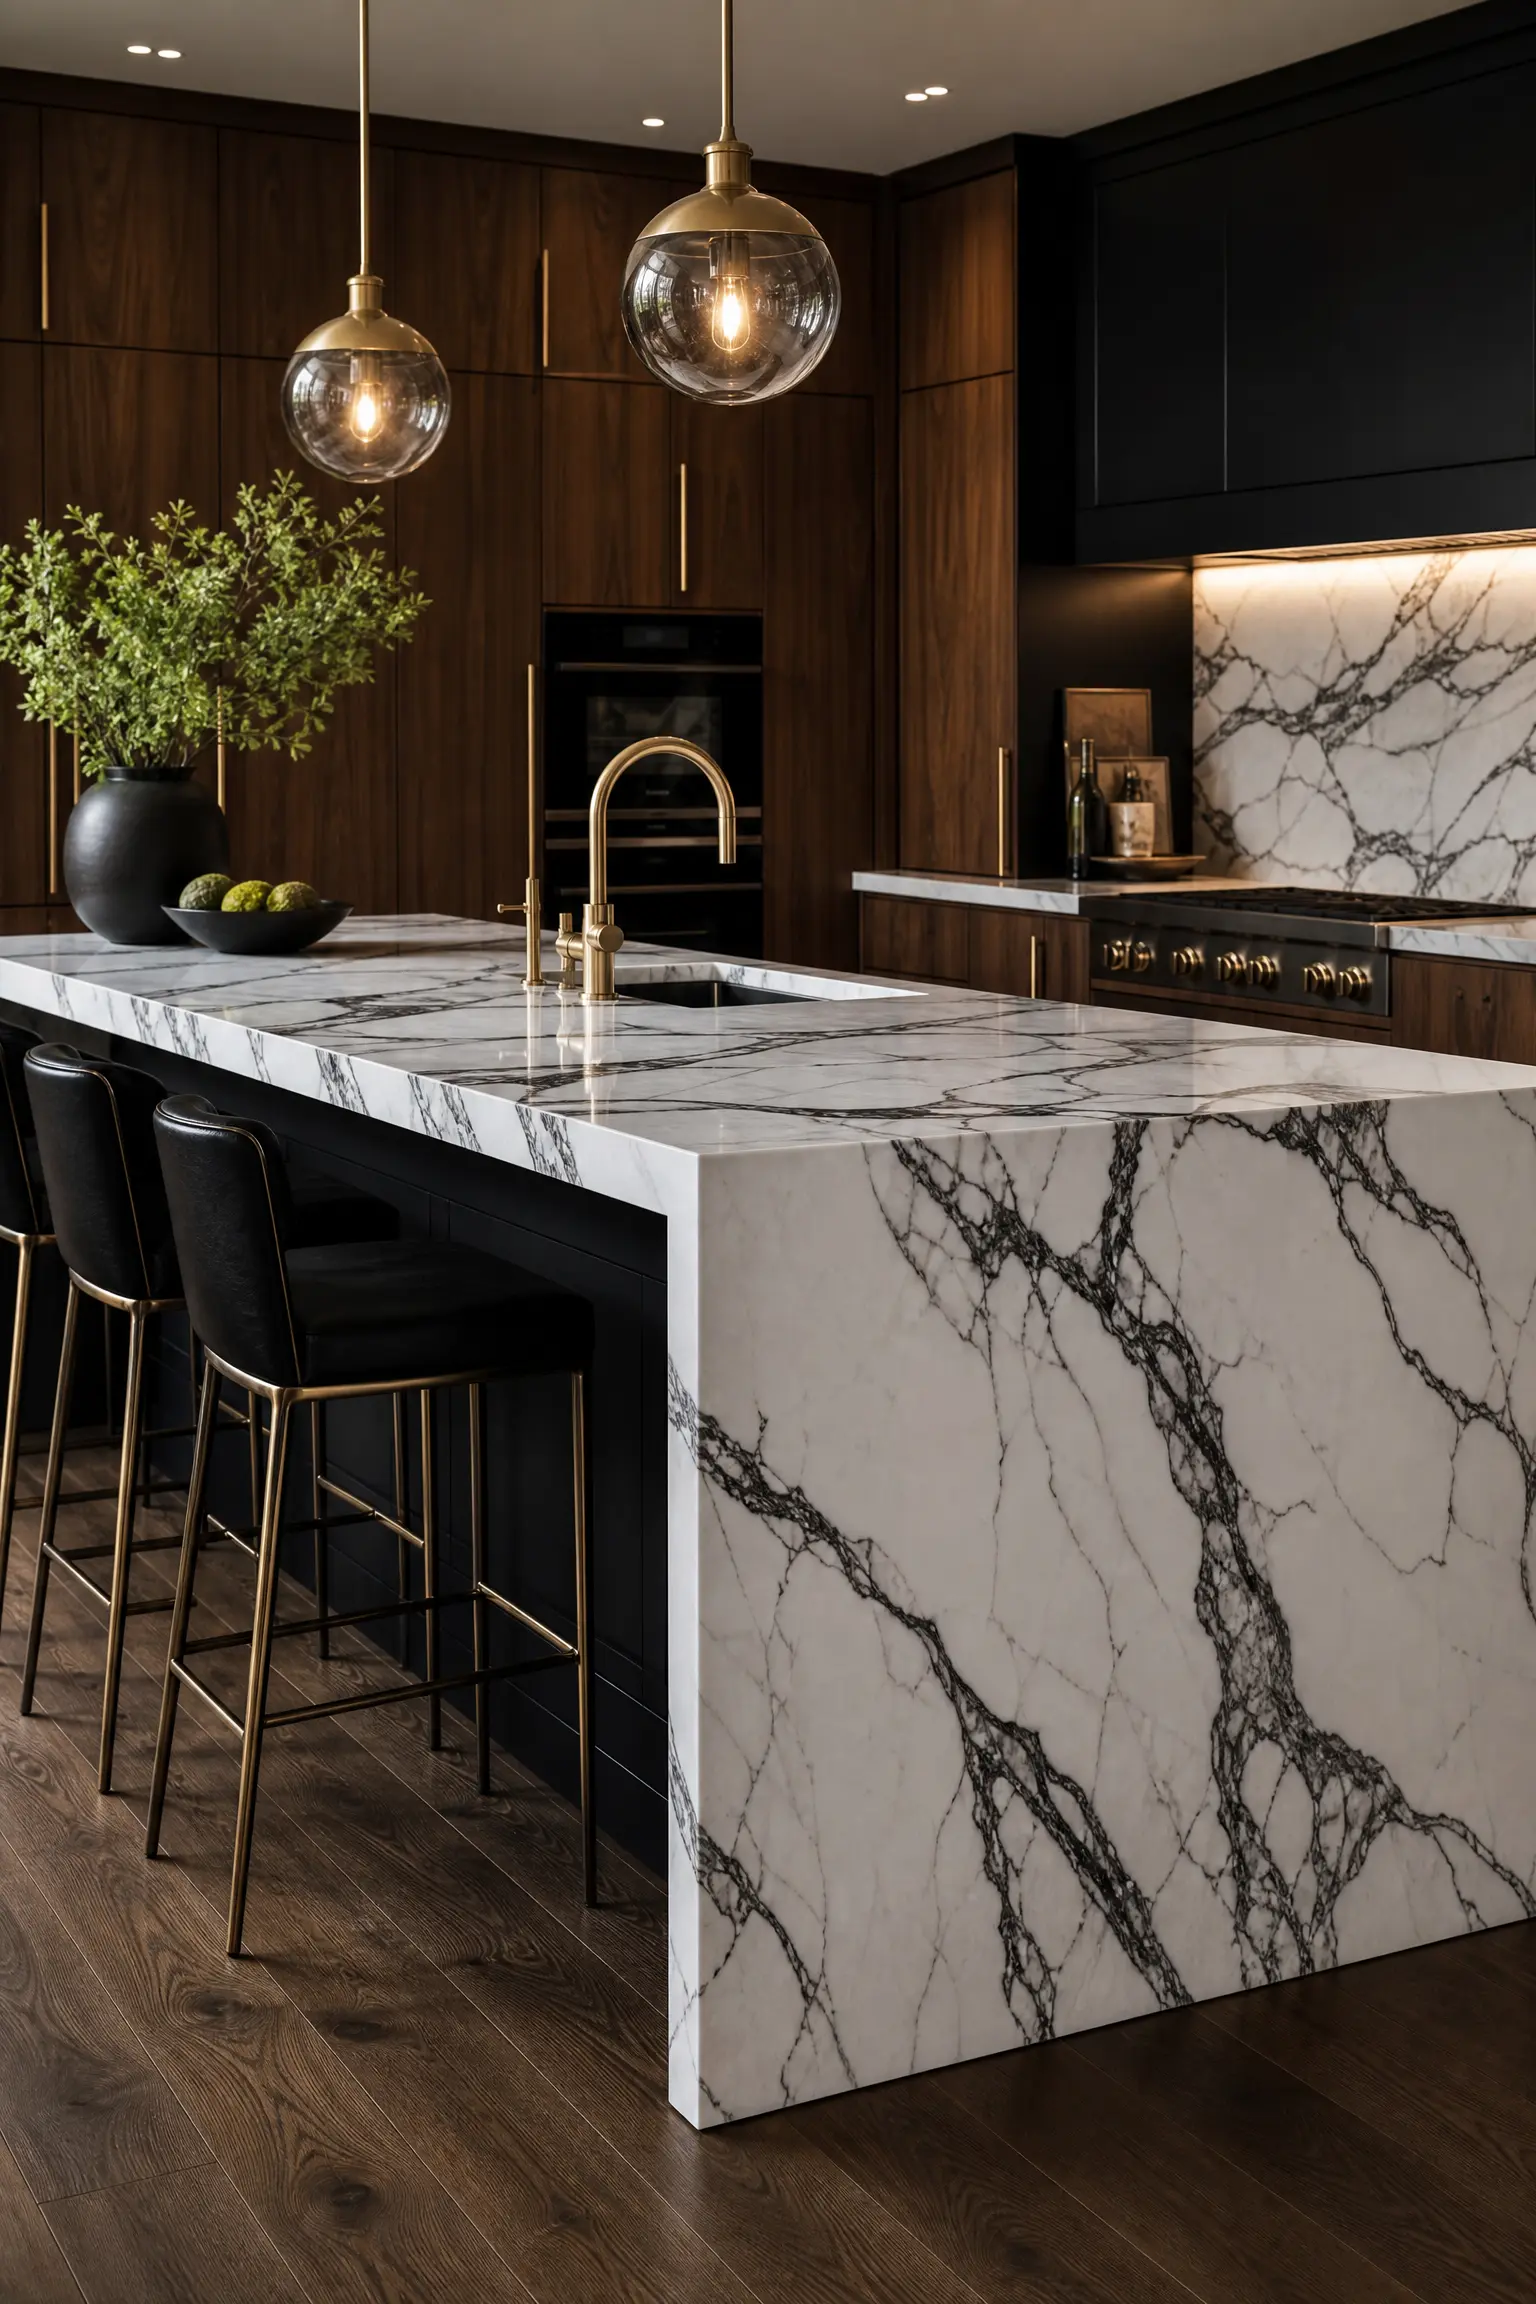
To heavily elevate the luxury of the black island anchor, you must wrap it in stone. Keep the perimeter cabinets in a warm walnut, paint the island black, and then install a massive, heavily veined white marble countertop that physically drops down both sides of the island all the way to the floor. This ‘waterfall edge’ violently encases the black cabinetry in bright white stone. The stark white stone against the deep black island and warm wood perimeter creates the ultimate high-contrast, billionaire aesthetic.
Waterfall Edge Realities:
- The stone fabricator must perfectly ‘book-match’ the marble veins so they flawlessly continue from the top counter down the side.
- A waterfall edge requires buying an entire extra slab of expensive stone just to cover the sides of the cabinets.
- Ensure the floor is flawlessly level; a crooked floor will violently expose a massive, ugly gap under the expensive stone.
The Reeding Wood Detail
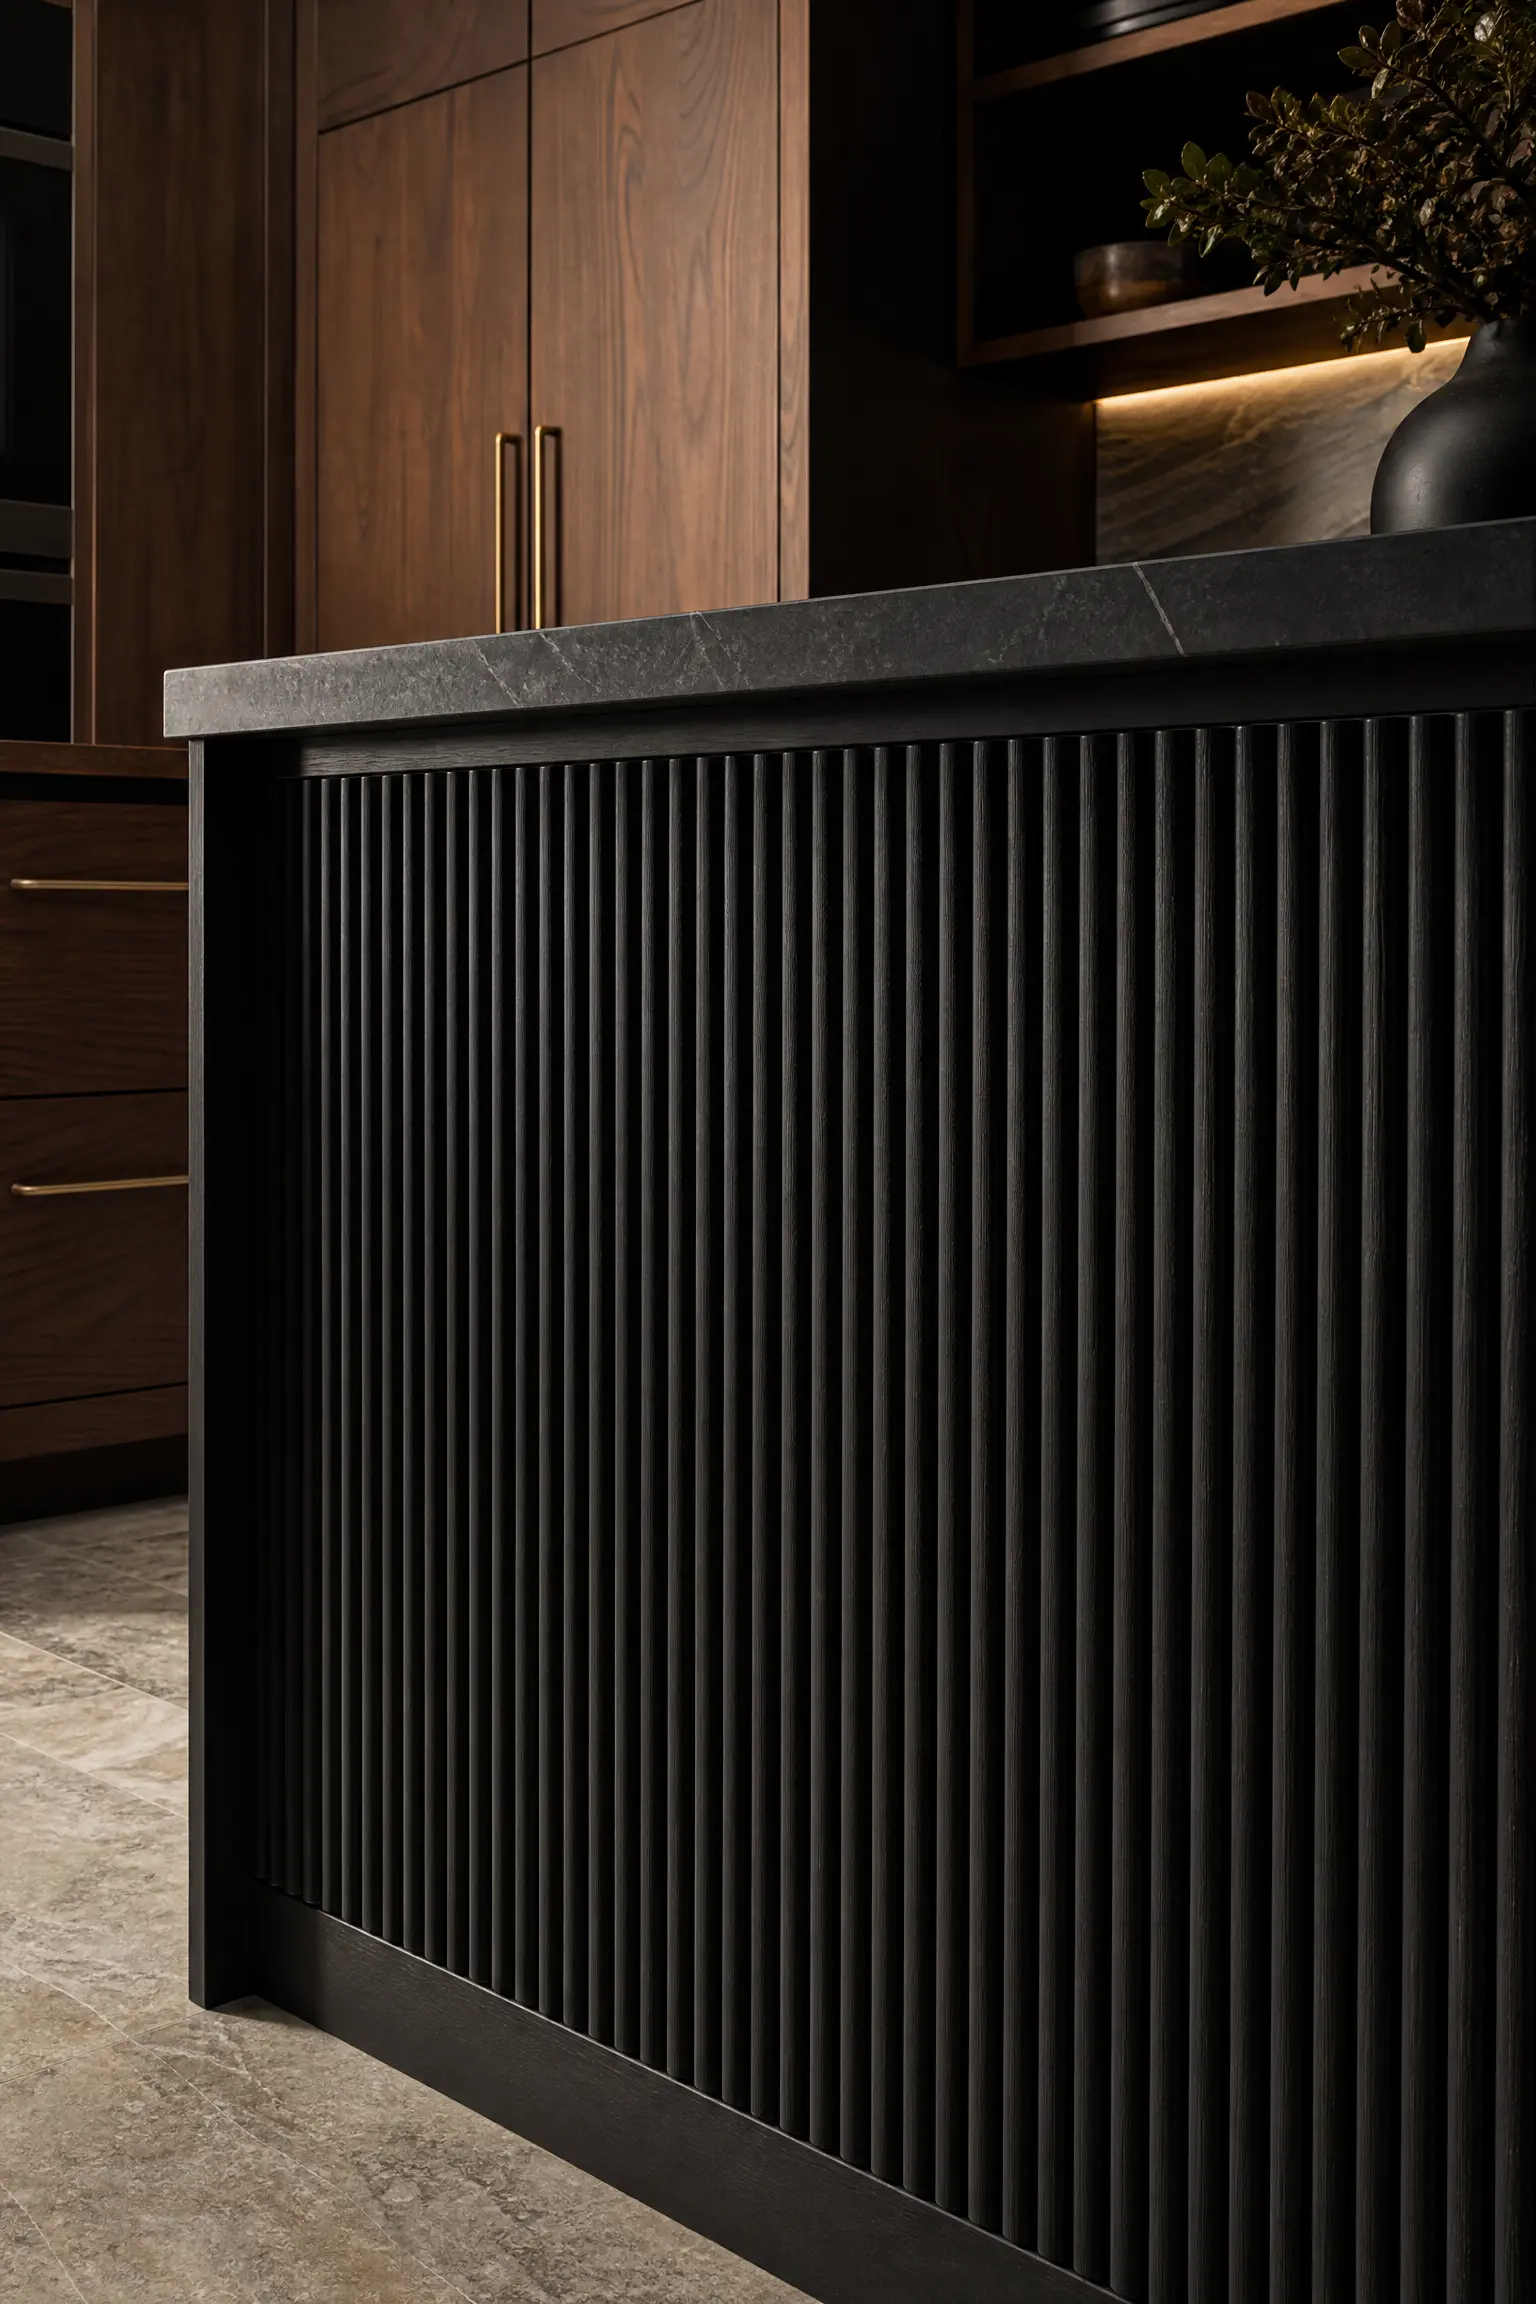
If a solid black island feels too heavy, you can introduce incredible tactile texture by wrapping the back of the black island in highly architectural ‘reeded’ wood panelling. Keep the perimeter cabinets flat-slab walnut, but use tiny, half-round black wooden dowels to clad the seating side of the island. The deep, repetitive vertical grooves catch the light, casting massive, heavy shadows that make the black paint look fiercely complex and deeply tailored, perfectly contrasting the smooth wood on the walls.
Cleaning Reality: Reeded wood panels on the seating side of an island will violently collect dust and shoe scuffs. You must aggressively vacuum the tiny vertical grooves with a brush attachment every single week to prevent the black paint from looking grey and filthy.
Brass Hardware Integration
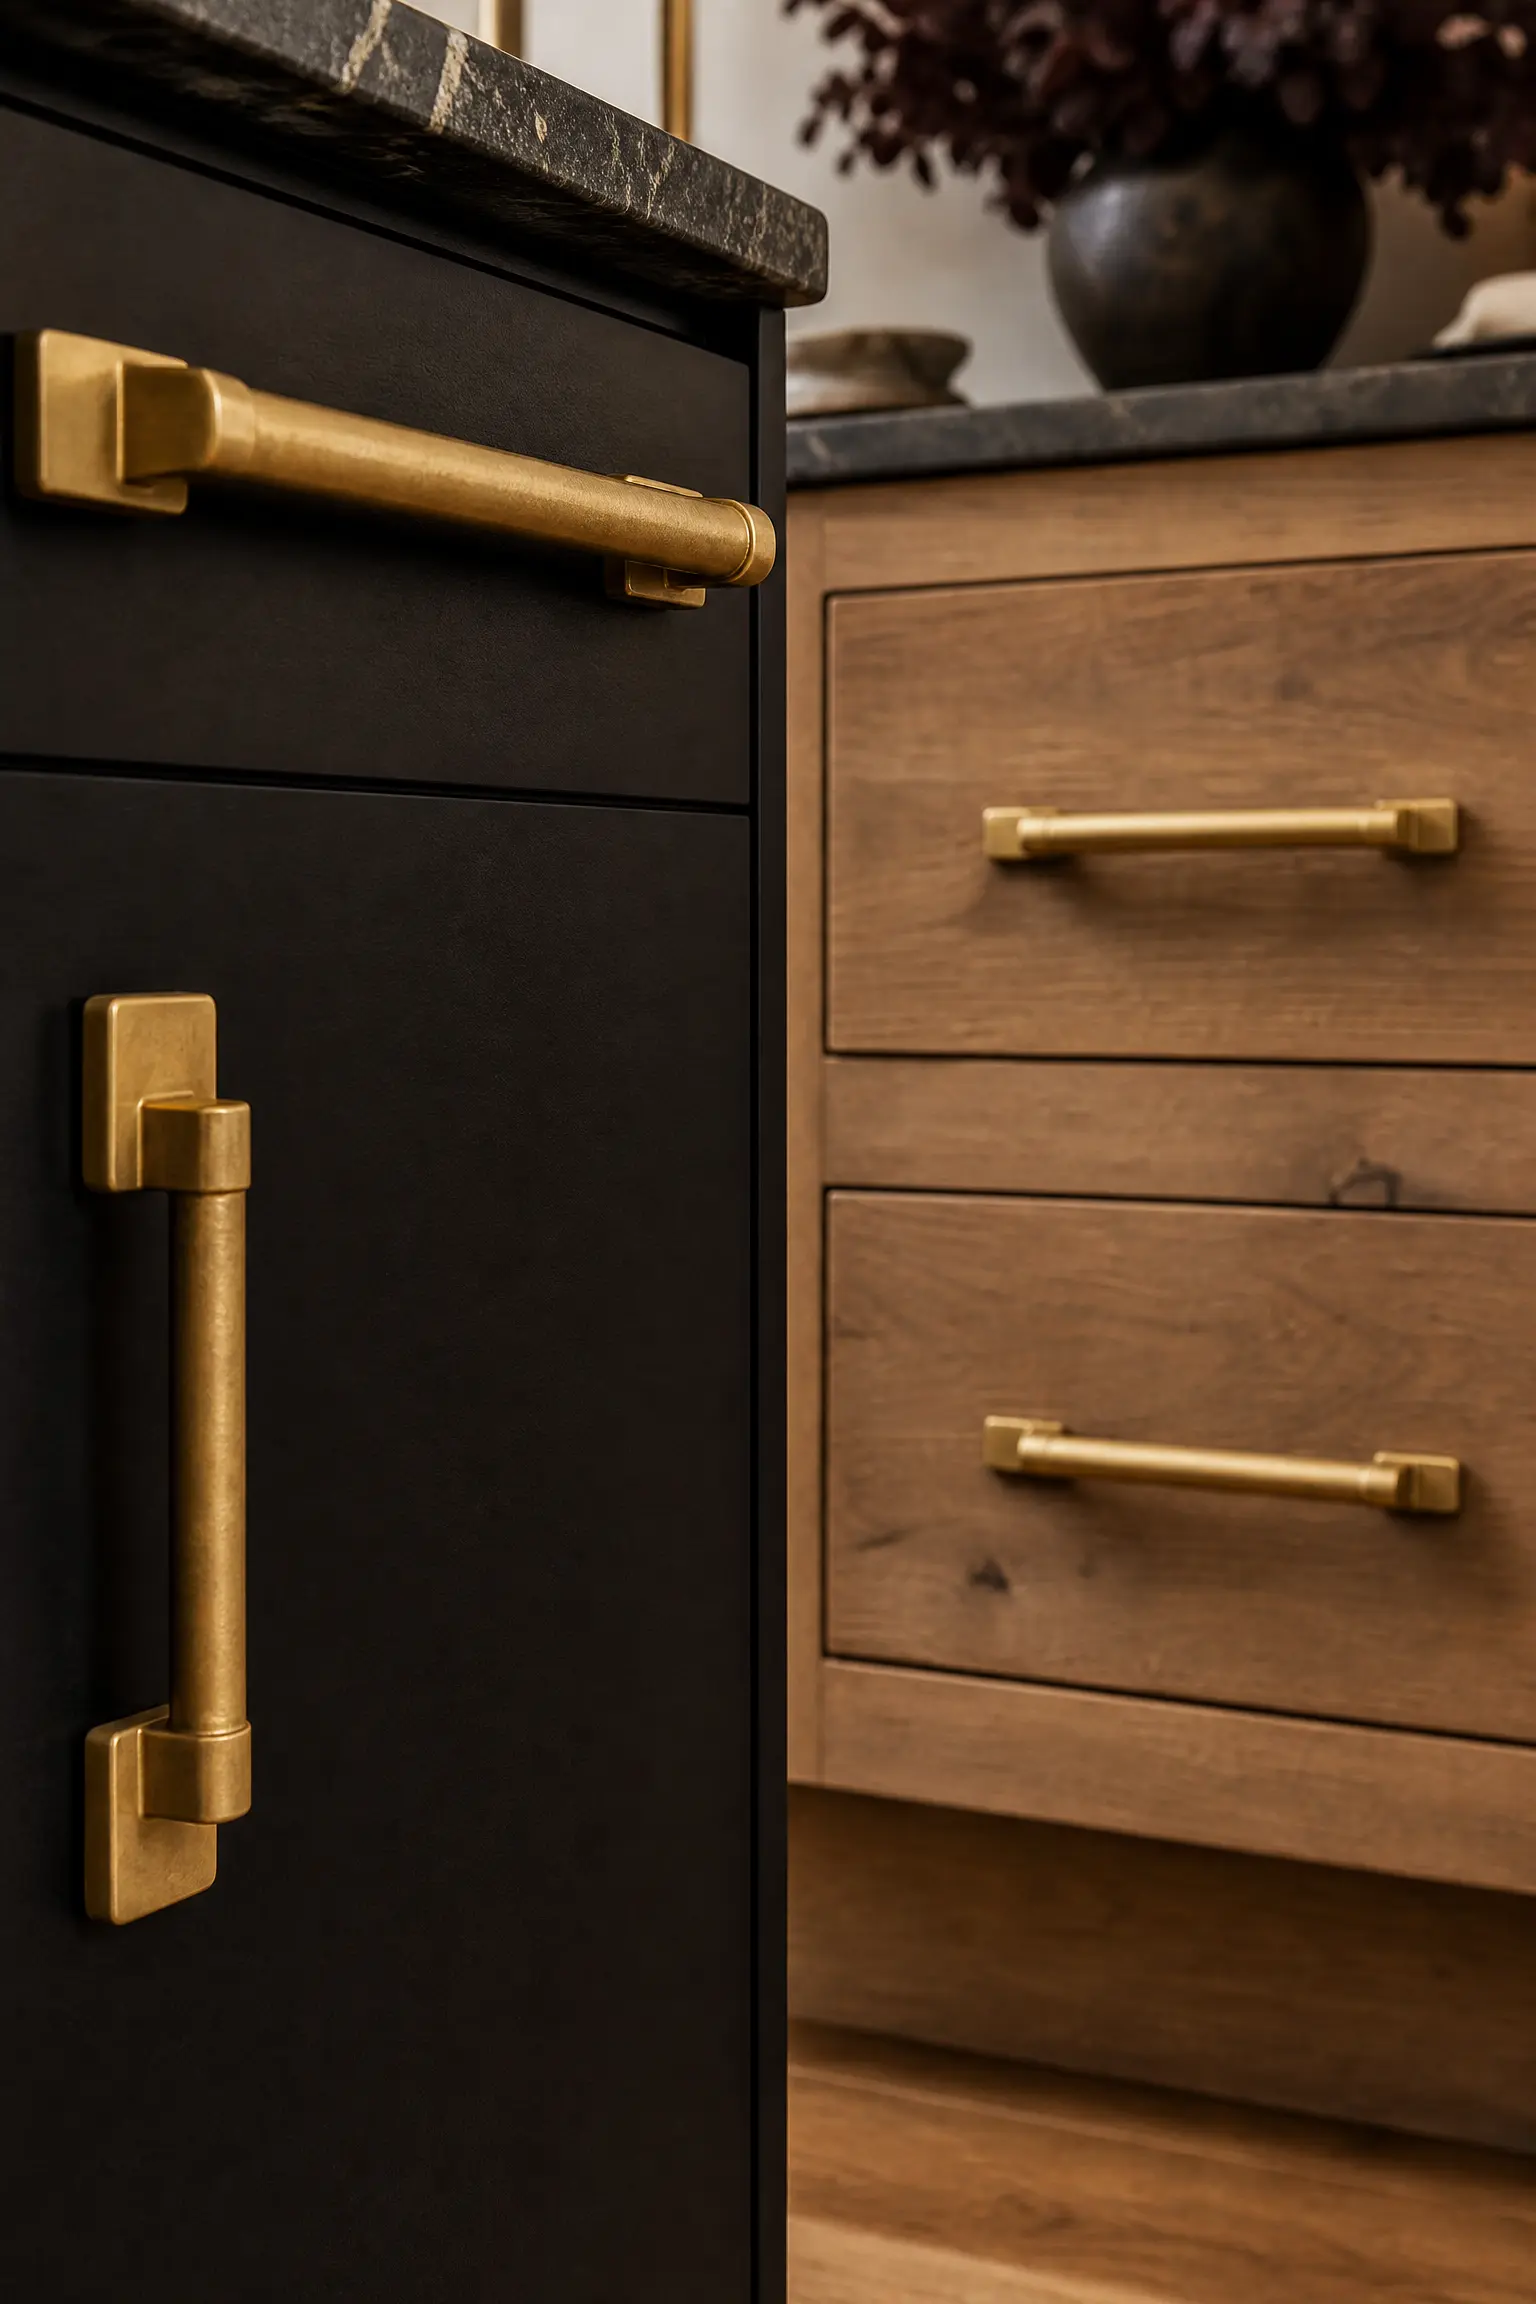
When dealing with an anchor island, you must carefully bridge the gap between the black center and the wood perimeter. The absolute best way to do this is through metallic integration. Use heavy, unlacquered brass hardware on both the wooden perimeter cabinets and the black island cabinets. The fiery, golden warmth of the heavy brass pops violently against the black paint while perfectly harmonizing with the warm undertones of the natural wood, creating a flawless, highly deliberate visual thread connecting the two zones.
Design Q&A: Mixing Hardware
Question: Can I use black hardware on the wood cabinets and brass on the black island? Answer: Yes, this is called ‘inverted hardware matching.’ It is a brilliant, highly advanced designer trick that forces the two distinct areas of the kitchen to fiercely communicate with each other, establishing extreme bespoke luxury.
The Elevated Wooden Dining Extension
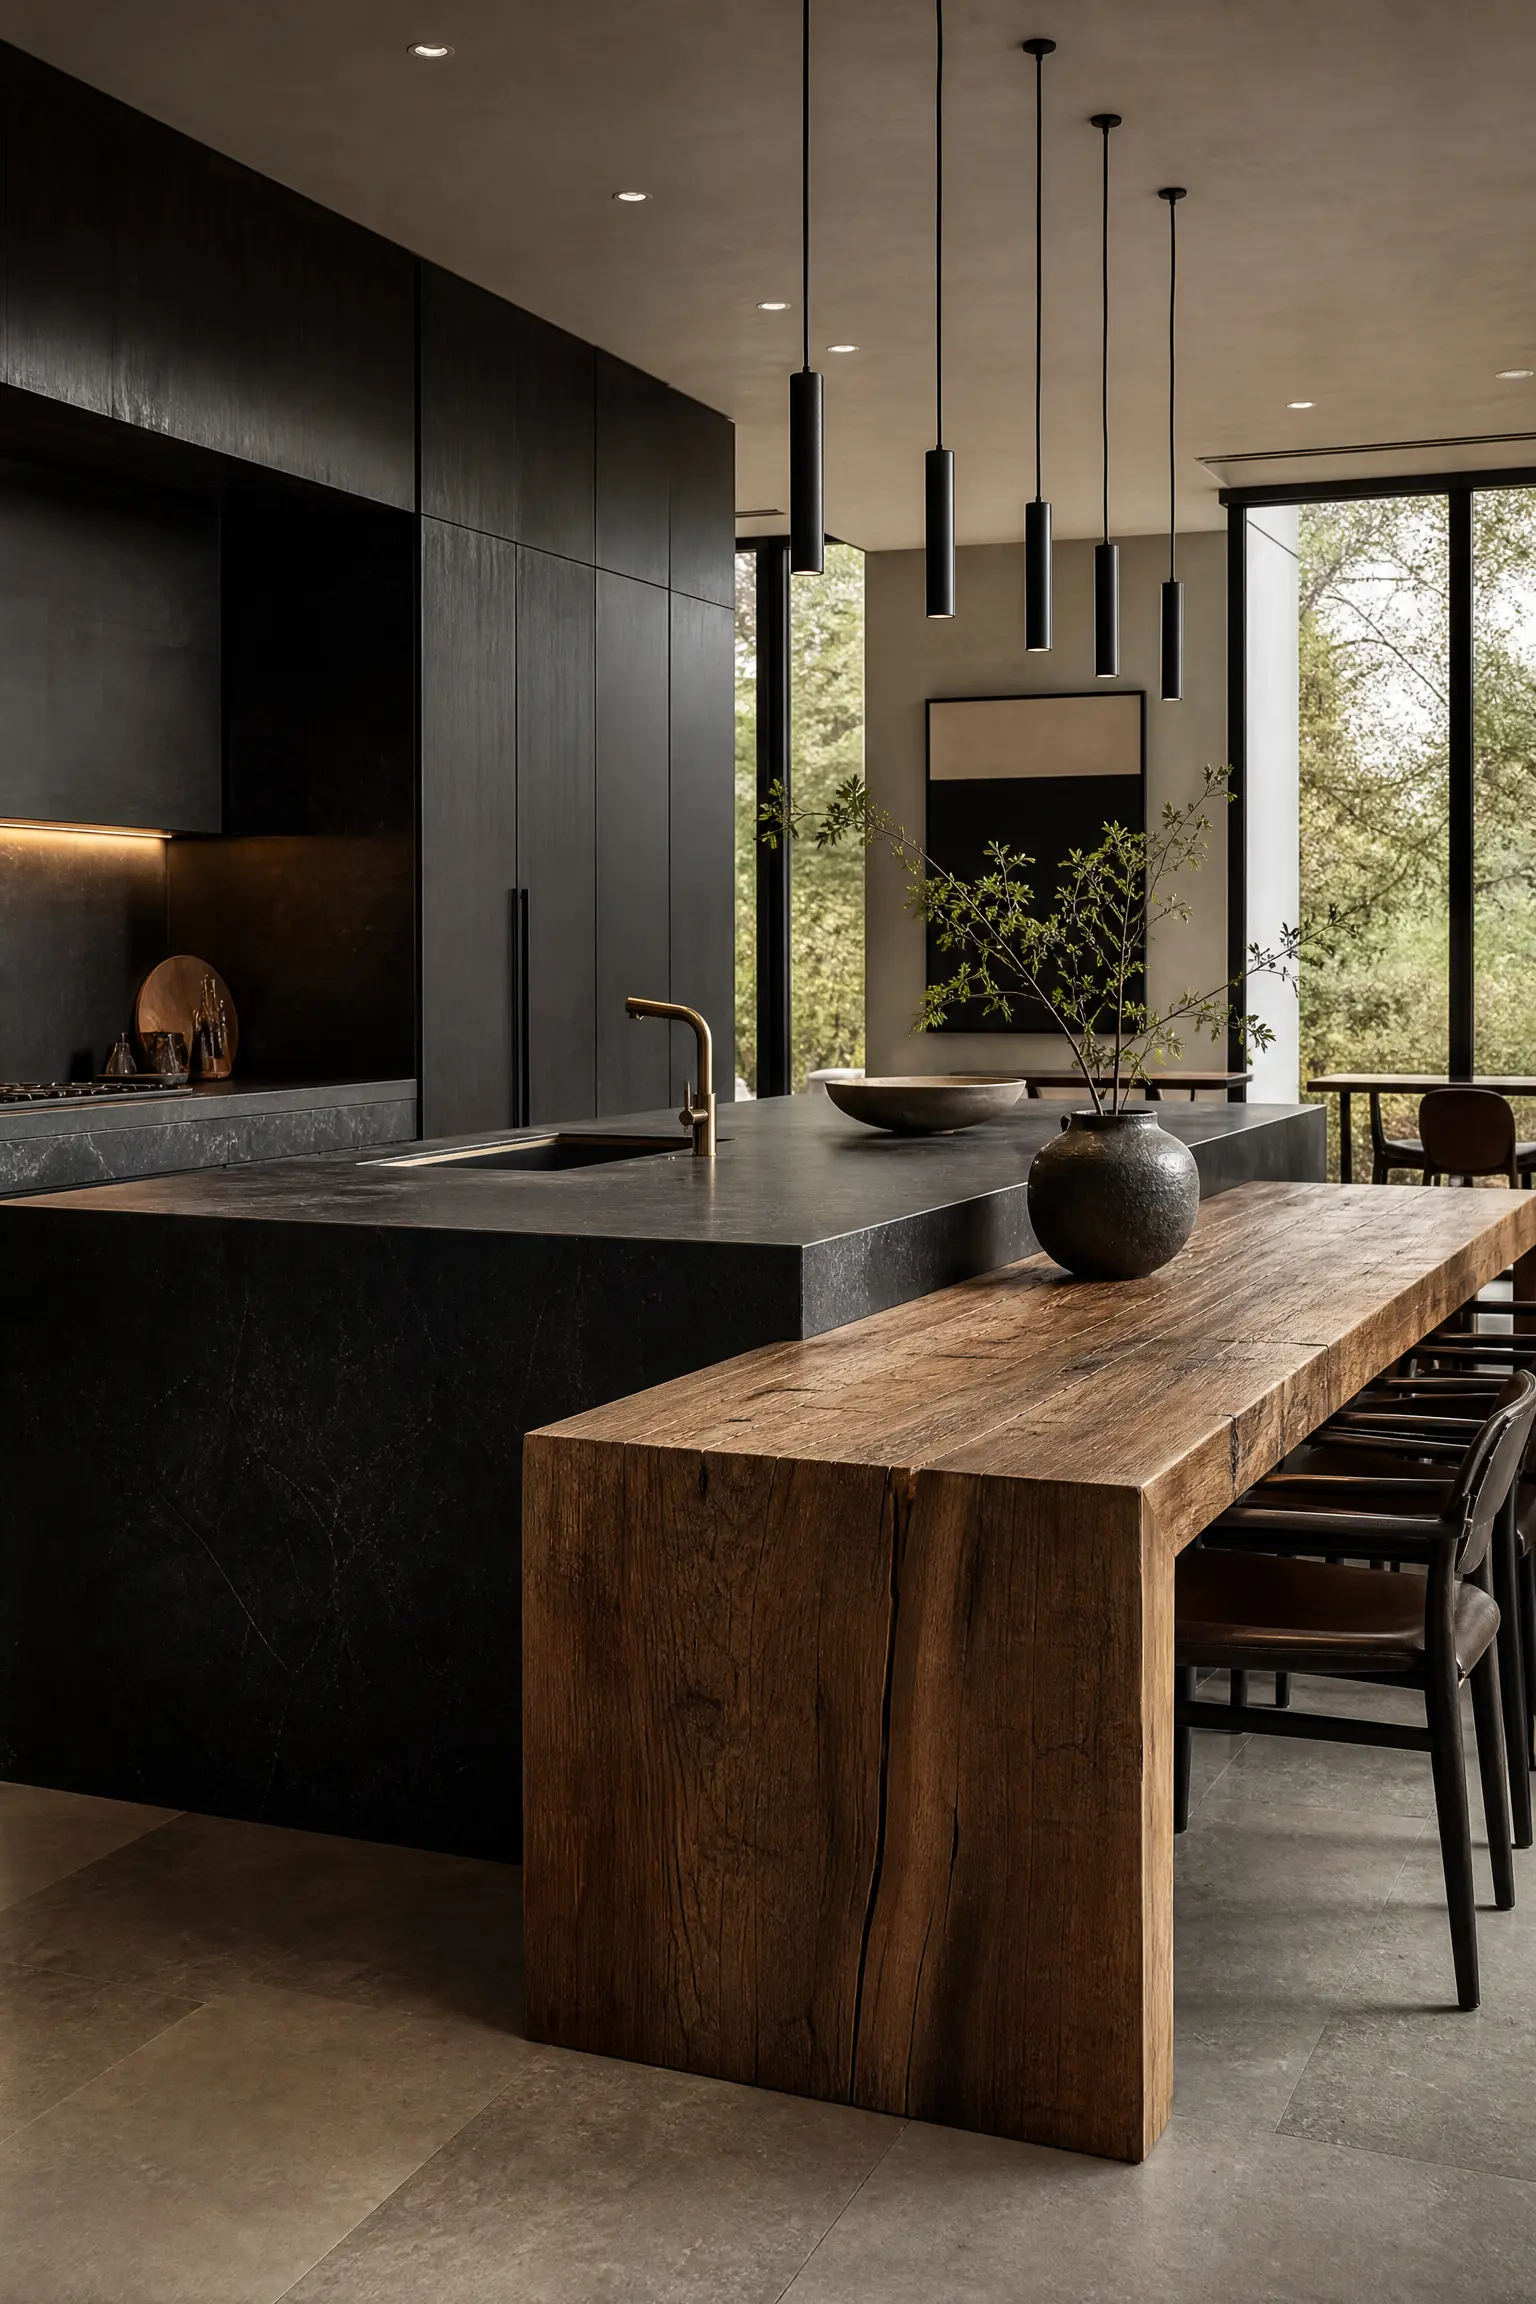
If your kitchen is long and narrow, you can execute a brilliant architectural hybrid. Build a massive black kitchen island for prep work, but physically attach a thick, solid wood dining table extending directly off the back of the island. The heavy black mass serves as the working anchor, while the lighter, highly textured wooden extension drops down to table height for seating. This seamlessly blends the two materials into one continuous, violently impressive architectural structure.
Table Extension Execution:
- The massive wooden table extension absolutely must be supported by hidden heavy-duty steel plates drilled directly into the black island framing.
- Use a completely different, highly durable marine-grade sealant on the wooden eating surface to protect it from boiling hot plates and red wine spills.
- Match the wood species of the extension exactly to the wood used on your perimeter cabinets to ensure rigorous aesthetic continuity.
Phase 3: The Vertical Split
For incredibly tall, massive kitchens, horizontal grounding isn’t enough. You must use The Vertical Split. This involves creating massive floor-to-ceiling towers of black cabinetry to flank and frame the softer wooden zones.
The Black Refrigerator and Pantry Towers
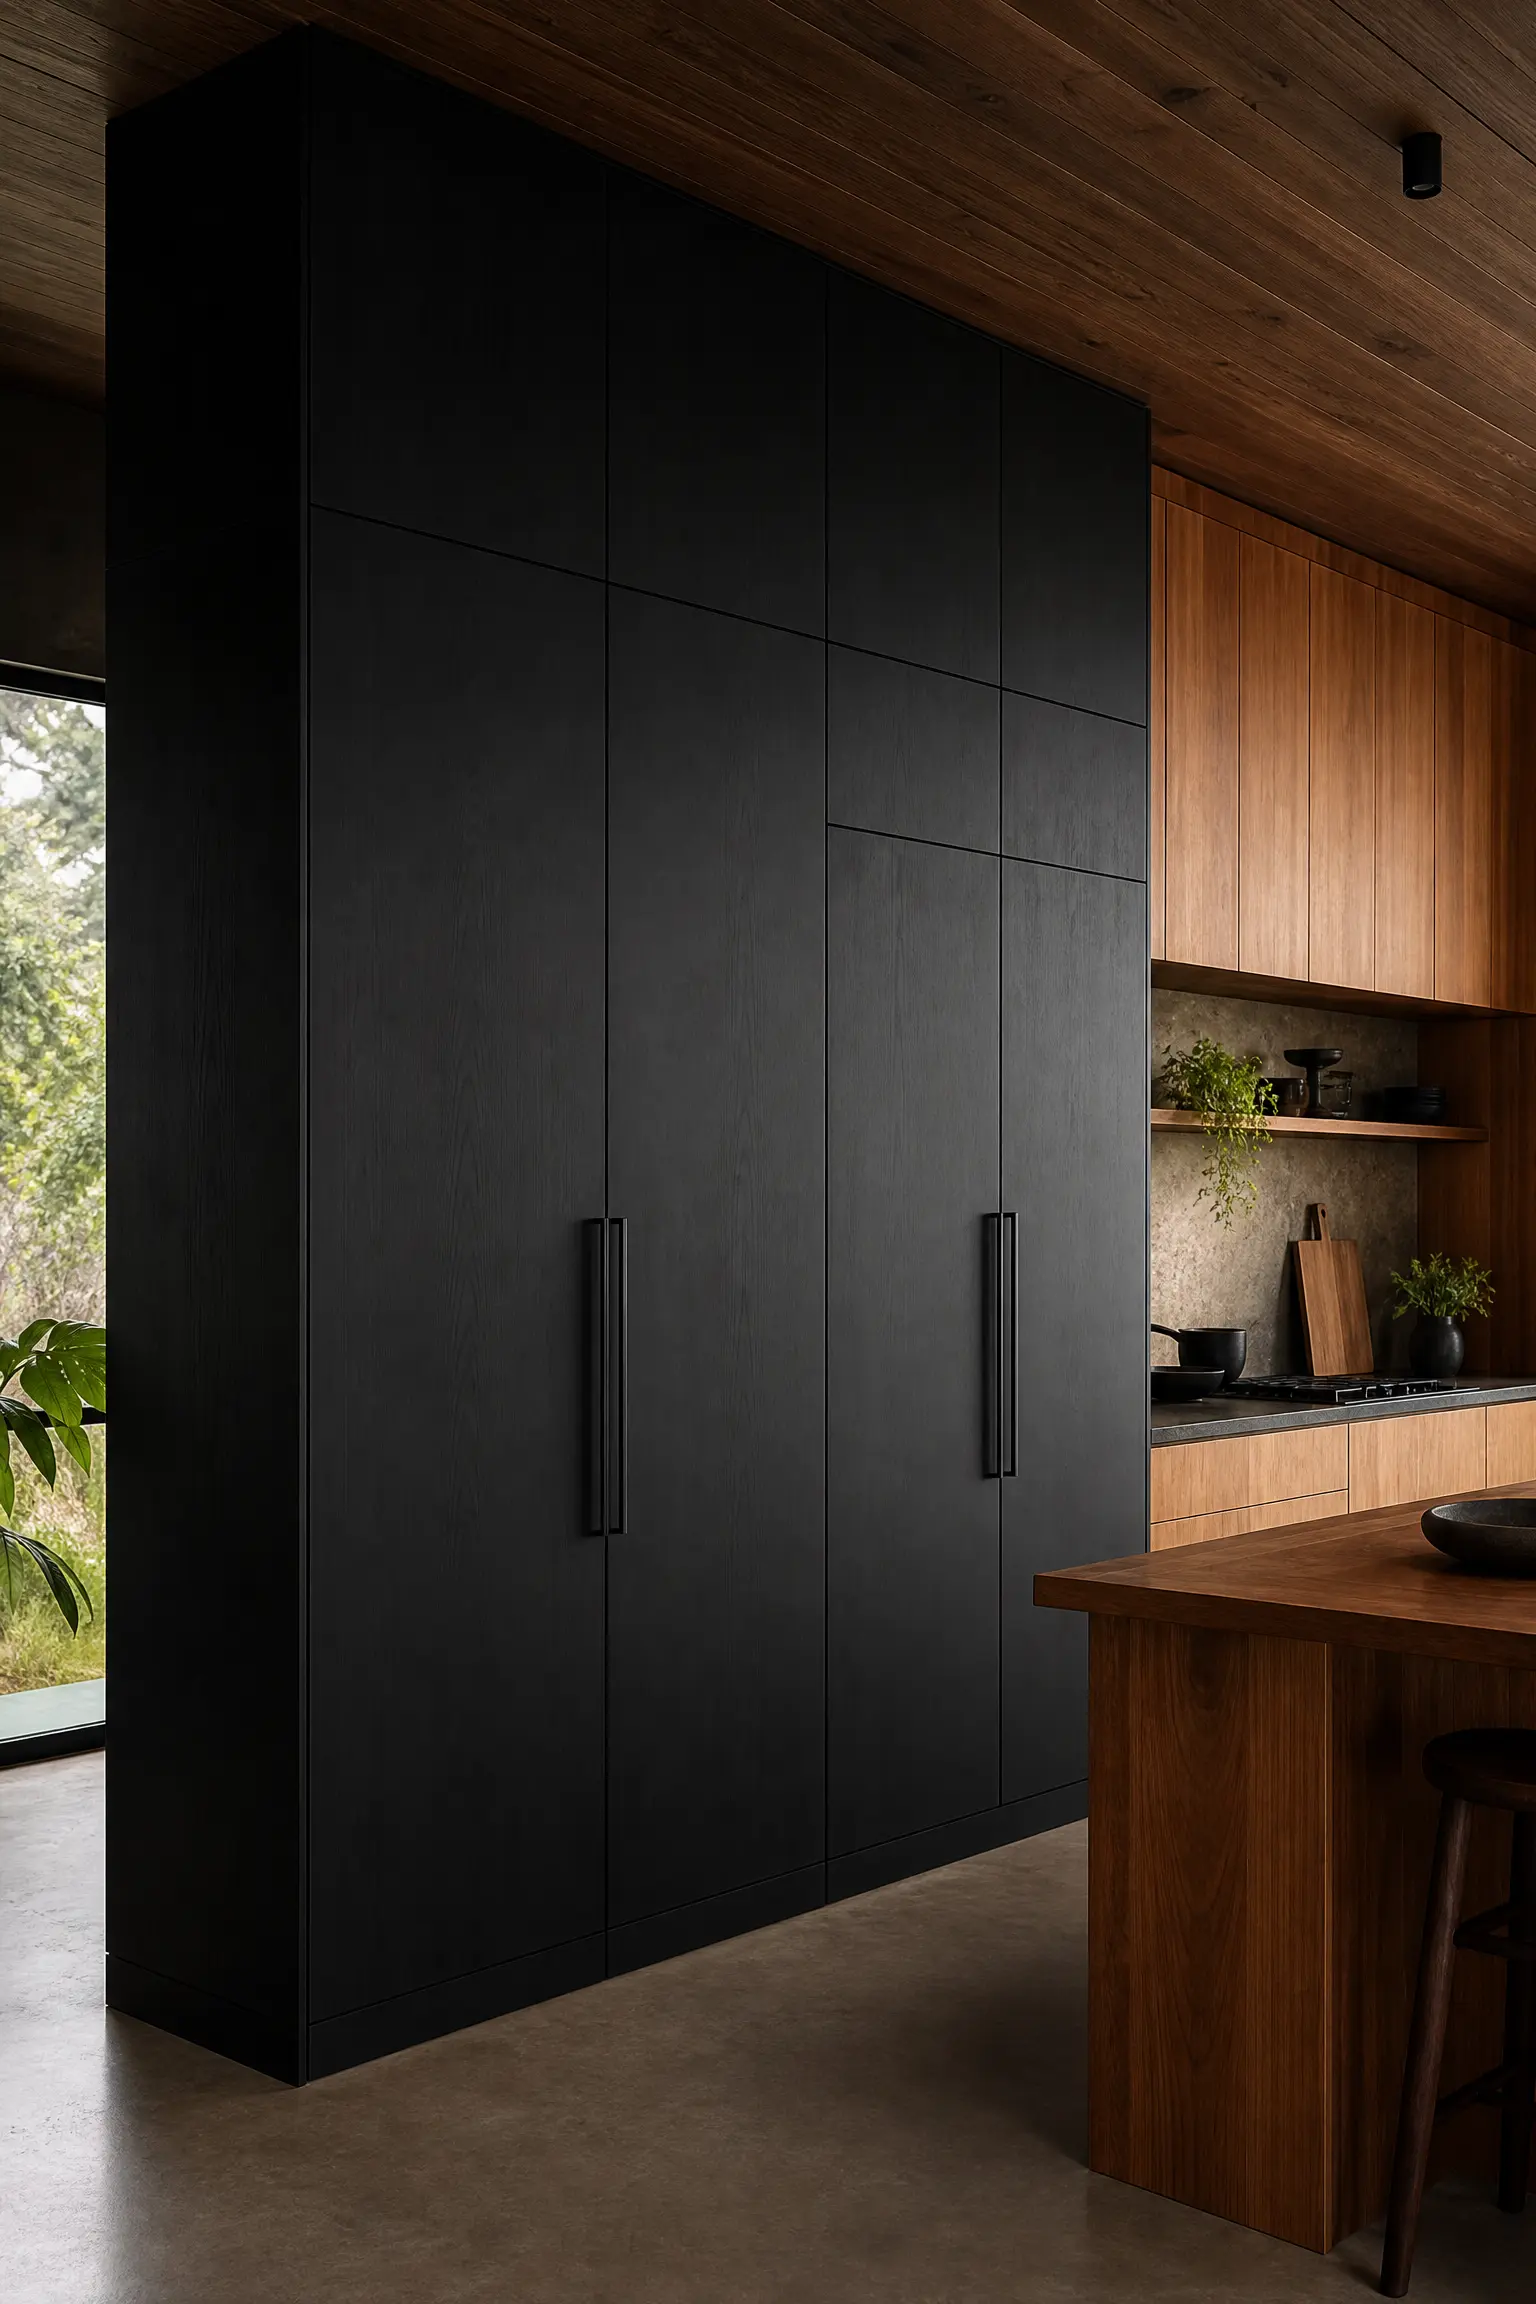
In a kitchen featuring beautiful, warm teak or cherry wood base and upper cabinets, the stainless steel refrigerator looks like a massive, terrifying silver sore thumb. You must violently eliminate it. Build massive, floor-to-ceiling black cabinetry towers on one entire wall of the kitchen, perfectly hiding the integrated refrigerator and a massive walk-in pantry behind towering black doors. This massive, monolithic black wall violently frames the rest of the warm wooden kitchen, providing a fierce, grounding architectural boundary.
Appliance Integration: You must buy ‘panel-ready’ appliances. If you simply shove a standard stainless steel fridge between two massive black pantry towers, it will violently ruin the monolithic illusion. The fridge must be completely disguised behind a custom black wooden door.
The Wooden Stove Alcove
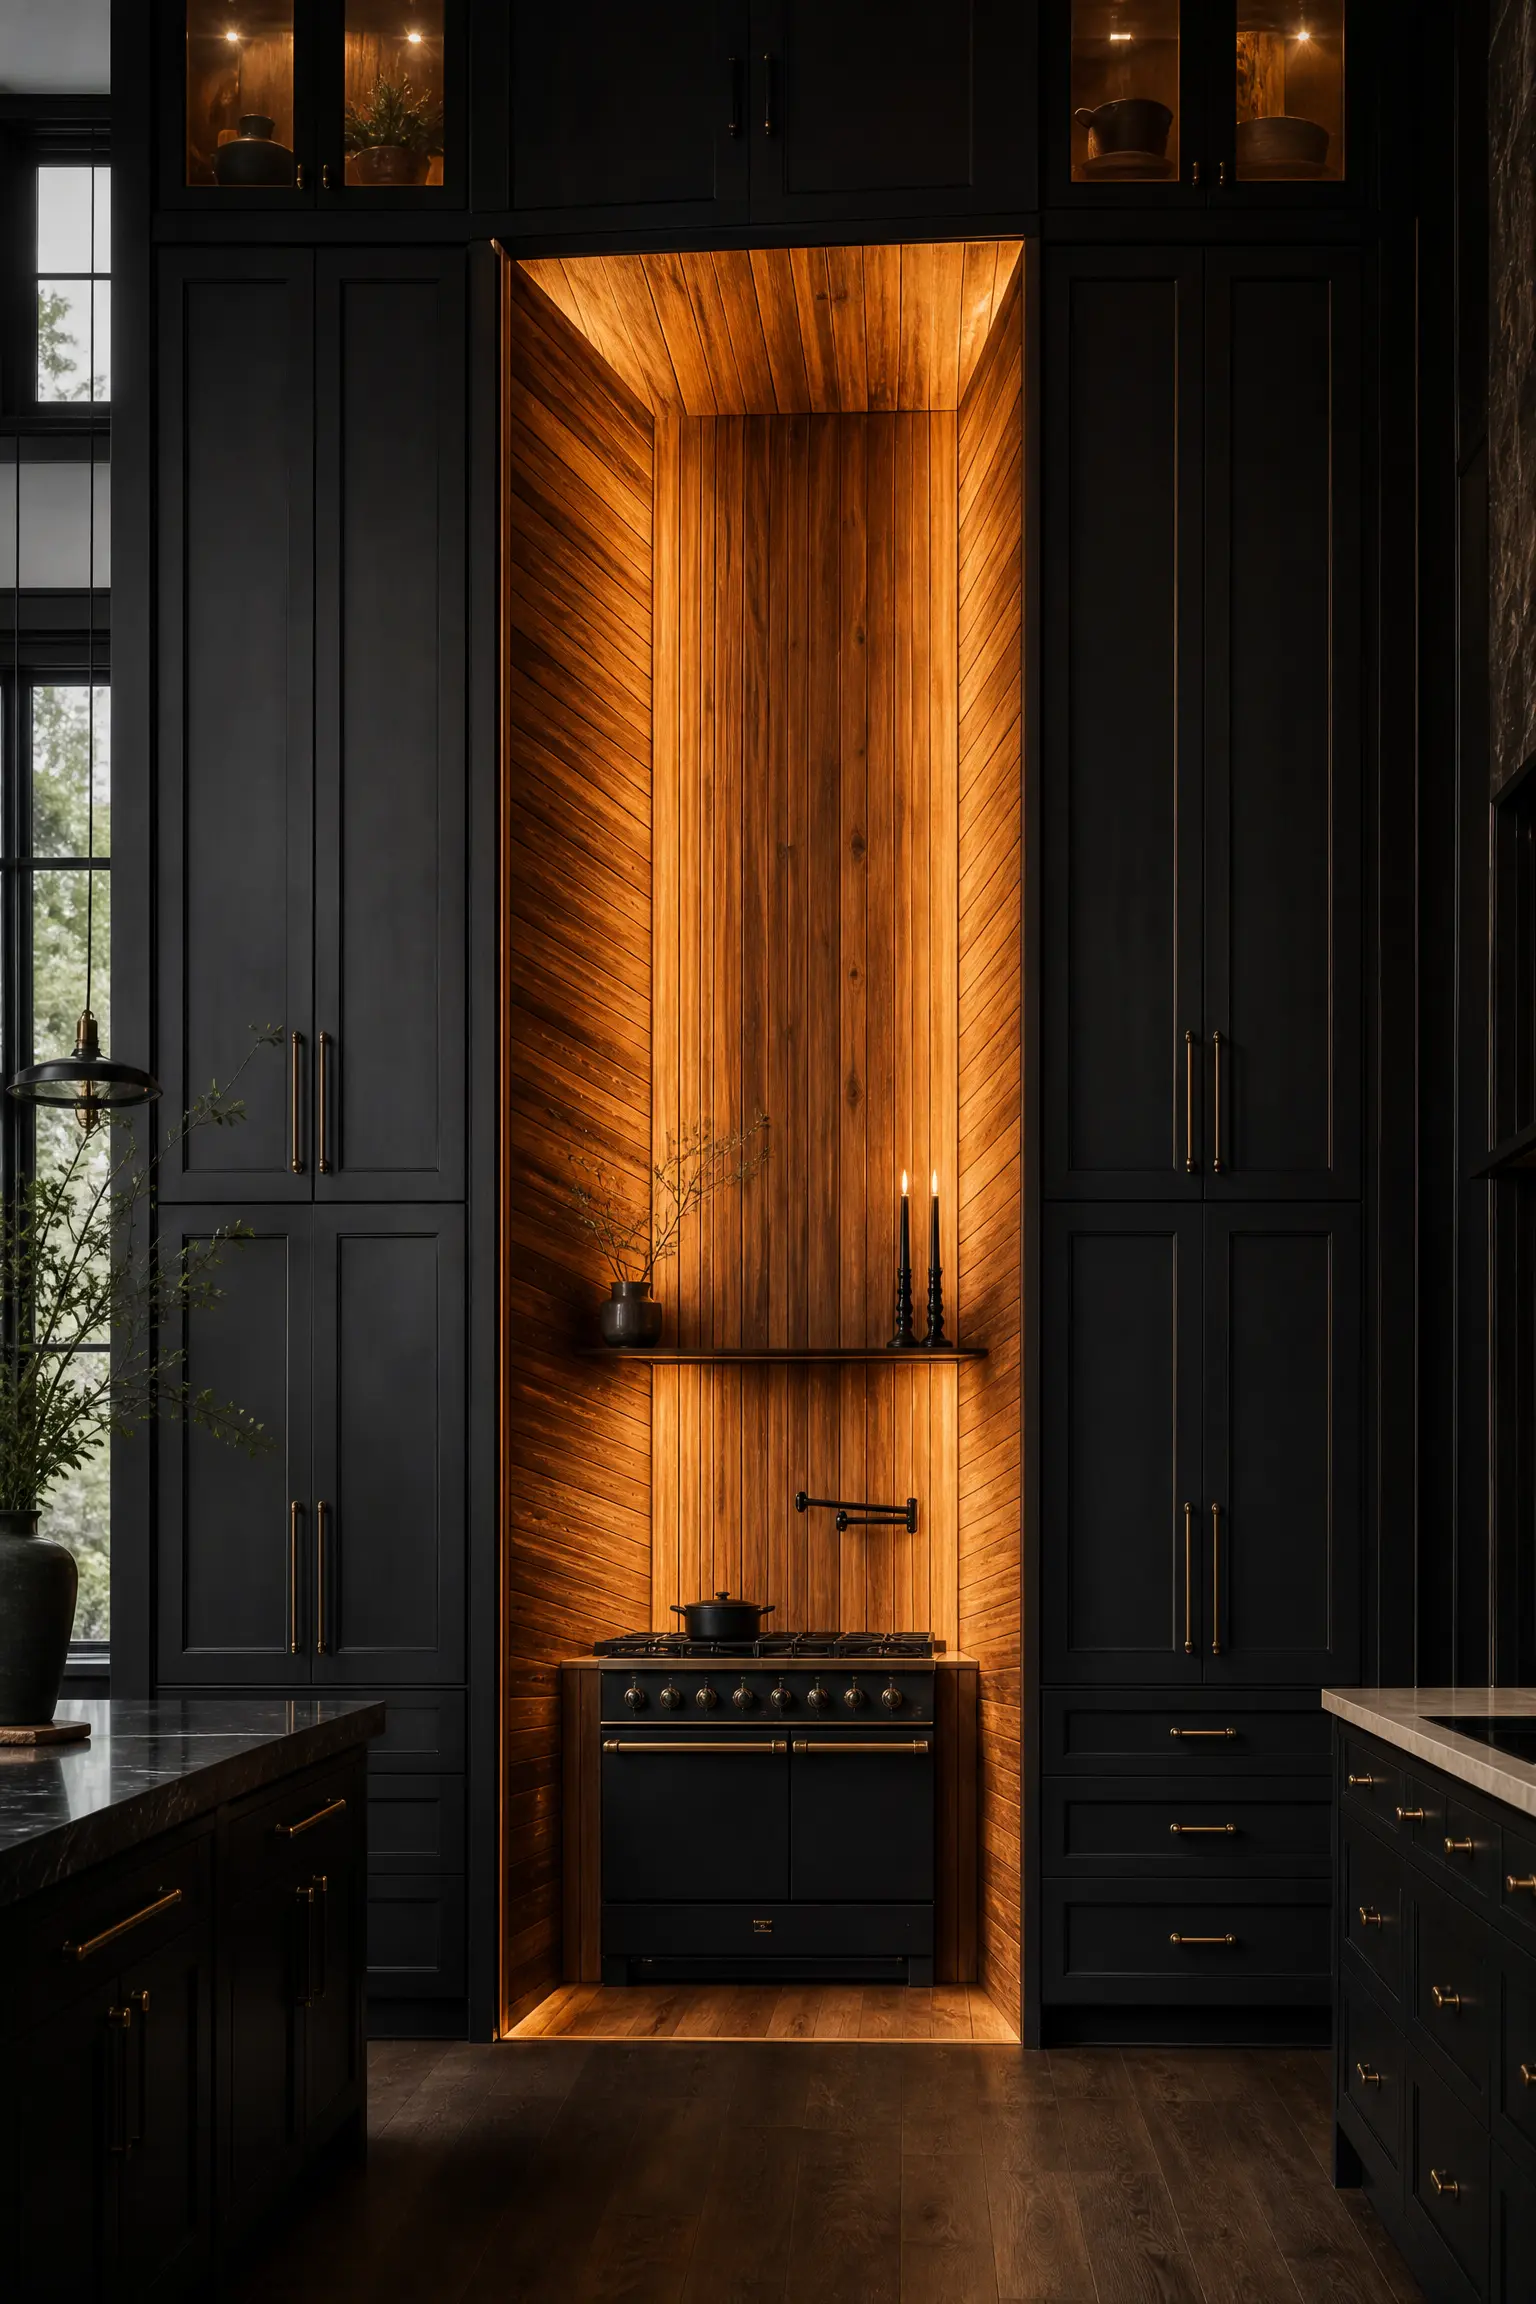
If you have a wall of towering black cabinetry, you must aggressively break up the darkness to prevent it from feeling like a terrifying cave. Carve a massive vertical alcove dead in the center of the black wall, exclusively for the stove and range hood. Line the entire interior of this specific alcove in warm, highly textured vertical wood paneling. The bright, warm wooden alcove violently explodes out of the heavy black towers, creating an incredibly dramatic, theater-like stage strictly dedicated to cooking.
Alcove Fire Safety Rules:
- You absolutely must check local fire codes regarding the physical distance required between a gas burner and a combustible wooden wall.
- To completely bypass the fire hazard, run a massive slab of fireproof quartz exactly thirty-six inches up the wall behind the stove before starting the wood paneling.
- Ensure the heavy wooden range hood is lined with a high-powered, commercial-grade stainless steel insert to violently suck grease away from the wood.
Tall Wooden Display Columns
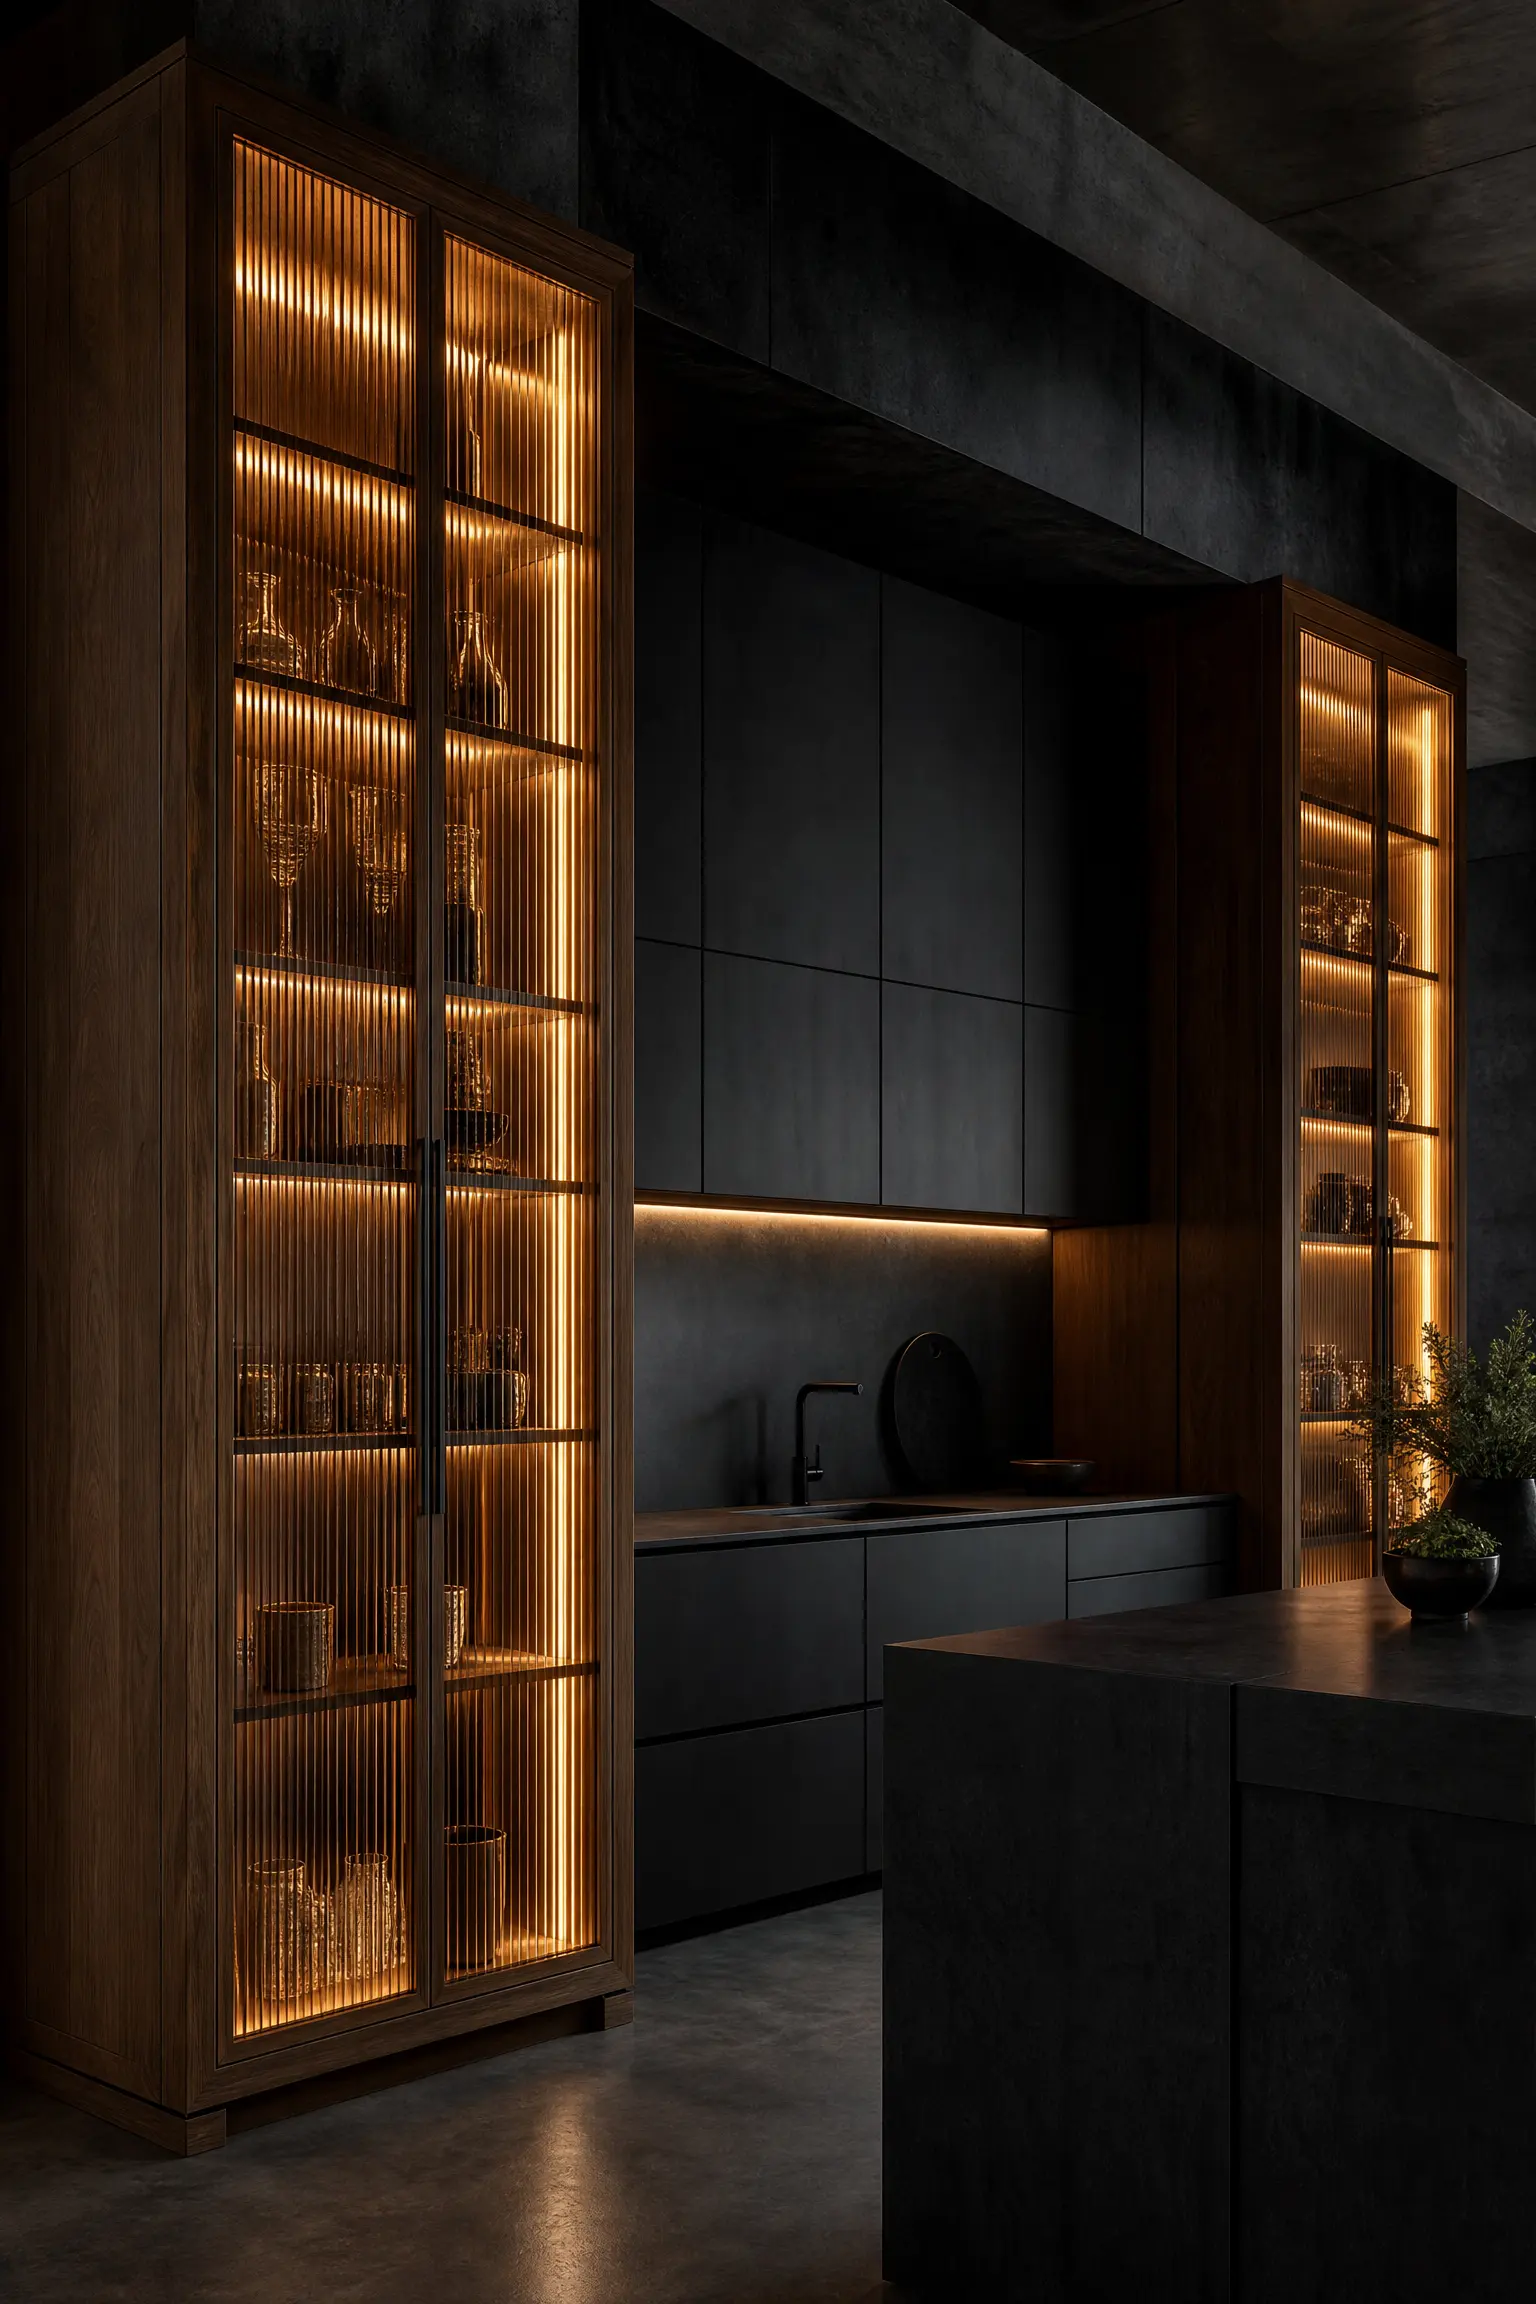
If your primary kitchen cabinets are entirely matte black, the room can feel aggressively brutalist. You must introduce vertical wooden warmth without sacrificing storage. Flank the massive black kitchen island with two floor-to-ceiling wooden display columns. These tall, narrow wooden cabinets should feature clear glass doors and warm internal LED lighting. They violently cut through the heavy black architecture, providing tall, glowing wooden display cases for expensive glassware that make the dark kitchen feel deeply luxurious rather than oppressive.
Pro Move: You must use heavy, ribbed ‘fluted’ glass in the tall wooden columns instead of clear glass. It softly blurs the chaotic shapes of the dishes inside while still allowing the warm wood tones to aggressively glow through into the dark kitchen.
The Black Framing Technique
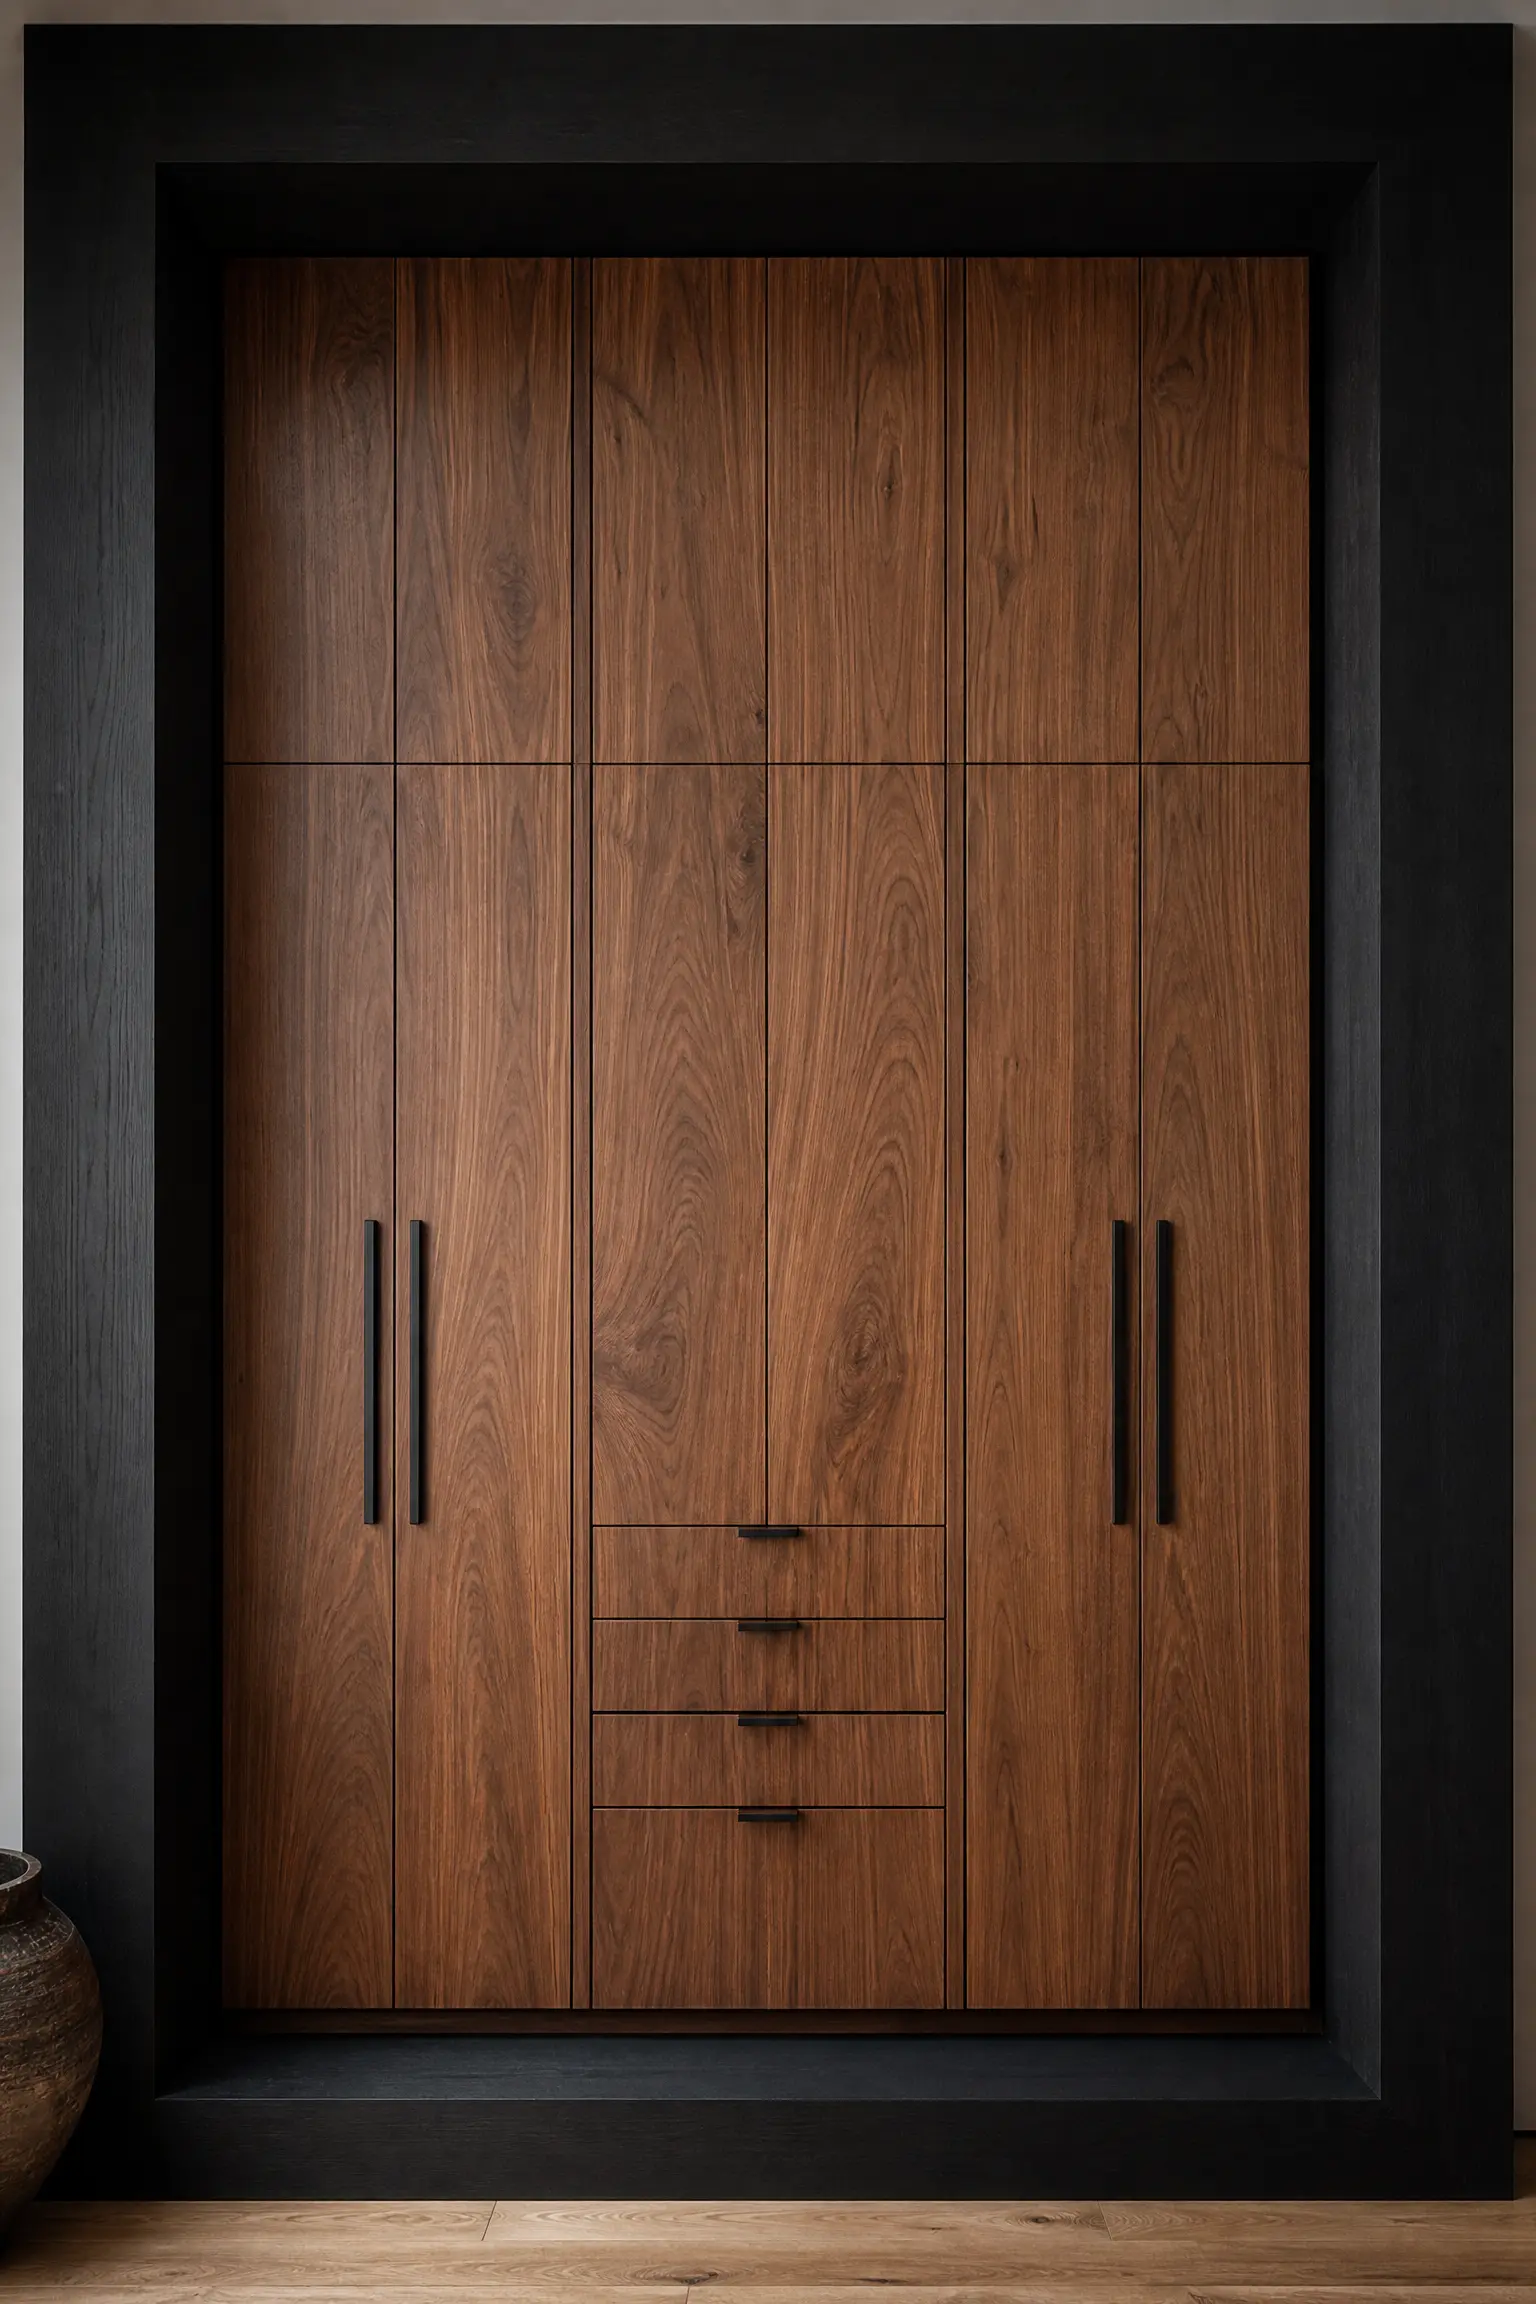
Instead of splitting the cabinets by upper and lower, you can use black wood to physically ‘frame’ the natural wood. Build a massive wall of beautiful walnut cabinets, but instruct the carpenter to build a thick, heavy black wooden border completely surrounding the entire bank of walnut cabinetry. This heavy black architectural frame acts exactly like a thick matte on a museum painting. It violently forces the eye inward, heavily emphasizing the rich, organic beauty of the walnut wood grain.
Design Q&A: Framing Thickness
Question: How thick should the black wooden frame be? Answer: It must be massively thick—at least three inches wide. If the black frame is only one inch thick, it will look exactly like a terrifying, accidental mistake or a cheap piece of plastic trim.
The Floor-to-Ceiling Wood Accent Wall
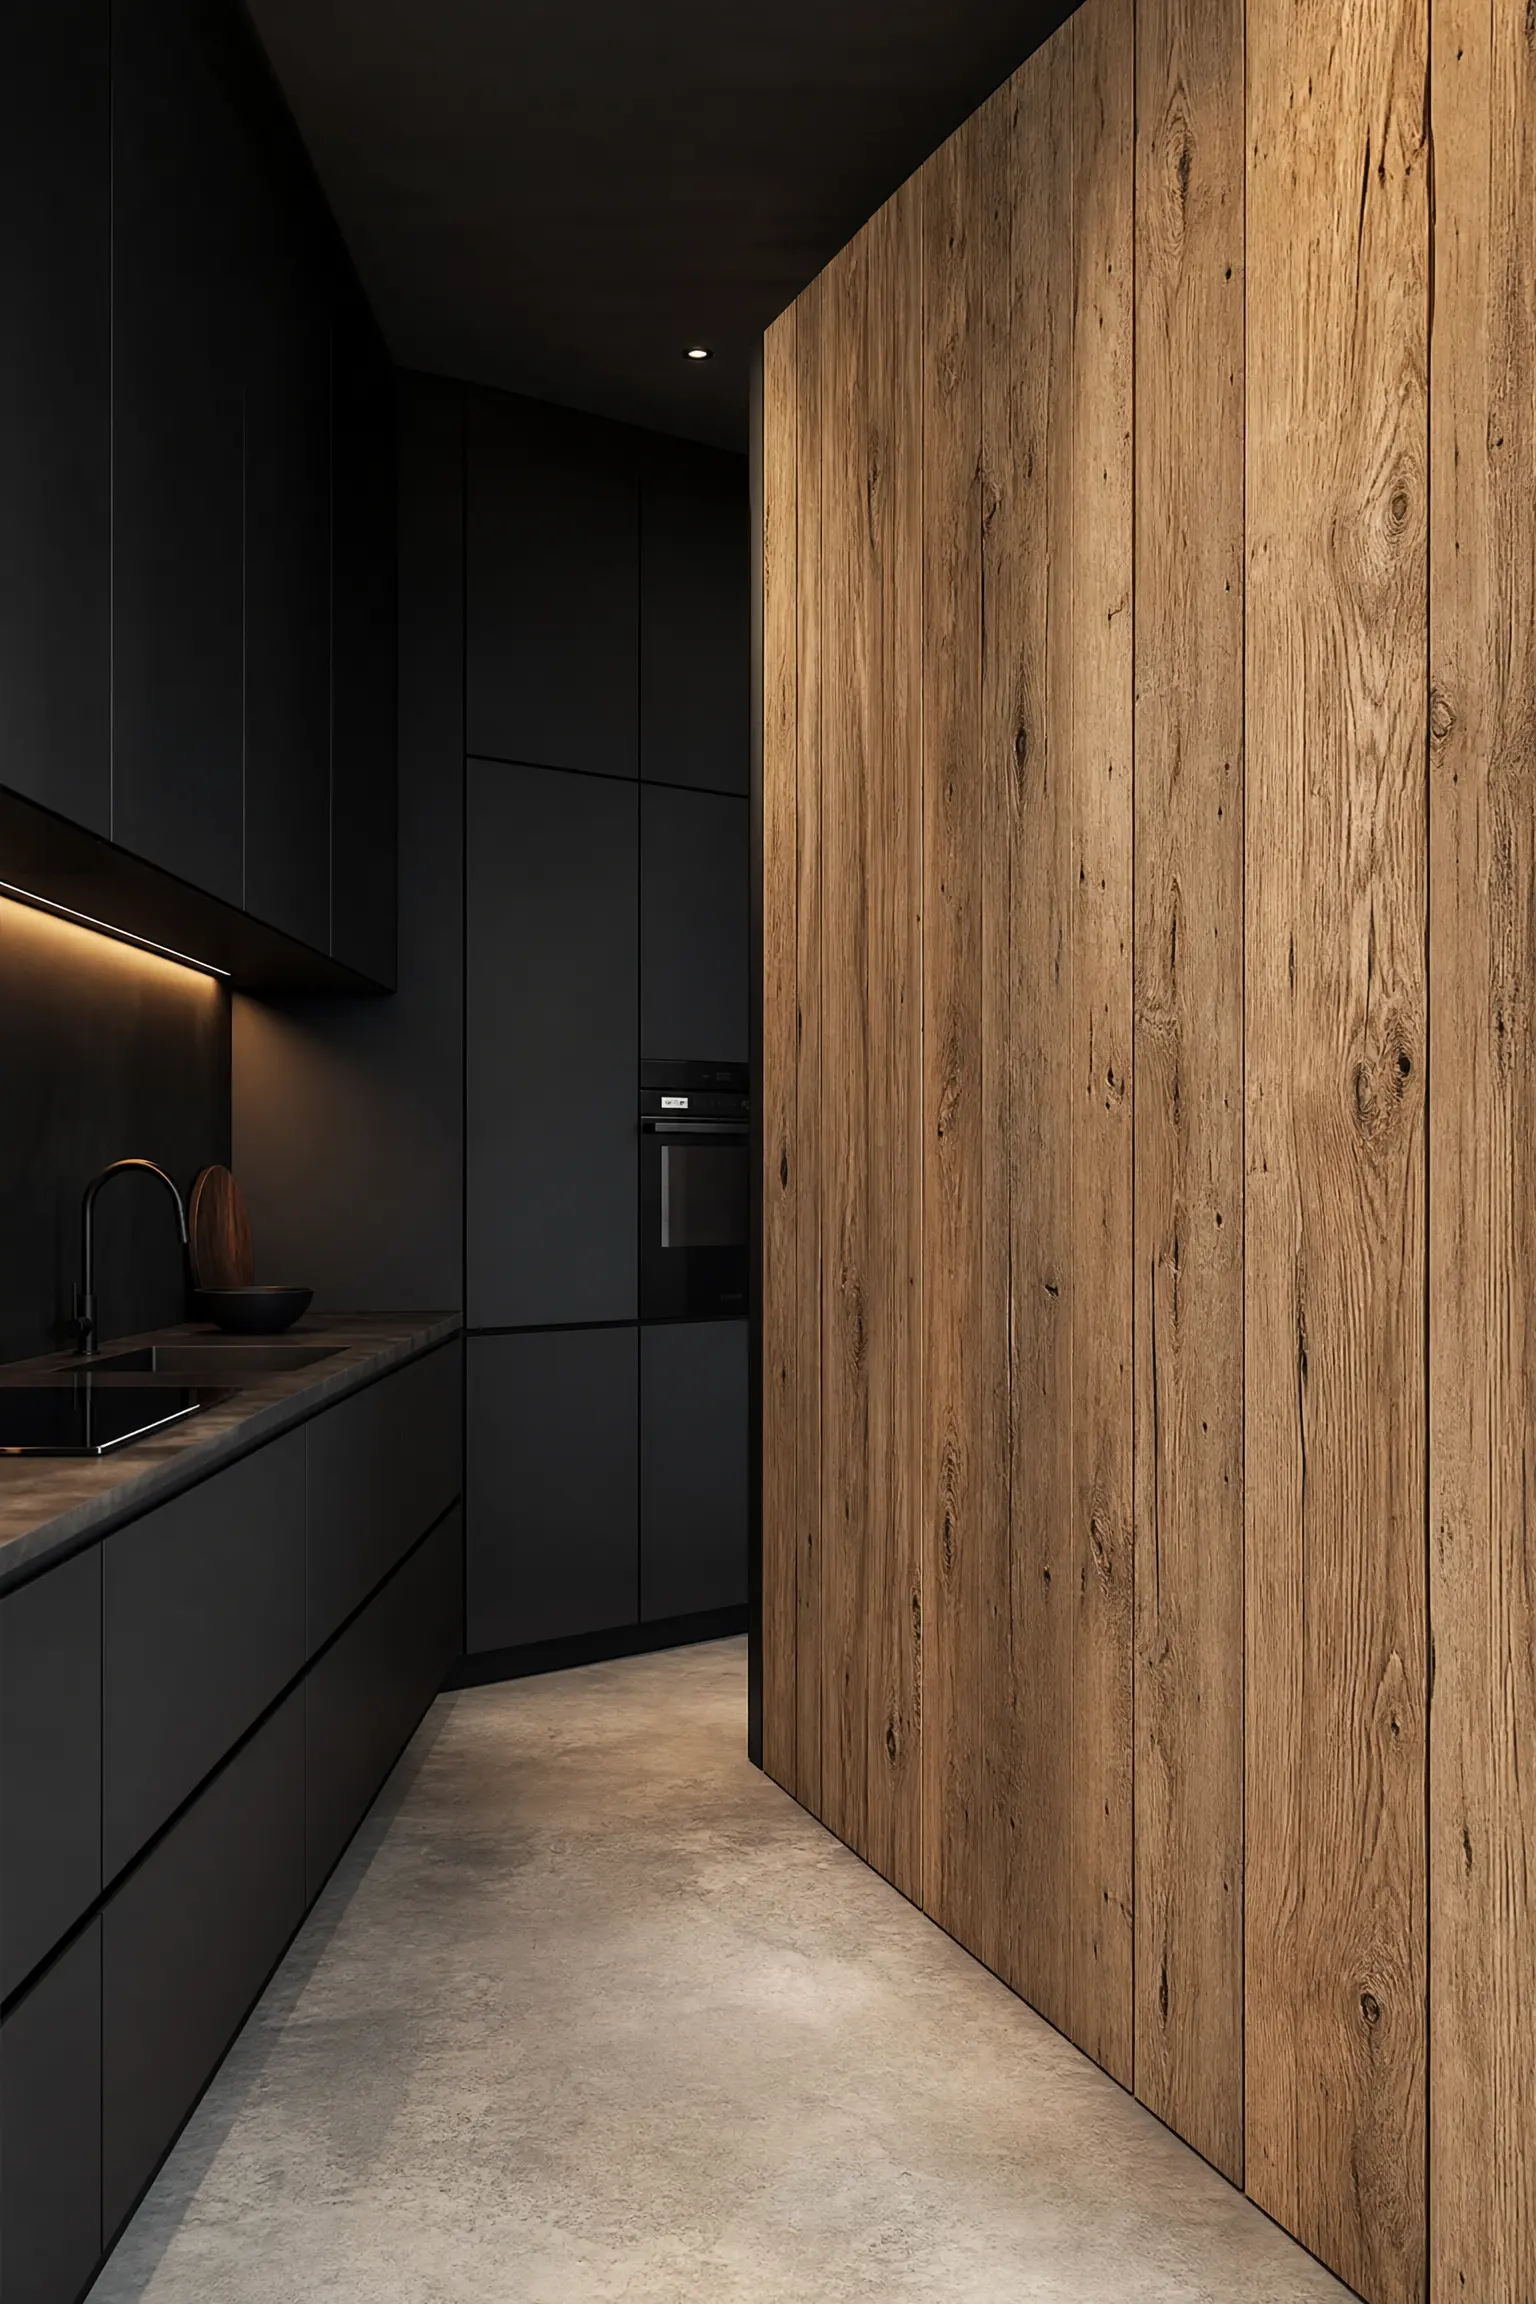
If your entire kitchen features sleek, handle-less matte black cabinetry, you must aggressively provide a visual escape route. Dedicate one entire wall—perhaps the wall holding the sink or a small breakfast nook—completely to floor-to-ceiling natural wood. Run vertical white oak planks from the baseboards perfectly up to the drywall ceiling. This massive, solid wall of highly textured wood violently crashes into the sleek black cabinetry, creating incredible architectural tension and infusing the sterile black room with massive organic life.
Executing the Wood Wall:
- You must aggressively stagger the seams of the wooden planks; if the seams perfectly align, the wall will look like cheap, terrifying 1970s paneling.
- Install heavy, waterproof black metal baseboards at the bottom of the wood wall to violently protect the raw oak from wet string mops.
- Ensure the wood is heavily sealed, as the kitchen humidity will violently warp raw wooden planks over time.
Black Steel and Glass Upper Towers
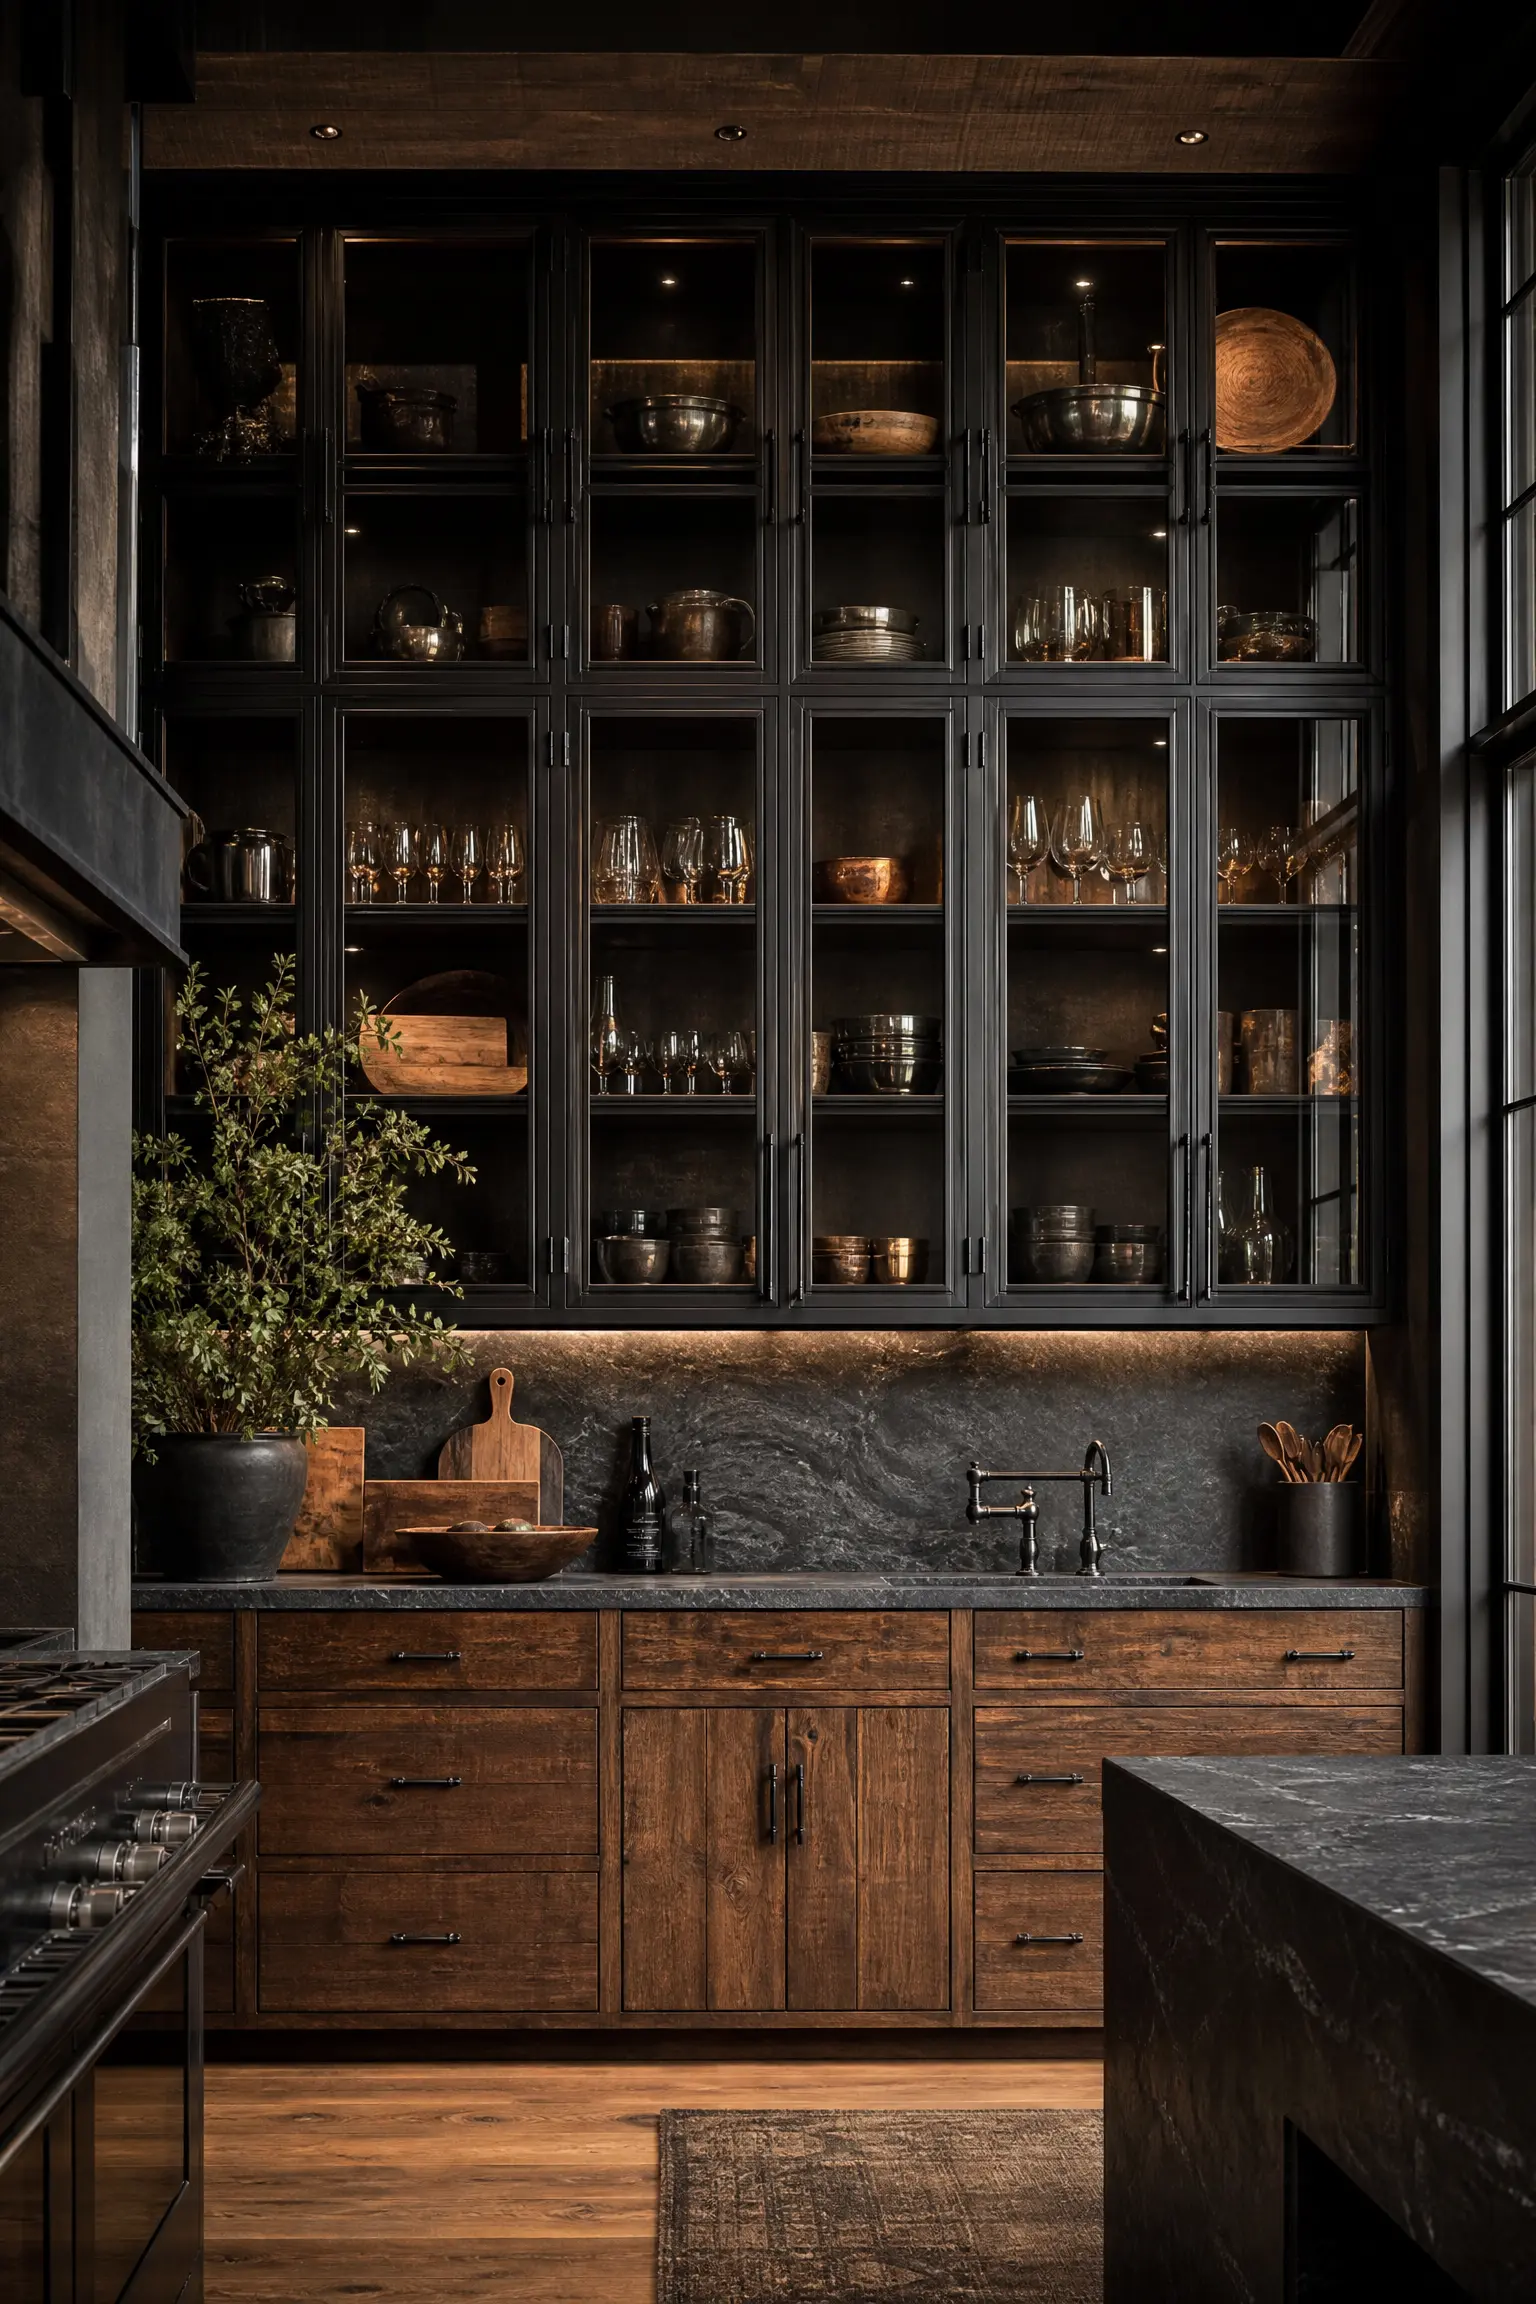
If you have heavy wooden base cabinets and want to introduce black vertically without making the room too dark, utilize black steel. Install tall, heavy black steel and glass upper cabinets that sit directly on the countertop and reach to the ceiling. The heavy black metal mullions violently frame the glass, providing the deep black contrast required, but the transparent glass allows the kitchen to remain incredibly airy. This specific pairing introduces a fierce, highly sophisticated industrial edge to traditional wooden cabinetry.
Structural Reality: Custom welded black steel cabinets are incredibly heavy. You absolutely must ensure the wooden base cabinets are heavily reinforced to support the massive crushing weight of steel and glass resting directly on top of them.
Phase 4: The Textural Integration (Ebonized Wood)
The most advanced, wildly expensive way to mix black and wood is to literally combine them into a single material. Ebonized wood is heavily stained black, perfectly preserving the deep, chaotic wood grain while changing the color entirely to black.
The Ebonized Oak Masterpiece
Painting oak cabinets solid black is a massive, tragic mistake. The thick latex paint violently fills in the organic grain, making the expensive wood look exactly like cheap, flat plastic. You must strictly use an ebonizing stain. The thin black stain aggressively penetrates the wood fibers, turning the oak completely pitch black while flawlessly preserving the deep, highly tactile, scratchy texture of the natural grain. When the sunlight hits ebonized oak, you physically see the massive organic texture, proving the extreme luxury of the material.
Ebonizing Rules:
- You absolutely must ‘water-pop’ the wood before staining; wiping the raw wood with a damp cloth violently opens the pores to absorb the heavy black stain.
- Never use red oak for ebonizing; the deep red undertones will violently bleed through the black, turning the cabinets a terrifying shade of purple.
- Strictly use white oak or ash, which have neutral undertones and massive, deep grain patterns perfect for holding the dark dye.
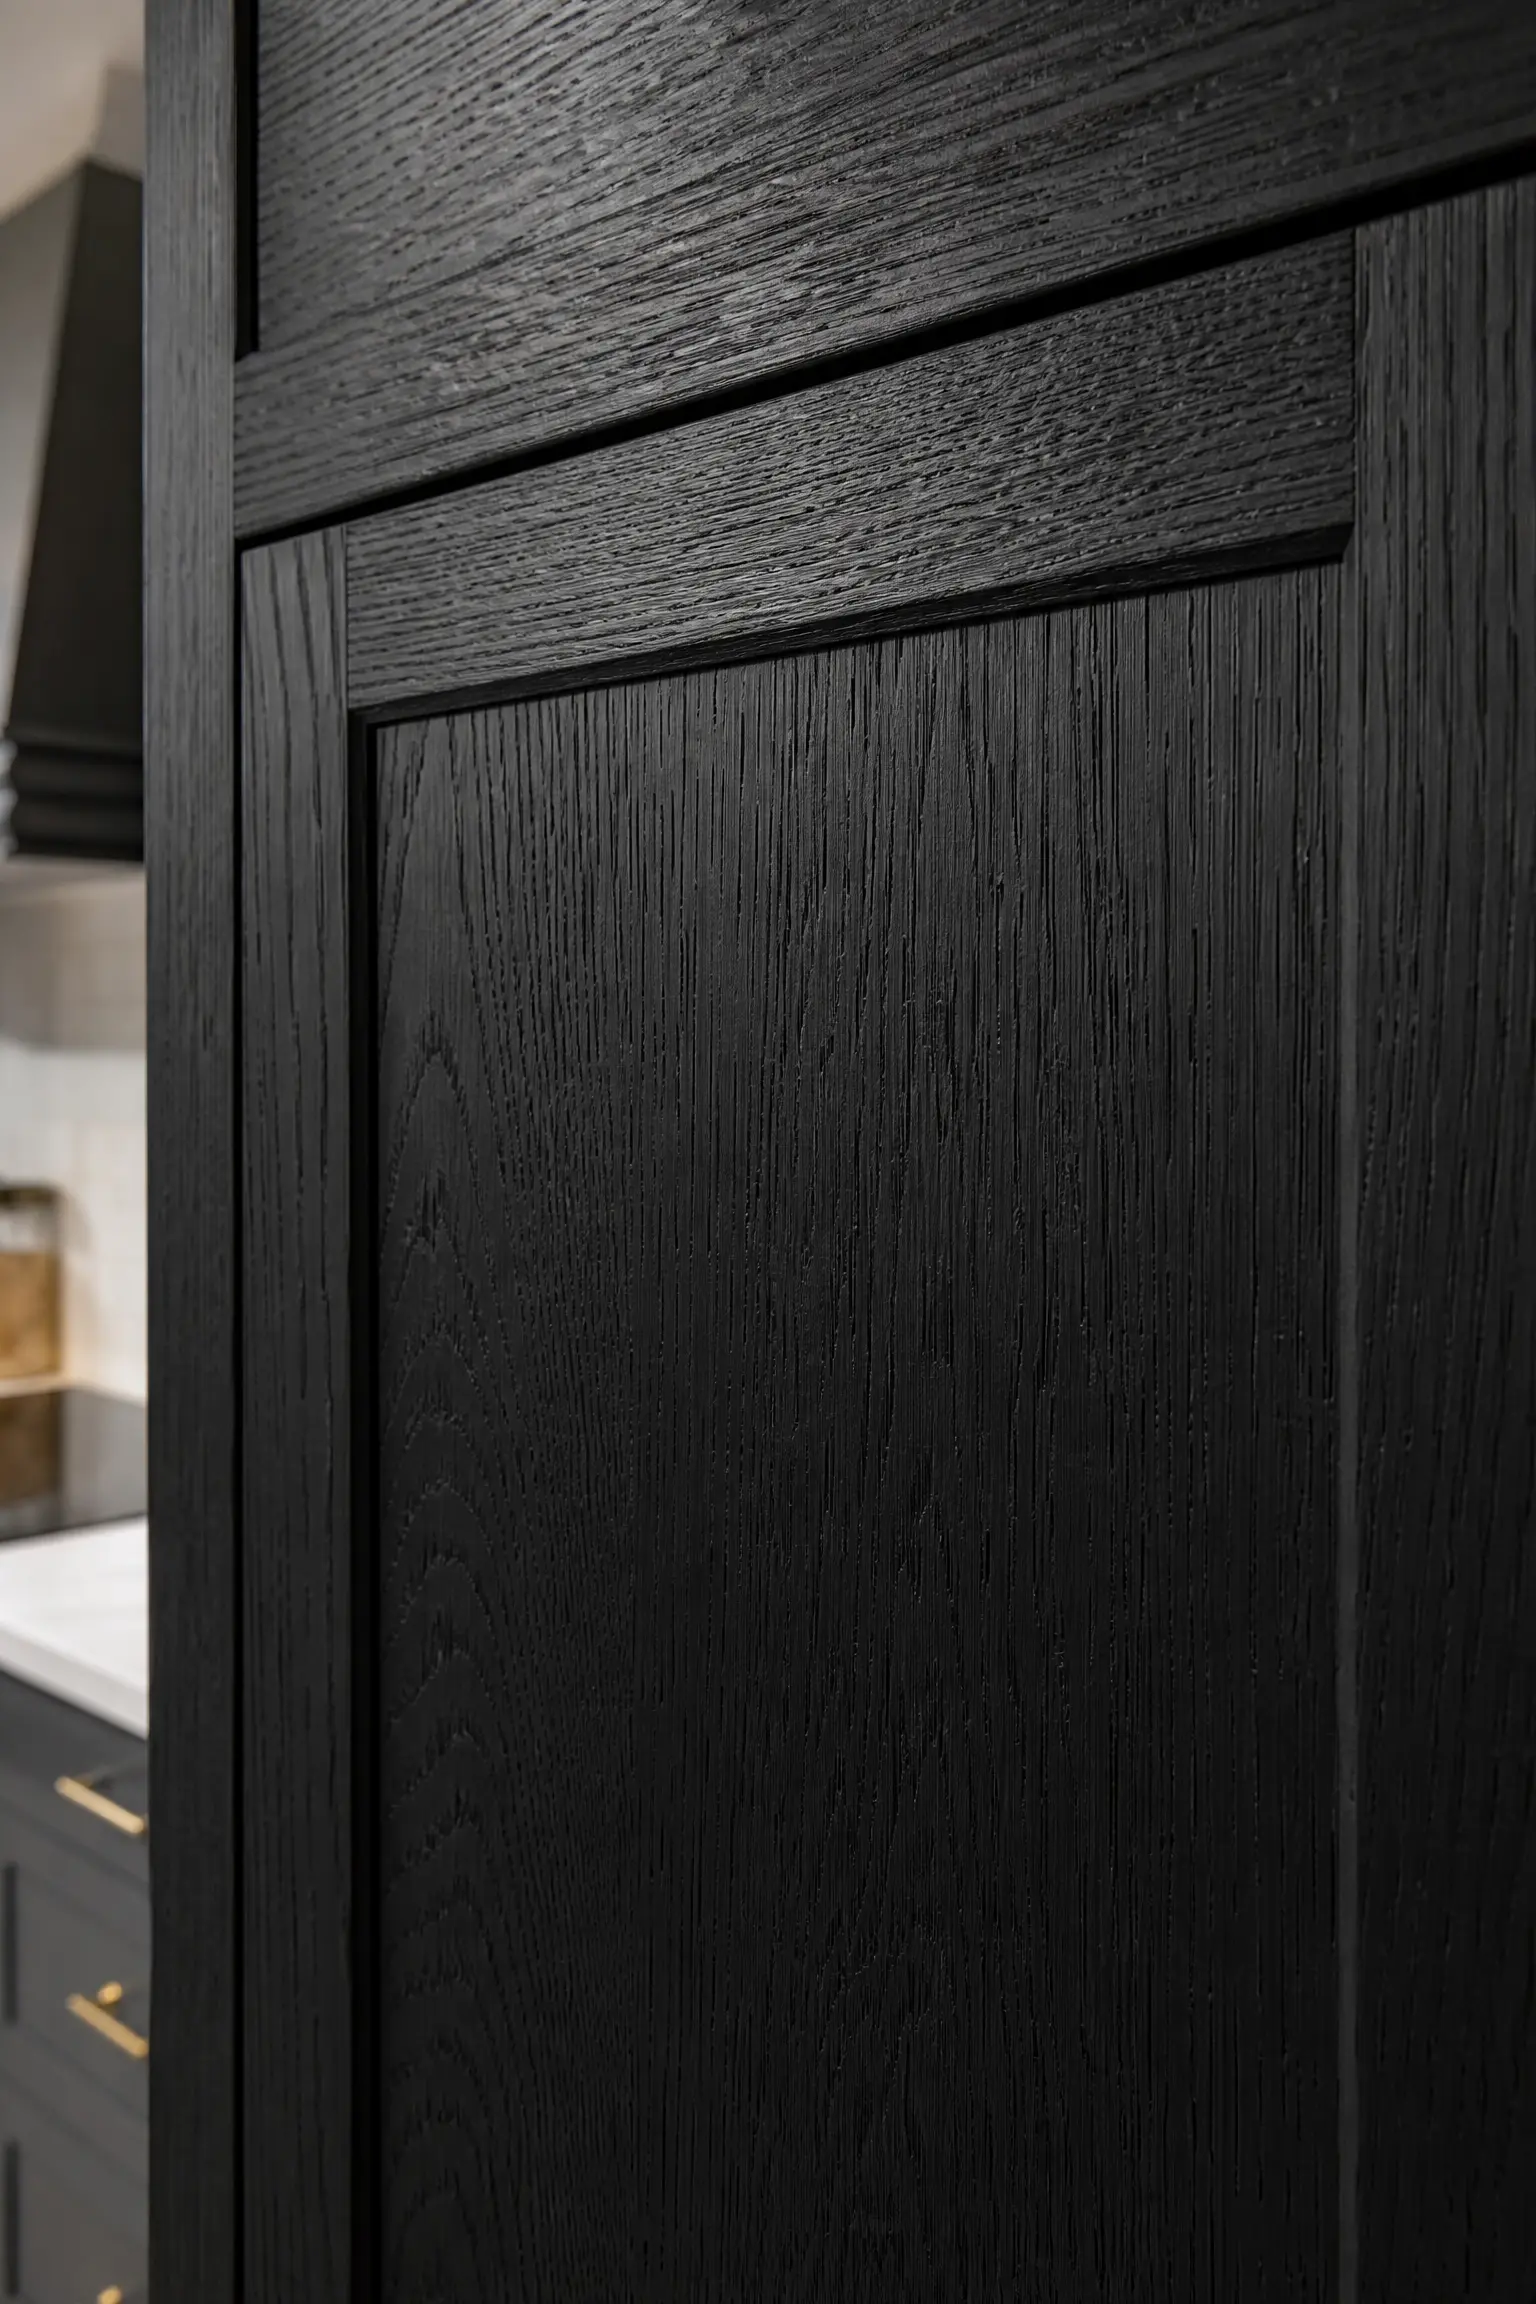
Ebonized Black paired with Raw Walnut
To achieve the absolute pinnacle of sophisticated contrast, you must pair ebonized black wood with a completely different, raw natural wood. Install massive ebonized ash base cabinets, featuring deep, black scratchy grain. Directly above them, install incredibly smooth, raw, unstained walnut upper cabinets. The fierce contrast isn’t just about color (black vs. brown); it is a violent collision of textures. The rough, deeply porous black grain violently contrasts against the buttery smooth, highly elegant walnut, creating an incredibly complex, sensory-rich kitchen environment.
Design Secret: When pairing two different species of wood, you must ensure their grain patterns are completely different. If you pair black-stained oak with natural oak, it looks like you simply ran out of black stain halfway through the renovation.
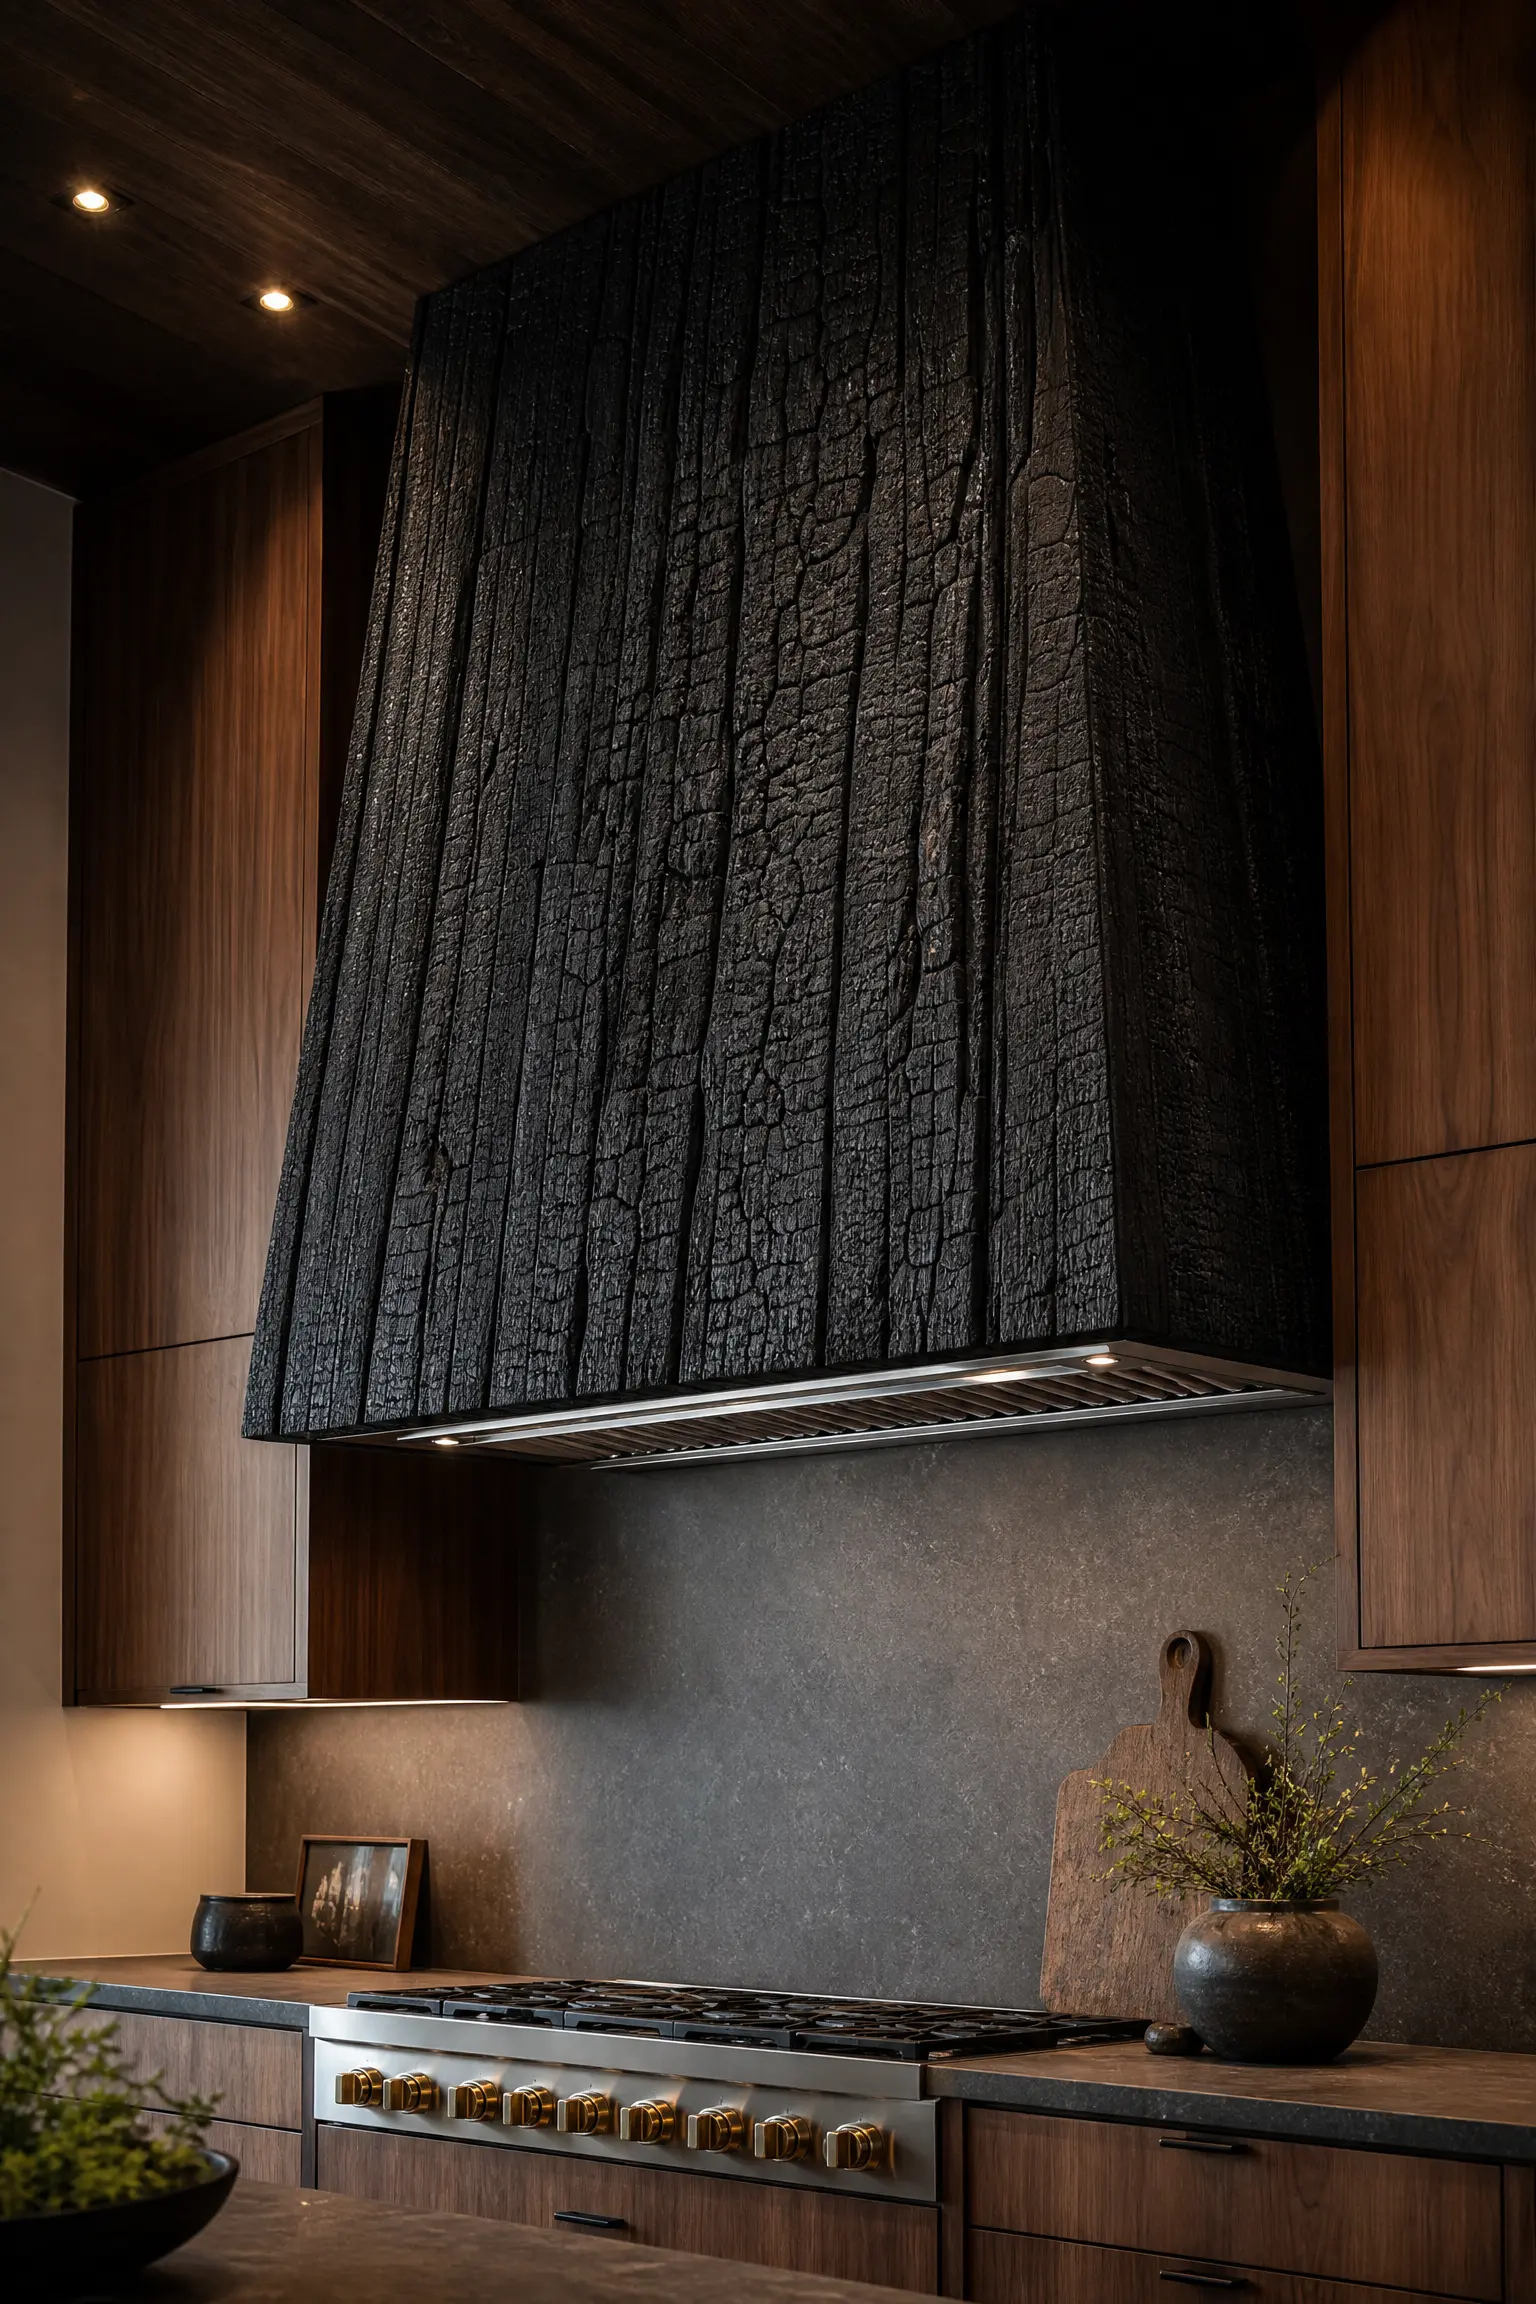
Charred Wood (Shou Sugi Ban) Accents
If you want the most aggressive, highly authentic black wood possible, you must look to the ancient Japanese technique of Shou Sugi Ban. This involves physically burning the surface of cedar wood with a massive blowtorch until it is heavily charred and pitch black, then sealing it with oil. Use this heavily charred, fiercely textured black wood specifically for the range hood cover or the back of the kitchen island. The violently burnt, crackled black texture set against smooth, modern wooden cabinets creates the ultimate, jaw-dropping architectural focal point.
Material Q&A: Burnt Wood
Question: Will burnt wood leave charcoal dust on my clothes? Answer: Not if it is executed correctly. Professional Shou Sugi Ban is aggressively brushed with wire and heavily sealed with deep-penetrating Tung oil, perfectly locking the black char in place so it is completely safe to touch.
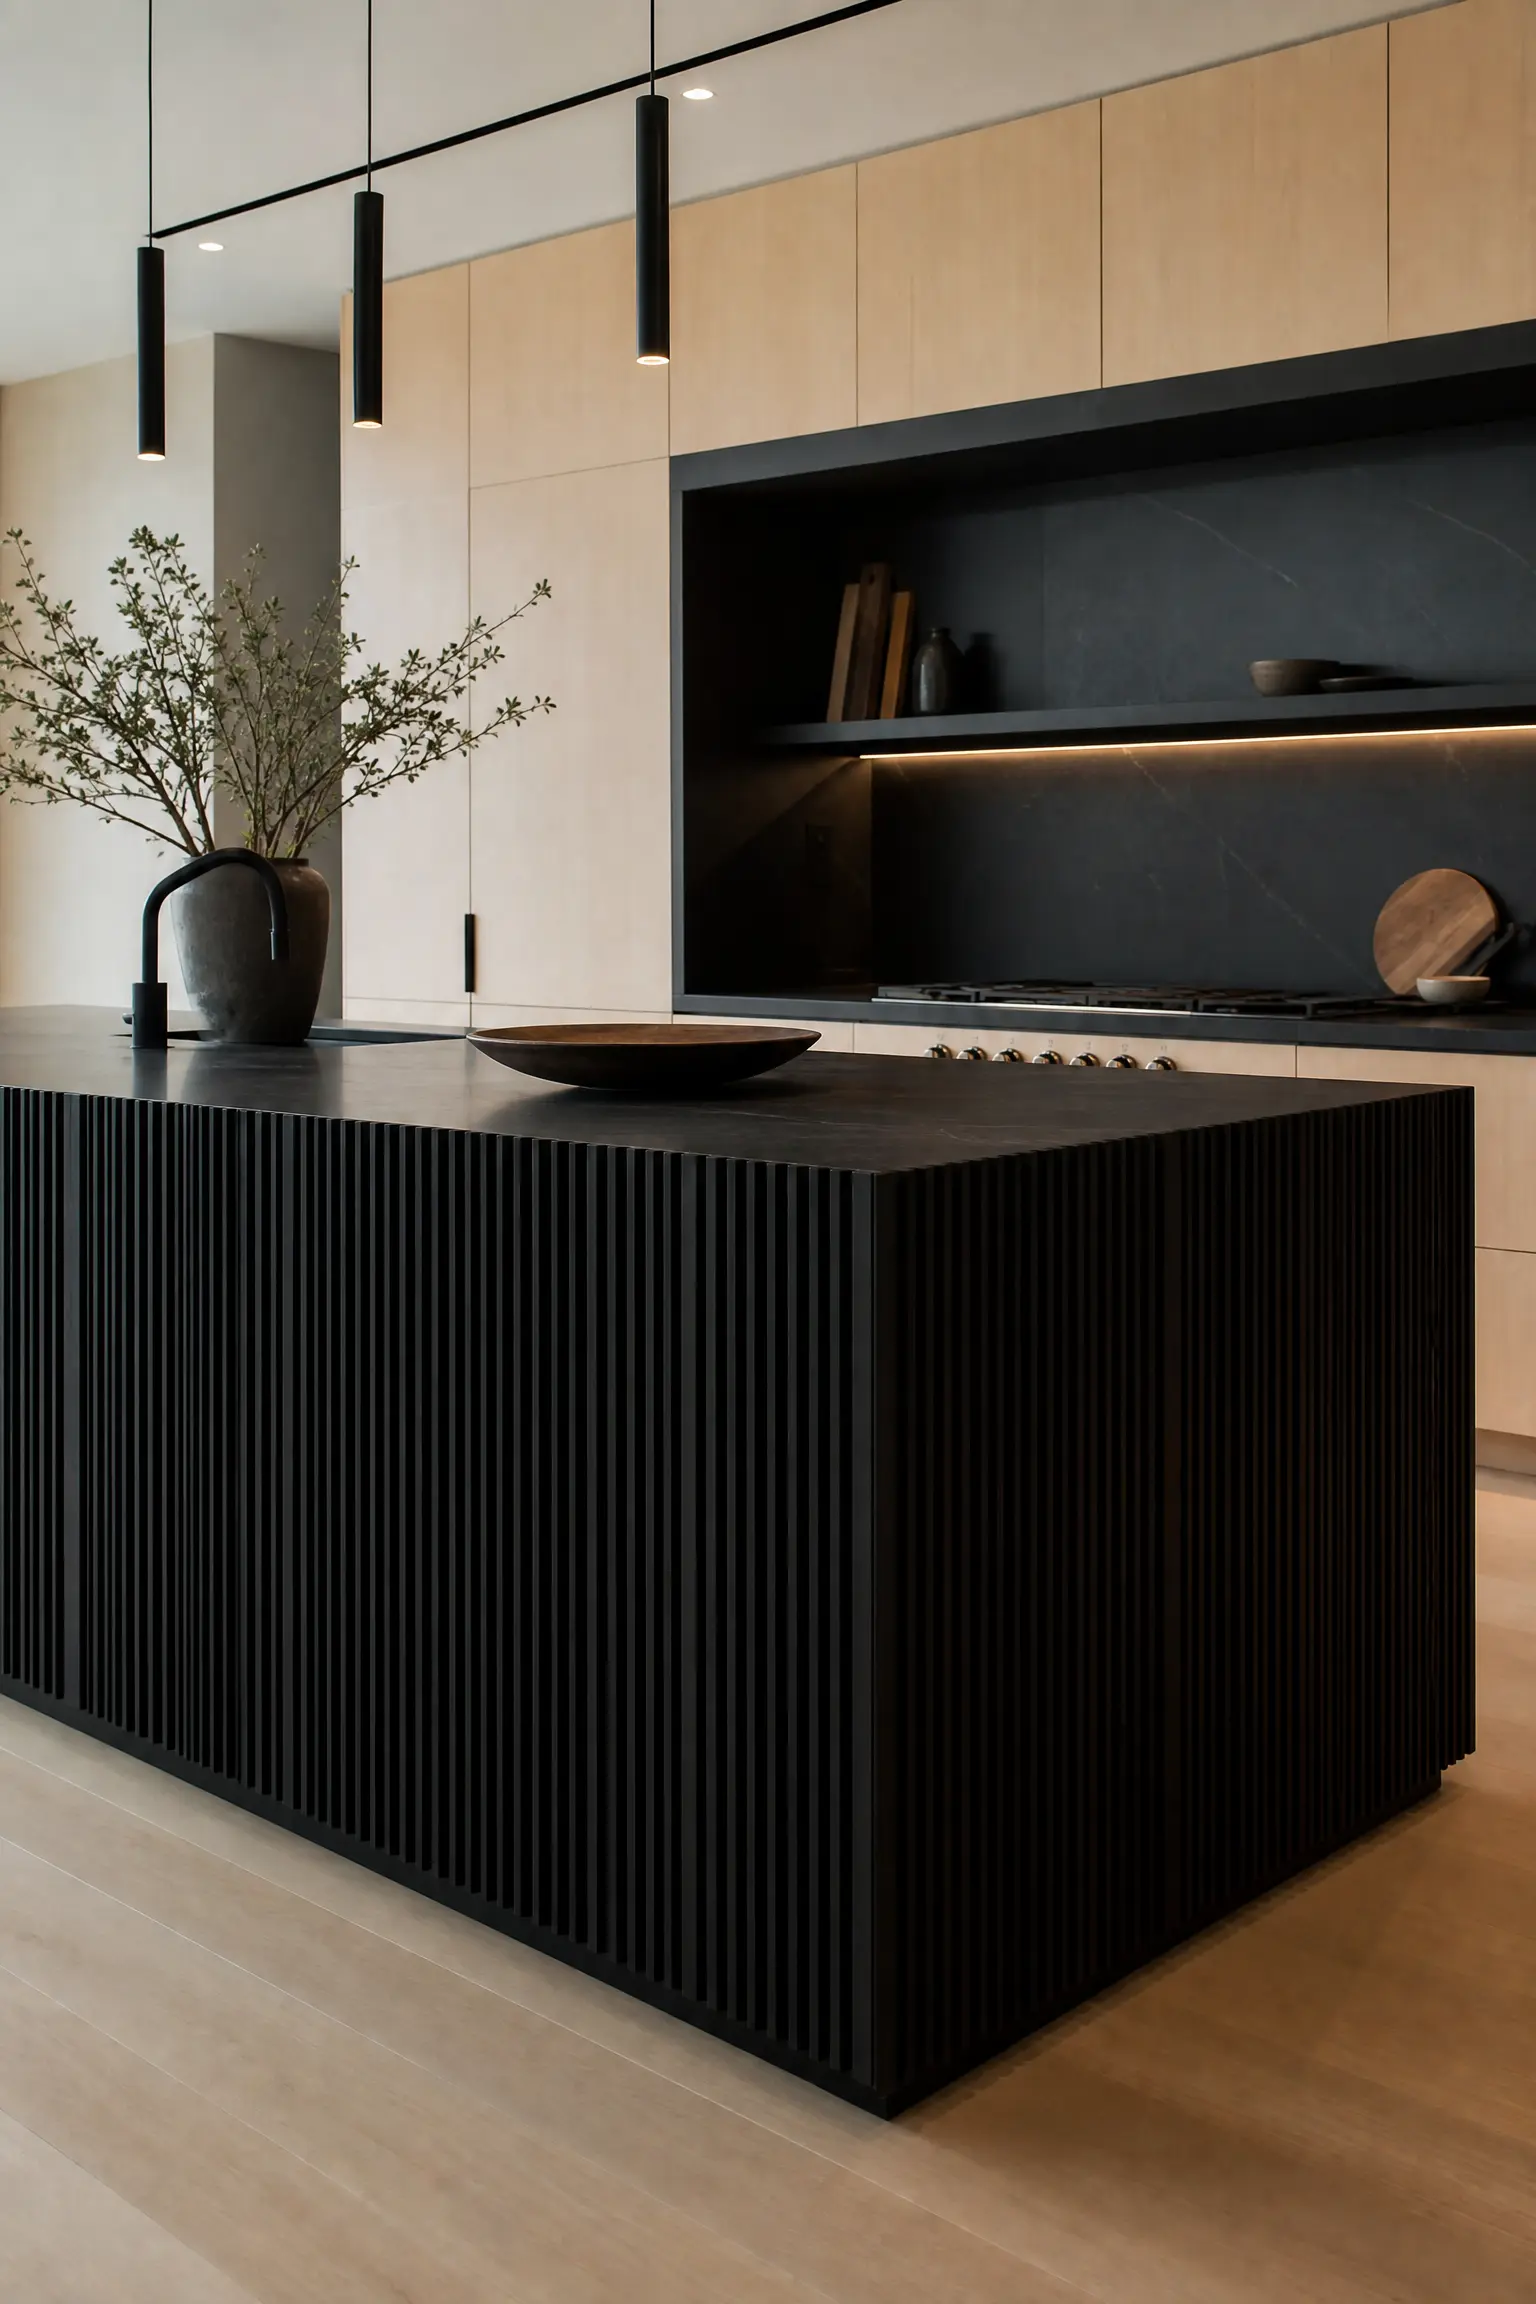
The Ebonized Slatted Island
For a hyper-modern, deeply textured kitchen, build the central island using vertically slatted ebonized wood. Hundreds of tiny, individual black-stained wooden slats are applied to the face of the island. The deep gaps between the slats create massive, heavy black shadows, while the ebonized wood grain catches the ambient light. Pair this heavily textured, intensely dark island with incredibly sleek, flat-panel natural maple perimeter cabinets. The massive visual weight of the slatted black island fiercely anchors the ethereal, pale wooden kitchen.
Slatted Island Execution:
- You must pre-stain every single wooden slat completely black before attaching them to the island.
- If you attach raw wooden slats and try to spray them black later, the paint will violently miss the deep crevices, leaving terrifying streaks of raw wood exposed.
- Use a matte black backing board behind the slats to ensure absolute darkness between the gaps.
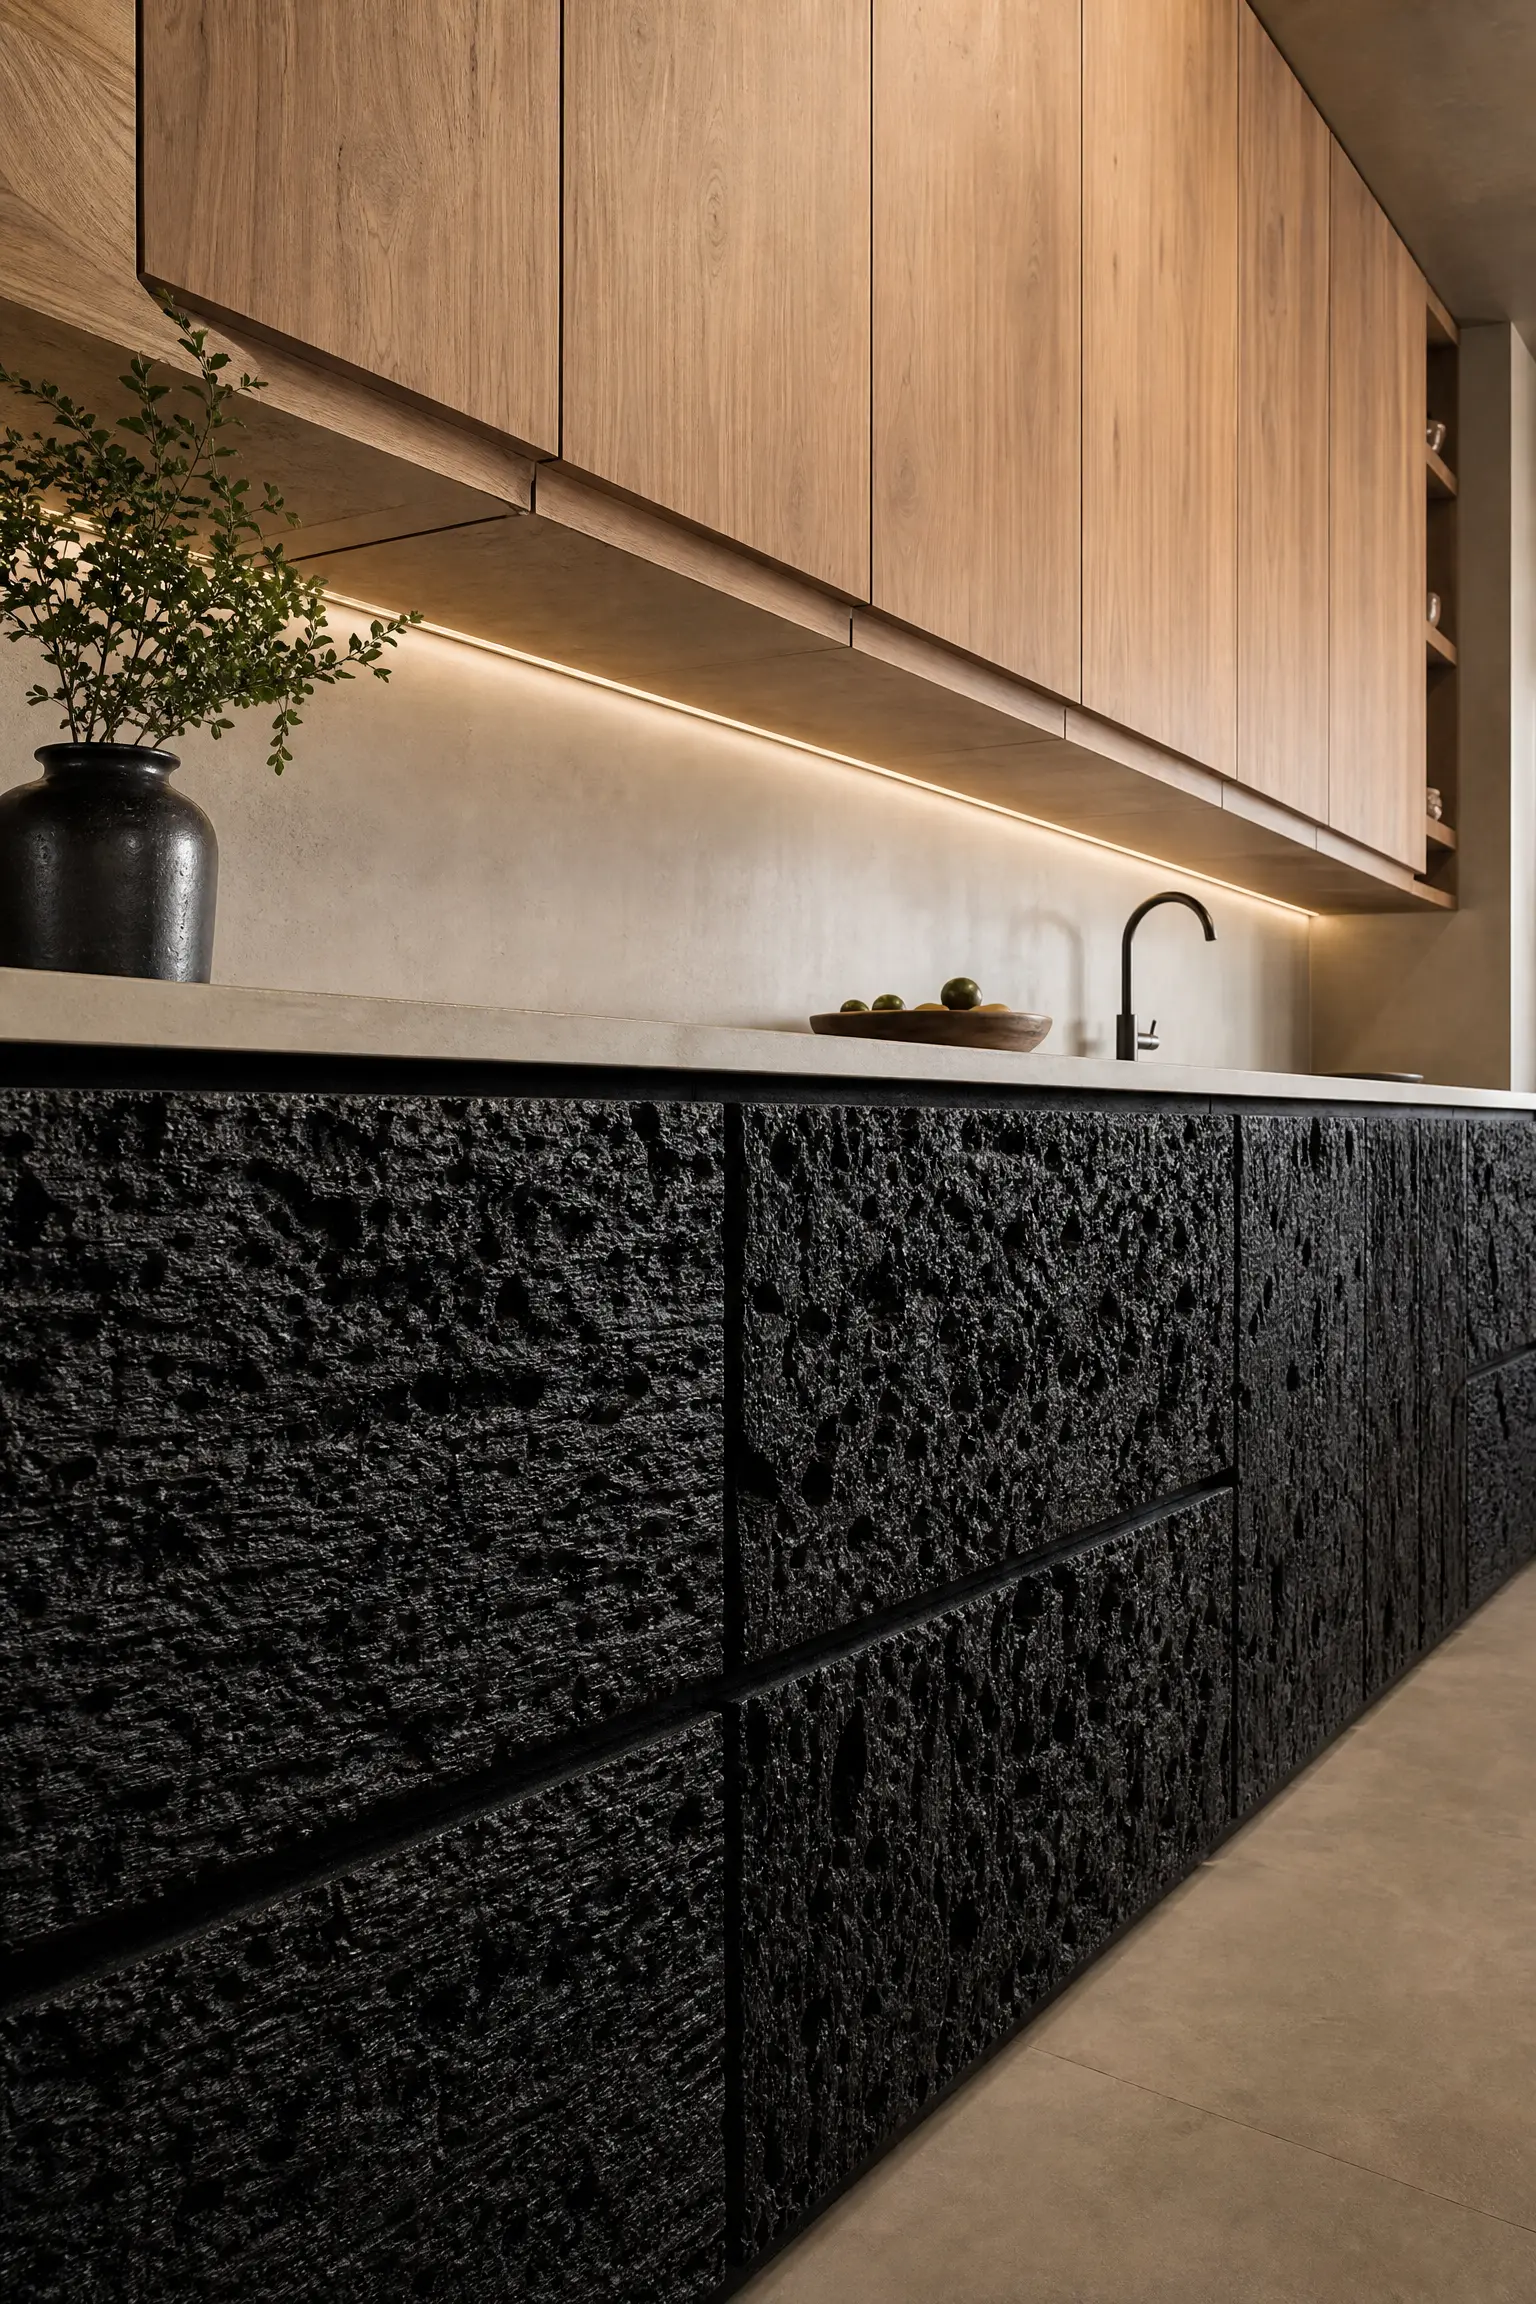
Black Wire-Brushed Cabinetry
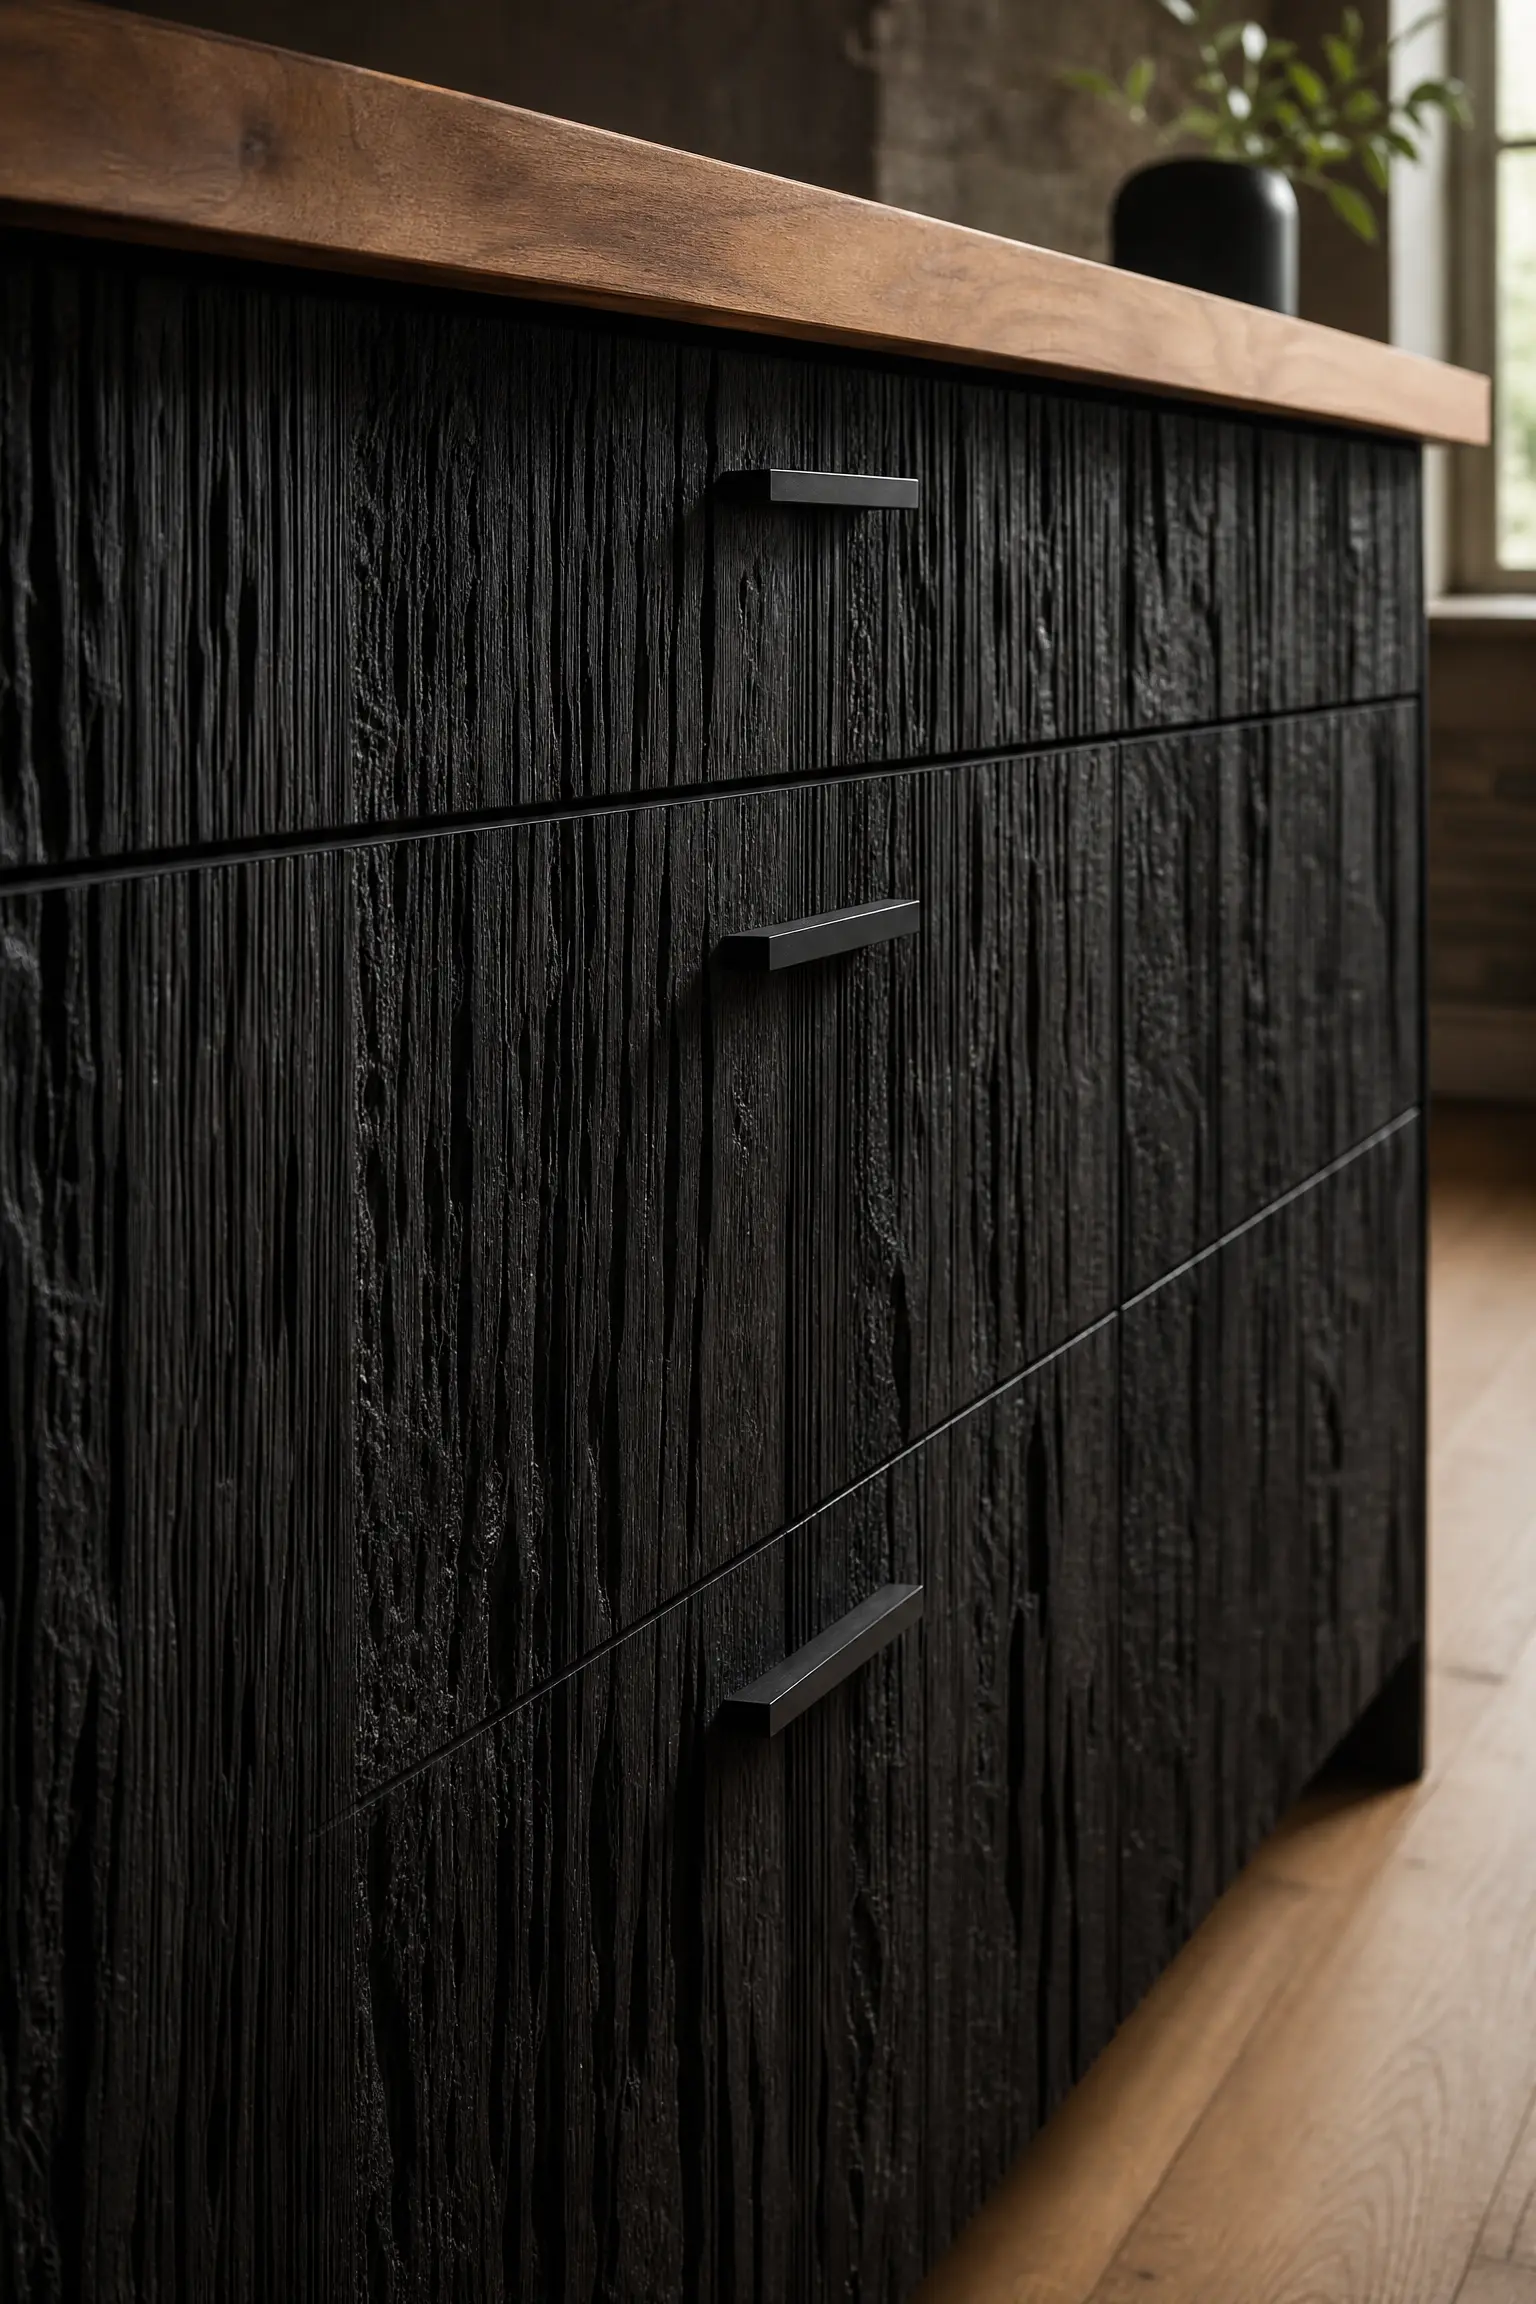
To maximize the tactile nature of your black and wood kitchen, explicitly order ‘wire-brushed’ black cabinetry. Before the black stain is applied, a massive, violent steel wire brush is aggressively dragged across the raw wood boards. This rips out the softest parts of the wood fiber, leaving incredibly deep, highly exaggerated valleys in the grain. When stained black, these deep valleys catch massive shadows. When paired with smooth wooden countertops, the extreme tactile friction makes the kitchen feel fiercely historic and highly bespoke.
Cleaning Warning: Wire-brushed black wood is a massive nightmare to clean if you spill baking flour on it. The white powder will violently pack into the deep black crevices. You must heavily seal the wood with a thick matte polyurethane to allow for easy wipe-downs.
The Ebonized Wood Ceiling
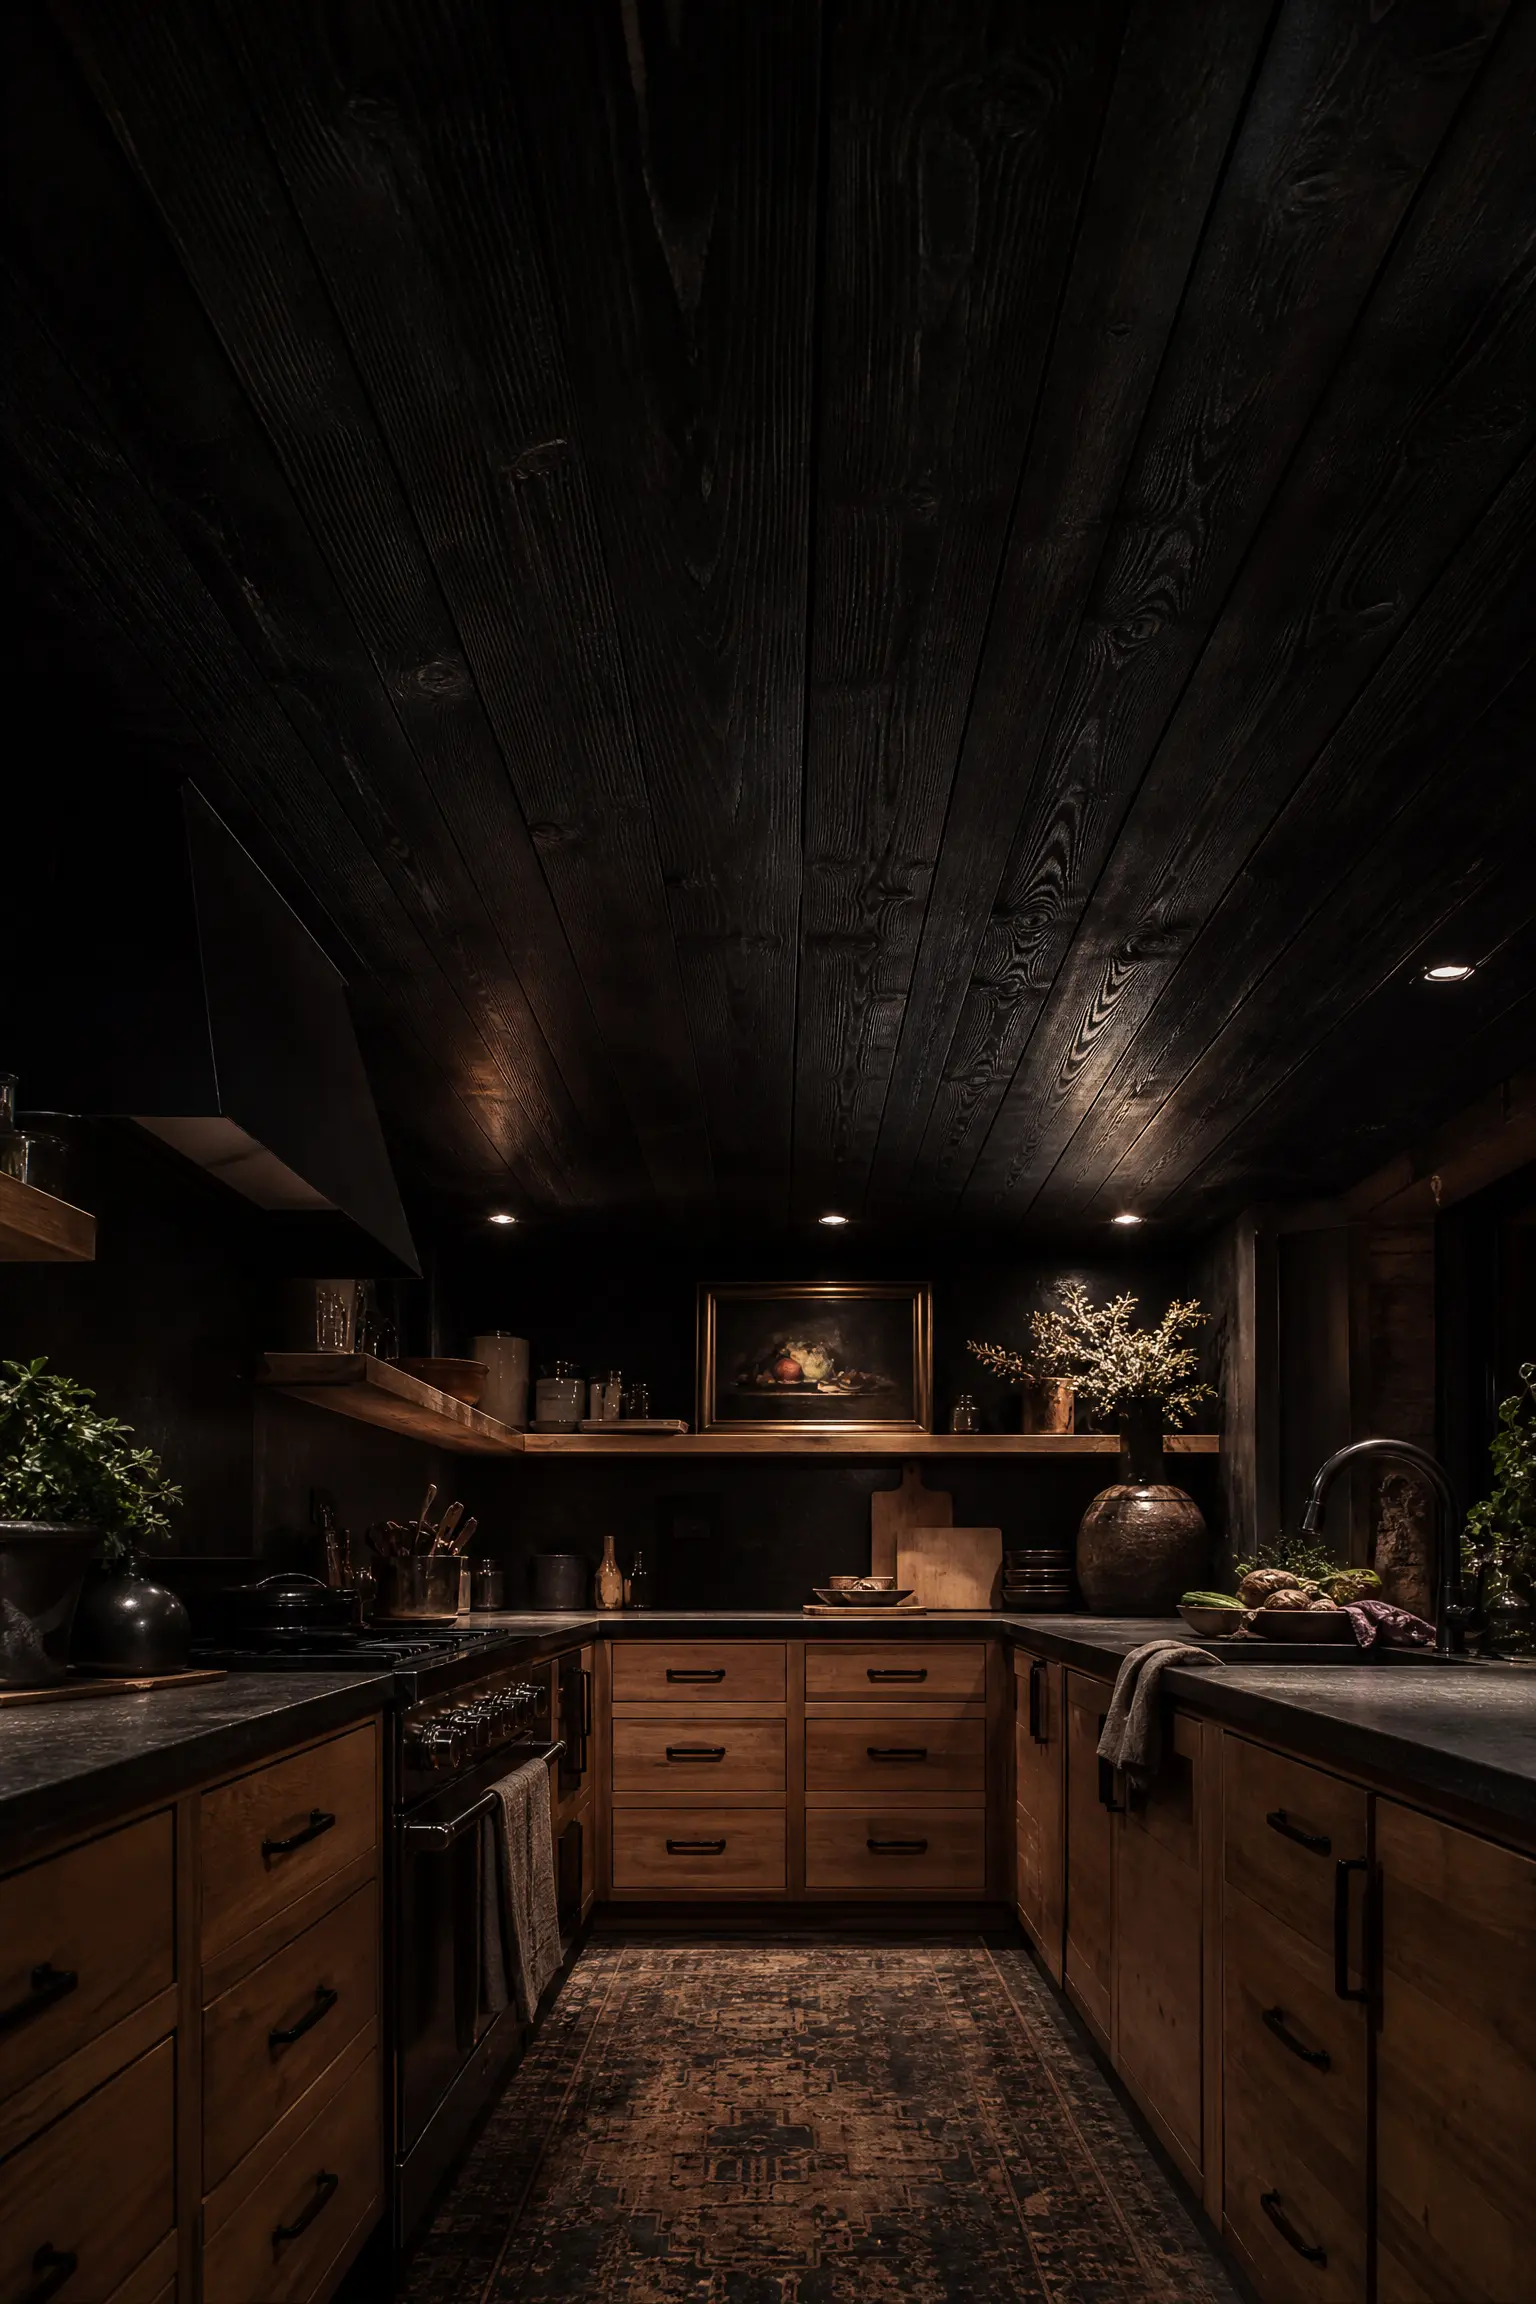
The most avant-garde way to integrate black and wood is to completely abandon the cabinets and look up. Install beautiful, warm natural wood base and upper cabinets, but install a massive, heavily ebonized black wood ceiling. Running pitch-black wooden planks across the entire ceiling violently lowers the perceived height of the room, creating an incredibly cozy, deeply moody, fiercely intimate culinary cave. This extreme architectural move perfectly balances the warm wood below by applying massive, heavy darkness strictly to the upper limits of the room.
Lighting Requirement: A solid black wooden ceiling will aggressively absorb every single photon of light in the room. You must violently over-engineer your kitchen lighting, installing dozens of high-powered LED recessed lights, or the kitchen will feel like a terrifying, pitch-black dungeon.
Conclusion
Executing a black and wood kitchen is an absolute masterclass in balancing architectural gravity. It is not about randomly picking paint colors; it is a highly rigorous exercise in managing visual mass. By strictly adhering to The Weight Distribution Matrix, you force these two powerful materials into perfect harmony. Whether you aggressively anchor the floor with The Grounding Effect, centralize the massive gravity with an Anchor Island, build towering architectural boundaries with The Vertical Split, or merge the elements flawlessly through Ebonized Textural Integration, you will achieve the ultimate luxury aesthetic. When you respect the extreme weight of black and the living warmth of wood, you transform a basic kitchen into a jaw-dropping, highly tailored masterpiece.
Frequently Asked Questions
Should I put black cabinets on the top or bottom?
You must absolutely put the heavy black cabinets on the bottom, and the lighter wood cabinets on the top. This obeys the architectural law of gravity, heavily grounding the room. If you put massive black cabinets on the ceiling over light wood bases, the kitchen will feel violently top-heavy and terrifyingly oppressive.
What color countertops go best with black and wood cabinets?
You must use crisp, stark white countertops, such as Macaubas quartzite or Calacatta marble. The massive, bright white horizontal plane provides a crucial visual palate cleanser, violently separating the heavy dark black from the warm wood grain and preventing the kitchen from feeling like a dark, muddy cave.
What hardware looks best on black cabinets?
Unlacquered brass or warm gold hardware is the absolute best choice. The fiery, deeply warm golden tones violently pop against the matte black paint, providing massive, expensive contrast. Furthermore, the golden tones perfectly harmonize with the yellow and orange undertones of the natural wood cabinets in the room.
Is black cabinetry hard to keep clean?
Yes, matte black cabinets will violently expose every single greasy fingerprint, speck of dust, and drop of water. You must aggressively wipe them down with a microfiber cloth and a gentle degreaser daily. To minimize this, only use black on upper cabinets or islands, and use the highly forgiving natural wood near the messy stove and sink.
Can I mix rustic wood with modern black cabinets?
Absolutely. This creates incredible architectural tension. You can pair wildly chaotic, heavily knotted rustic hickory wood with fiercely crisp, flat-panel matte black base cabinets. The strict, geometric discipline of the modern black heavily tames the wild, organic wood, creating a highly sophisticated, modern farmhouse aesthetic.
What is the difference between black paint and ebonized wood?
Black latex paint sits thickly on top of the wood, violently filling in the grain and making it look like flat plastic. Ebonizing is a thin, deep-penetrating stain that turns the wood pitch black while flawlessly preserving the deep, highly tactile, scratchy texture of the natural wood grain, providing extreme luxury.